
How to Recolor Patterned Clothes Without Smearing the Print
Recolor patterned clothes in a photo without smearing the print: choose the right source image, preserve the pattern, and know when to stop.
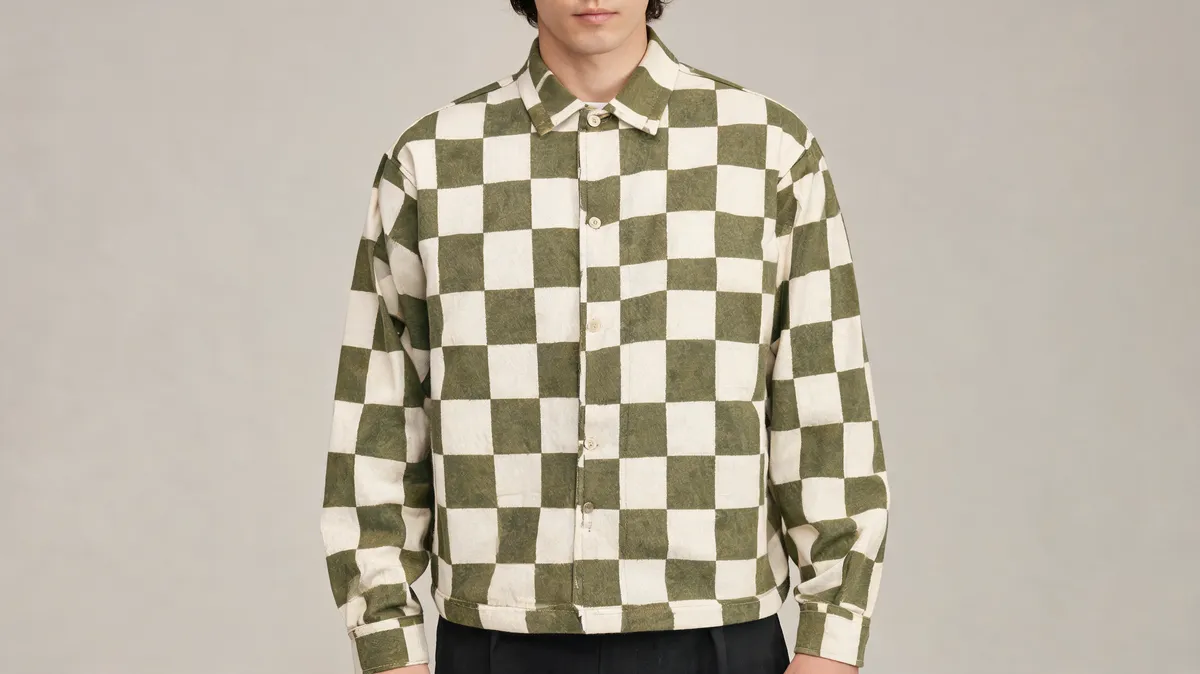
To recolor patterned clothes without smearing the print, start with a sharp, evenly lit photo; change one garment and one color direction at a time; then inspect the print's scale, spacing, and path across every fold. A clothes color changer can help you preview the idea, but a weak or invented print is a reason to reject the result—not to describe it as accurate.
Last updated: September 28, 2026 · about 7 min read
This is a companion to recoloring clothes without losing fabric texture. That guide covers the broad texture, light, edge, and spill check. Here, the narrower question is whether stripes, checks, florals, logos, or dense repeats still make sense after a color change.
First, decide whether the print is a safe candidate
A pattern is not a single color. It has repeated edges, contrast, and a relationship to the garment's shape. A recolor becomes fragile when the original image does not show those details clearly enough to retain them.
| Source pattern | Usually safer for a preview | Higher-risk signs |
|---|---|---|
| Broad stripes or checks | Clear spacing, visible seams, soft even light | Stripes vanish under an arm or change width at a fold |
| Simple floral or geometric print | Large motifs with contrast from the base fabric | Tiny motifs, heavy compression, dark shadow blocks |
| Logo or lettering | Only as an internal concept, with close review | Any unreadable, altered, or invented letter or mark |
| Dense repeat, lace, or embroidery | Use as a reference for a manual route | Fine detail, transparency, glints, and overlapping layers |
The PictTools guide to changing clothing color makes a useful category distinction: a print contains several colors, so changing only the dominant color can break its internal relationships. That is practical advice, not a substitute for checking your own image. If a print is central to the garment, start by asking whether a preview is enough or whether you need an editable source file and a manual review.
Make a narrow recolor request
Do not combine a new color with a new garment, pose, background, or hairstyle. That makes it impossible to tell whether the failure came from color or from the model inventing the rest of the scene.
- Choose a clean original. Use the highest-resolution source you have. The shirt or dress should be fully visible, with the collar, sleeves, and hem separated from hair, hands, and background.
- Name the garment and the color, then protect the print. For example: “Change only the checked overshirt from olive to deep navy. Preserve the check scale, spacing, seams, folds, face, hands, and background.”
- Compare it against the original at full size. Look at the same motif before and after. If it changes shape across a fold, bleeds into skin, or becomes an unfamiliar print, discard it and simplify the job.
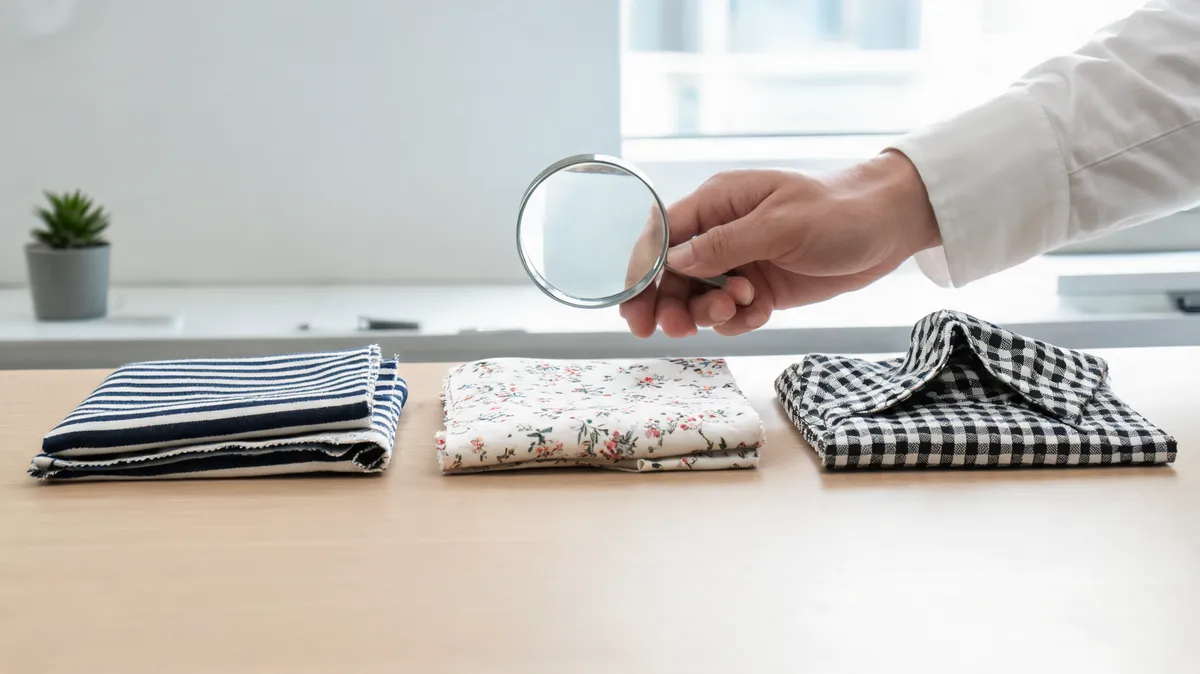
The useful question is not whether the new color looks attractive at thumbnail size; it is whether the same print still behaves like the original garment.
“Preserve pattern” is a constraint, not a guarantee. The smaller and more specific the print, the more likely a still-image preview becomes only a direction—not an asset to publish.
Use the four-point print check
Zoom in after each run and inspect these four places. A single polished panel can hide a failure elsewhere.
- Repeat: Do checks, stripes, or florals keep a believable size and spacing from chest to sleeve?
- Path: Does the pattern follow the garment's folds and body shape instead of sliding across them like a flat overlay?
- Boundary: Does the print stop cleanly at the collar, cuff, hem, skin, and background?
- Identity: Are logos, lettering, badges, and distinctive motifs still exactly supported by the source? If not, do not treat them as preserved.
For a broader fault-finding routine, use why AI clothes swaps look fake. It helps separate a broken edge or light direction from the different problem of a broken repeat pattern.
When Photoshop is the more honest route
If you need a controlled, non-destructive color adjustment—not a generated wardrobe concept—Photoshop gives you a clear manual path. Adobe's current object-color replacement guidance describes selecting the object, using a Hue/Saturation adjustment layer with its mask, and refining the mask. Adobe notes that keeping Lightness at zero maintains contrast; the mask is where you keep the adjustment off skin, background, and other garments.
That does not make a complicated print effortless. It does give you a repeatable way to isolate the clothing and inspect the original pixels. For exact logos, retail imagery, heavily embroidered garments, or print placement a shopper could rely on, use the real product photograph or a properly reviewed manual edit rather than an AI preview.
Why there is no video in this guide
We searched YouTube for the exact query “how to recolor patterned clothes photo” through the supplied DataForSEO tool on September 28, 2026. The leading verified result was a Photoshop tutorial about recoloring a textile pattern design, not preserving the existing print on a photographed garment. Embedding it would suggest it solves this distinct image-review problem, so this guide intentionally has no video.
Keep a product claim separate from a color experiment
For personal style planning, a recolor can answer a useful question: does this checked shirt read better in navy or olive? For a seller, the bar is higher. A generated colorway cannot verify a physical fabric, dye lot, print placement, size, stock, or the color a buyer will see in daylight.
Use the clothing color variant QA checklist when a generated image might enter a merchandising workflow. If the print is buying-critical, compare it with the physical garment and approved source photography before anything goes public.
Frequently asked questions
Can I recolor a patterned shirt without removing the pattern?
Sometimes, especially when the source photo is sharp and the pattern is large and clearly visible. Make one controlled color change, then inspect the repeated print around folds, seams, and edges. If the print becomes invented, warped, or illegible, keep the original or use a manual edit.
Why does an AI recolor smear a floral or plaid print?
A dense print gives the editor many small color boundaries to preserve while it changes the garment. Motion blur, compression, shadows, hands, hair, and tight folds leave less reliable detail, so the output may flatten or redraw the pattern instead of retaining it.
Is a recolored patterned garment safe to use in a product listing?
Not without a check against the real garment and approved product data. A generated image can help plan a color direction, but it cannot prove exact print placement, textile construction, stock, or the shade a customer will receive.
Related guides
- Try the free AI clothes changer →
- Recolor clothes while preserving fabric texture
- Change clothes color in a photo
- Clothing color variant QA checklist
- Why AI clothes swaps look fake
Let the original print decide
Use a recolor to compare a style direction, then keep only results that still respect the original garment. Try a controlled clothing-color preview →.