
How to Recolor Clothes Without Losing Fabric Texture
Recolor clothes without flattening the fabric. Use this practical photo, prompt, and quality-check workflow for more believable clothing color changes.
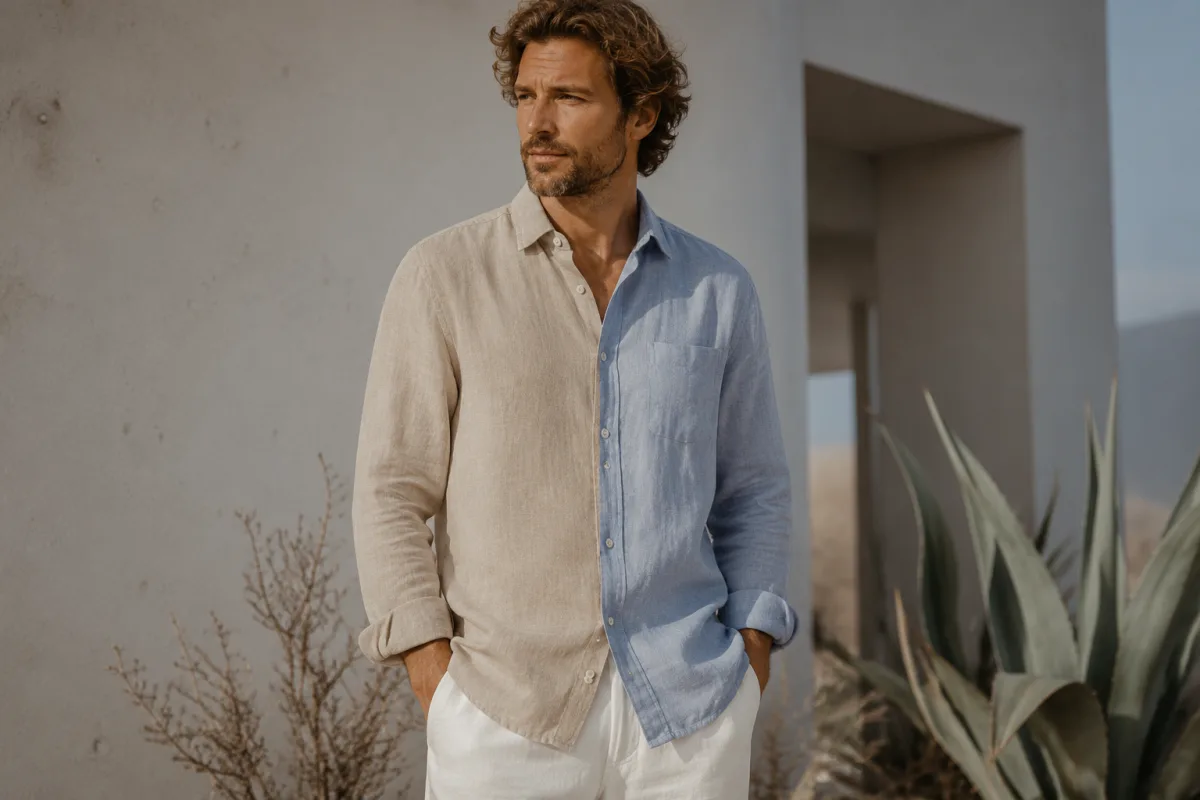
The safest way to recolor clothes without losing fabric texture is to begin with a sharp, evenly lit photo, change one garment at a time, and inspect the weave, folds, edges, and highlights before you save the result. A clothes color changer can make the edit quickly, but it cannot recreate detail that the original photo never showed.
Last updated: July 22, 2026 · about 6 min read
Changing a shirt from cream to navy is simple in principle. The hard part is keeping the visual evidence that makes it look like cloth: a denim seam, a knit rib, a satin highlight, or the shadow beneath a collar. This guide is for that quality check, not for pretending that every generated image is a product-ready photo.
Start with fabric the camera can actually see
The source image does most of the work. Before you recolor, zoom in and ask whether you can see the features you hope to preserve.
| Source-photo detail | Usually holds up | Often breaks down |
|---|---|---|
| Light and shadow | Soft, even light across the garment | Hard flash or a deep shadow across the torso |
| Fabric | Visible folds, seams, knit, or weave | Blurry, over-compressed, or completely black fabric |
| Garment edge | Collar, sleeve, and hem are visible | Hands, hair, bags, or furniture hide the edge |
| Pattern | Small, repeatable print with room around it | Dense logos, tiny text, or a pattern cut off by the frame |
Use a photo where the garment is not fighting the background. If a black sweater blends into a dark wall, the system has little edge information to keep. A cleaner crop or a brighter original is usually more useful than a longer prompt in a clothes color changer.
Recolor one garment, then check four places
- Upload the clearest version of the photo to a clothes color changer.
- Name one specific item and one target color: “change only the linen shirt to muted olive.” Add what must stay put: “keep the same face, hands, background, seams, folds, and lighting.”
- Compare the result at normal size and at 100% zoom. If an edge or fold looks wrong, make a narrower second edit rather than asking the next run to restyle the entire person.
A believable recolor keeps the light logic of the original image. A bright fold should still be bright after the color changes; a shadow should not turn into a painted gray patch.
This is a workflow illustration, not a claim that a particular tool created the clothing edit.
The four-point check
- Texture: Does the knit, weave, denim grain, or fine print still have variation?
- Light: Do highlights and shadows follow the same folds as the original?
- Edges: Are collar, sleeve, button, and hem boundaries clean without cutting into skin or hair?
- Color spill: Did the new shade leak onto hands, jewelry, the wall, or another garment?
Match the color request to the fabric
Not every change is equally easy. A near-neighbor color, such as rust to burgundy, asks the image to preserve more of its original tonal structure. A very large jump, such as a white silk blouse to black leather, asks it to invent new material behavior as well as a new color.
| Change you want | Better first request | What to inspect |
|---|---|---|
| Red cotton to navy | “Change only the shirt to deep navy cotton” | Seams and shadow depth |
| Beige blazer to olive | “Keep the wool texture and lapel shape” | Lapel edge and buttons |
| Light denim to charcoal | “Keep the denim weave and stitching visible” | Stitch contrast and pocket lines |
| Patterned dress to another color | “Preserve the print scale and fabric folds” | Pattern distortion near curves |
If the target color needs a different material—glossy vinyl instead of matte cotton, for example—treat it as a new garment concept, not a simple recolor. The preview can be useful for direction, but it is not a substitute for a physical sample.
When to redo the source photo
Regenerate only after you have identified the failure. Retake or replace the source photo when the garment is covered, the subject is in motion, the lighting is split down the body, or the image is too soft to reveal fabric. For more input guidance, see how to photograph clothes for AI outfit edits. If the entire outfit looks synthetic rather than just the color, the troubleshooting steps in why AI clothes swaps look fake are a better next read.
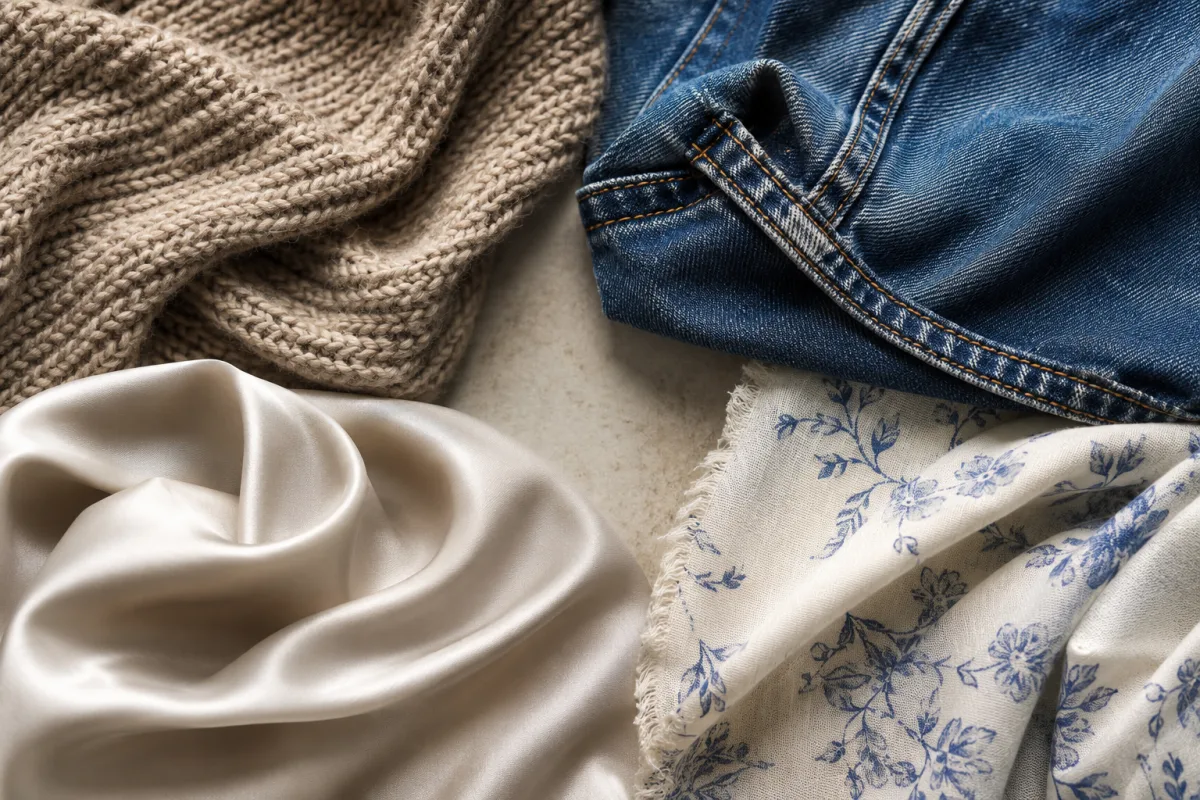
Inspect texture, light, edges, and spill separately. A nice overall thumbnail can hide a poor garment edge.
Frequently asked questions
Can AI recolor clothes without changing texture?
It can preserve visible texture better when the source image clearly shows it, but it can still soften fine weave, tiny prints, or complicated seams. Treat the output as a visual preview and inspect the garment at full size before using it publicly.
Why does a recolored shirt look flat?
Usually the edit lost the original highlights and shadows, or the source photo did not show enough fabric detail. Use a brighter, sharper photo and specify that folds, seams, and lighting should remain unchanged.
Can I recolor a patterned garment?
Yes, but patterns add risk. Make one color change at a time and check whether the print keeps its scale and direction around sleeves, buttons, and body curves.
Related guides
- Try the free AI clothes changer →
- Change clothes color in a photo
- How to change clothes in a photo with AI
- Why AI clothes swaps look fake
Check the detail before you download
A color change is only convincing if the garment still behaves like fabric. Preview a clothing color change with the clothes color changer → and use the four-point check before you keep the result.