
How to Photograph Clothes for AI Outfit Edits That Look Real
Learn how to photograph clothes for sale and AI outfit edits: lighting, angles, garment detail, model poses, and quick retake rules.
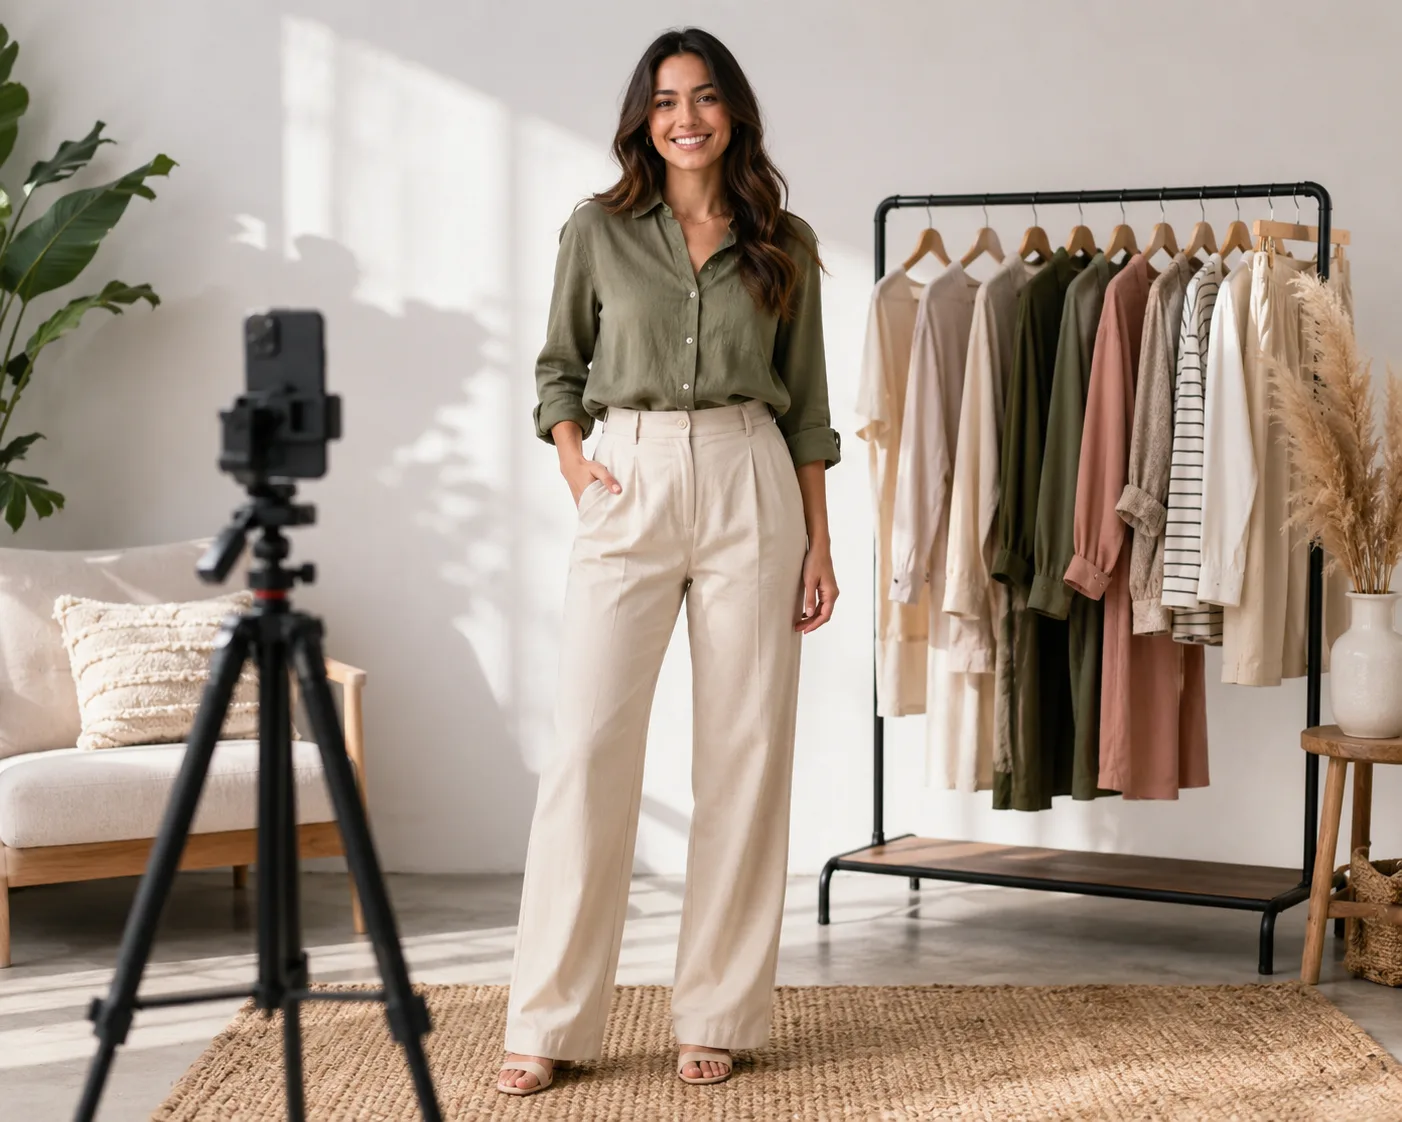
Good AI outfit edits start before you open the editor. If the source photo has clear clothing edges, even light, and enough garment detail, an AI clothes changer can keep the person stable while changing only the outfit. If the source is blurry or cropped, the edit has to guess.
Last updated: July 6, 2026 - about 7 min read
This guide is for anyone doing clothing product photography, resale photos, creator outfit tests, or AI wardrobe edits from a phone. The goal is not a perfect studio shoot. It is a clean image that gives the model enough information to preserve the body, face, fabric, and pose.
Start with the photo the AI has to understand
When people search for how to photograph clothes for sale, they usually want sharper listings, cleaner colors, and fewer returns. The same rules help AI outfit edits because the tool needs to separate person, garment, pose, and background.
Use this setup first:
- Put the full outfit in frame. Do not crop sleeves, shoes, hems, or collars if those details matter.
- Use soft front light. A window, shaded outdoor wall, or softbox beats harsh overhead light.
- Keep the background simple. Plain walls, clean floors, and uncluttered rooms make clothing edges easier to read.
- Stand still for one clean frame. Motion blur makes fabric texture and body edges mushy.
- Keep hands away from the garment. Hands crossing the torso are one of the fastest ways to create warped sleeves or broken buttons.
The best lighting for clothing product photography
Lighting does two jobs: it shows fabric, and it tells the AI where shadows belong. If the light is inconsistent, the generated outfit may look pasted on even when the cut is right.
For most clothing product photography, use one of these:
| Setup | Why it works | Watch out for |
|---|---|---|
| Window light from the front or side | Soft shadows, natural color, low cost | Strong sun can blow out white fabric |
| Outdoor open shade | Even light across the body | Green walls or trees can tint clothes |
| One large softbox | Repeatable ecommerce look | Keep it high enough to avoid flat faces |
| Bright indoor room | Fine for quick tests | Mixed bulbs can shift color |
Avoid flash-on-phone mirror shots when accuracy matters. They flatten fabric and create small bright spots that can survive into the edit.
Pose so the garment is easy to replace
The easiest photo for an AI outfit edit is boring in the best way: front-facing, relaxed, and readable.
Good poses:
- Arms slightly away from the body
- Shoulders square to the camera
- Legs uncrossed when pants or dresses matter
- Hair pulled away from collars
- No bag straps, headphones, or hands covering the clothing
Risky poses:
- Arms folded across the chest
- Hands in pockets
- Sitting with fabric bunched
- Extreme side angles
- Cropped mirror selfies
If you need a lifestyle pose, shoot one clean reference first, then shoot the styled pose. Use the clean photo for the outfit edit and the lifestyle pose for comparison.
Flat lay, hanger, or model photo?
Each format solves a different problem.
| Photo type | Best for | AI outfit edit risk |
|---|---|---|
| Model photo | Seeing fit, drape, and realistic body placement | Needs clear pose and full outfit |
| Flat lay | Showing garment details for resale | Not ideal for putting clothes on a person |
| Hanger photo | Quick closet and marketplace shots | Can distort shoulders or sleeves |
| Product cutout | Ecommerce catalogs | Needs separate model or generated model workflow |
If your end goal is a realistic swap on a person, use a model photo. If your goal is catalog production, see our guide to AI clothing models for ecommerce.
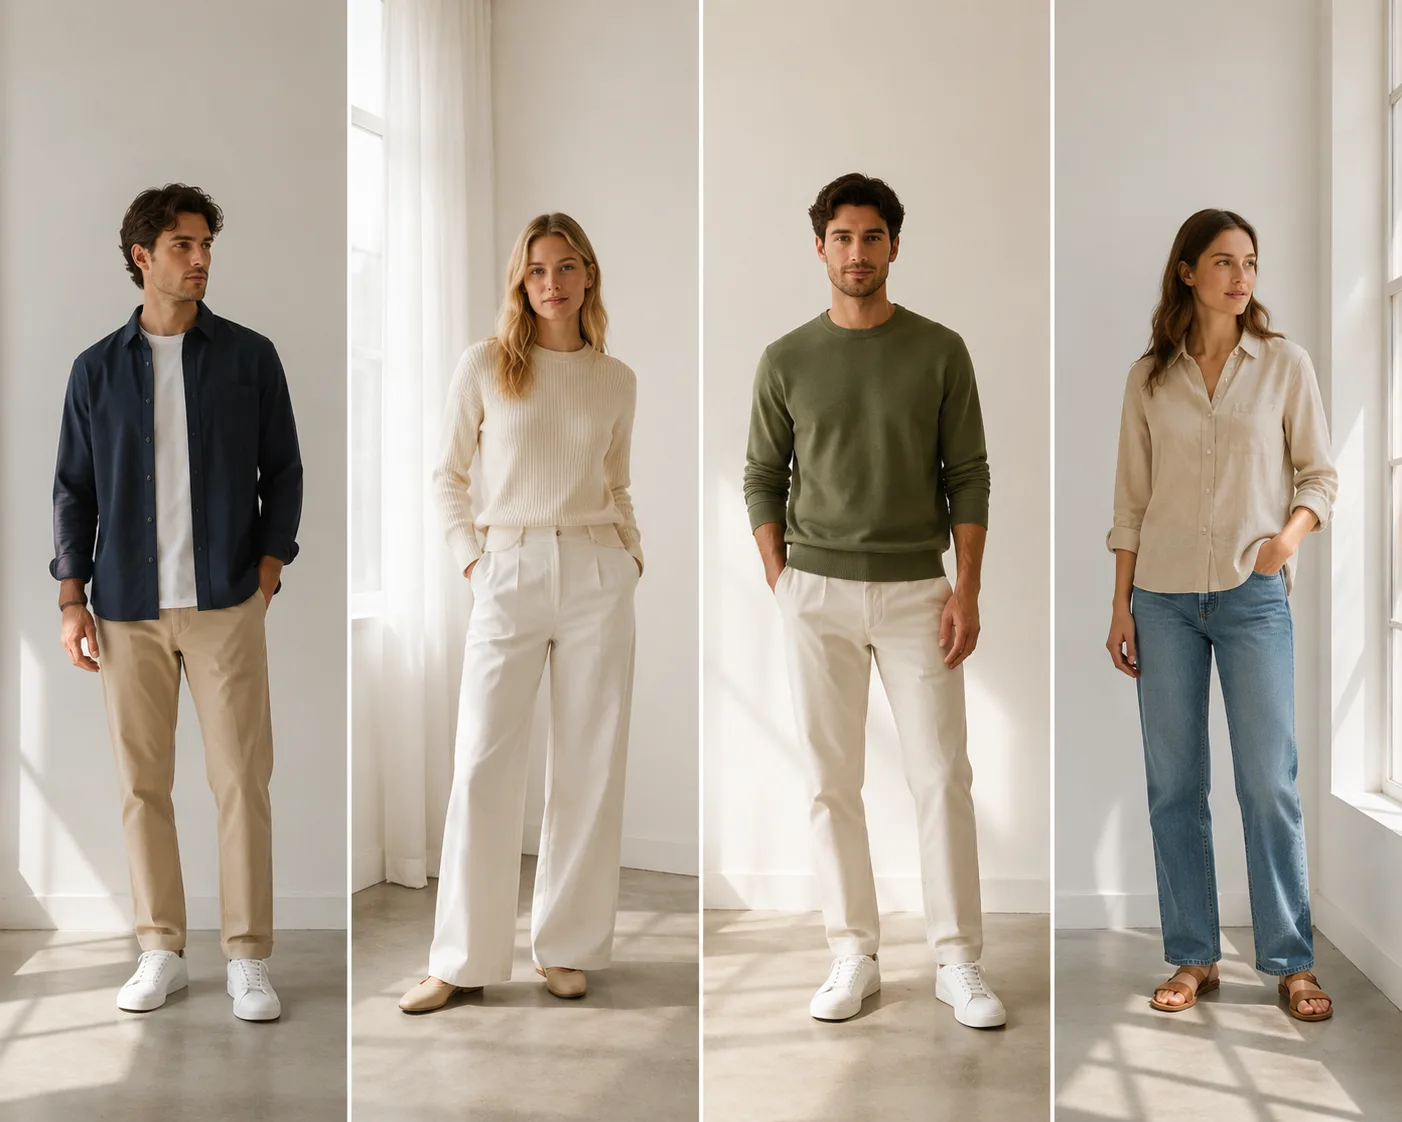
The best inputs are not fancy. They are sharp, complete, and easy to read.
A quick retake checklist
Before you upload the photo, zoom in and check these points:
- Can you see the neckline, sleeve ends, waist, and hem?
- Is the face sharp enough that it should stay stable?
- Are any hands, bags, or props covering the outfit?
- Is the background clearly separate from the clothing?
- Are white or black garments still showing texture?
- Is the image large enough after cropping?
If two or more answers are no, retake it. A 30-second retake usually beats five regeneration attempts.
How this improves AI clothes changer results
An AI clothes changer performs best when the instruction is narrow: keep the person, change the outfit. A clean photo makes that separation easier.
The source photo controls:
- Identity stability. Sharp faces and simple poses reduce face drift.
- Body shape. Visible shoulders, waist, and limbs help the replacement outfit fit the same person.
- Fabric realism. Clean light gives the model cues for folds, shadows, and texture.
- Color accuracy. Neutral lighting avoids strange tinting in the new clothes.
For more input rules, read best photo for AI clothes changer. If you already have a usable photo and want the editing steps, go to how to change clothes in a photo with AI.
Prompt after the photo is fixed
Once the photo is clean, describe the clothing, not the person.
Strong prompt:
Replace the black t-shirt with a cream linen button-down shirt, relaxed fit, sleeves rolled to the forearm. Keep the same face, pose, body shape, lighting, and background.
Weak prompt:
Make this look better and more stylish.
Name fabric, color, fit, and garment type. Then explicitly protect the face, pose, and lighting. That one sentence prevents most over-editing.
Frequently asked questions
What is the best way to photograph clothes for sale?
Use even light, a clean background, and full garment visibility. Show the front, back, close-up details, and any flaws. If you also plan to use AI outfit edits, take one model photo where the full outfit is visible and hands do not cover the garment.
Do I need a studio for clothing product photography?
No. A phone, window light, and plain wall are enough for many resale and AI outfit edit workflows. A tripod helps because it removes blur and keeps framing consistent.
Should I use a model or flat lay for AI clothes changes?
Use a model photo if the final result needs to show clothing on a person. Flat lays are useful for product detail, but they do not give the AI the body, pose, or drape information needed for a realistic outfit replacement.
Why do AI outfit edits look fake even with a good prompt?
Usually the photo is doing less work than the prompt. Cropped sleeves, harsh shadows, blurry fabric, and covered waistlines force the AI to invent detail. Retake the photo with clearer clothing edges before rewriting the prompt.
Can I use these photos for ecommerce?
Yes, if you own the source photos and have the rights to the garments and model images. For catalog workflows, combine clean source photography with an AI clothes changer or a dedicated ecommerce model workflow.
Related guides
- Try the AI clothes changer -> - upload a clean photo and test outfit edits in your browser.
- Best photo for AI clothes changer
- How to change clothes in a photo with AI
- AI clothing models for ecommerce
- AI dress-up vs AI clothes changer
Use the cleanest photo first
Before you fight the prompt, fix the input. Take one sharp, front-facing photo with clear garment edges, then open the AI clothes changer and ask for one specific outfit change.