
LightX AI Clothes Changer: What to Check Before You Upload
LightX's AI Clothes Changer uses a photo, preset styles, or a text prompt. Use this checklist to test its current workflow responsibly.
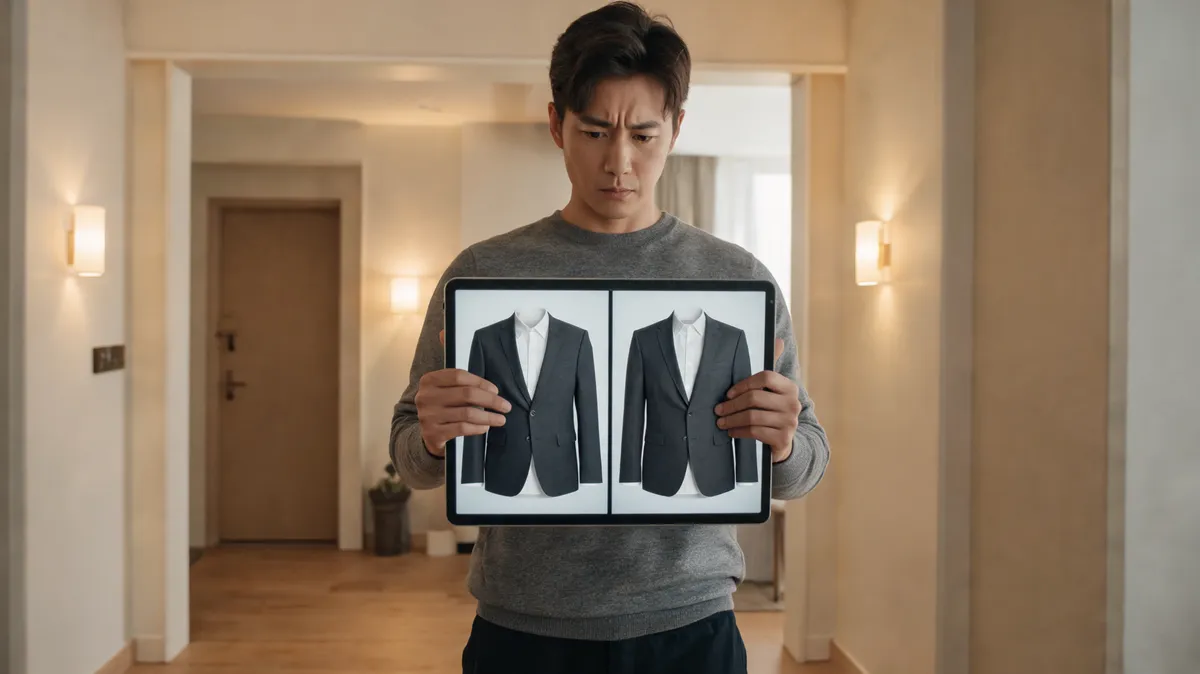
LightX AI Clothes Changer currently works from one clear photo plus either a supplied outfit style or a custom text prompt: upload, choose or describe the look, generate, and download. Treat the result as a visual styling preview, not evidence of exact fit or a real garment's construction. A controlled second pass in an AI clothes changer can help you compare the same authorized input.
Last updated: September 24, 2026 · about 8 min read
This companion has a different job from our older photo editor vs. clothes changer guide. That July article compares the broader decision between manual editing and a dedicated AI workflow. This page serves the narrower branded evaluation intent: what LightX's current workflow asks for, what to inspect after generation, and what terms to check before you upload.
We reviewed LightX's public AI Clothes Changer page and Terms of Use on September 24, 2026. The product page describes a clear photo upload, preset outfit selection or a custom prompt, generation, and download. Interfaces, free allowances, and policies can change, so confirm the live controls before work that matters.
What does LightX AI Clothes Changer currently offer?
LightX frames the tool as a photo-based outfit generator. Its current page asks for a clear, in-focus image, then offers preset styles and a custom-prompt route. That gives you two distinct ways to begin:
| Starting point | LightX option to test | What it can help answer | What it cannot establish |
|---|---|---|---|
| You want a quick style direction | Choose one supplied outfit style | Whether the general silhouette or level of formality suits the photo | Whether a real product will fit or be available |
| You know the desired look | Write a concrete custom prompt | Whether the requested color, garment type, and styling direction are visually plausible | Exact fabric, labels, construction, and measurements |
| You want a fair tool comparison | Repeat the same source photo and literal request elsewhere | Which workflow preserves the details you need | A universal quality ranking from one result |
The page also mentions a separate virtual outfit try-on tool. That distinction is useful: a preset or text-generated outfit is an idea-generation workflow, while a specific-garment preview needs its own evidence and review.
Do not interpret “realistic” marketing language as a guarantee. A result is only as useful as the specific details it keeps stable when you inspect it at full size.
Set up a controlled LightX test
Make the first generation easy to diagnose. The goal is not to produce the most dramatic image; it is to find out whether a simple, authorized source and a narrow request survive the workflow.
- Choose a clear adult portrait. Use an in-focus, evenly lit photo with a visible face, shoulders, torso, and garment outline. Avoid a subject whose hair, hands, bag, or furniture hides the target area.
- Choose one route. Start with one preset or one custom prompt. Mixing a preset with an unrelated style request makes it harder to tell why a result changed.
- Write a concrete prompt when using text. Name the garment, color family, and one construction cue: “a fully buttoned charcoal wool blazer with a white crew-neck shirt.” Also name what should remain stable: face, hair, hands, pose, background, and lighting.
- Keep the source beside the result. Compare at full size before changing anything. Label the first failure—identity, garment shape, hands, edge blending, or light—then change just one variable on the next run.
If you only need a shade change, use a clothes color changer rather than rewriting the whole outfit. If you have a particular product image to preview, start with virtual try-on instead of treating a text-generated look as proof of the garment.
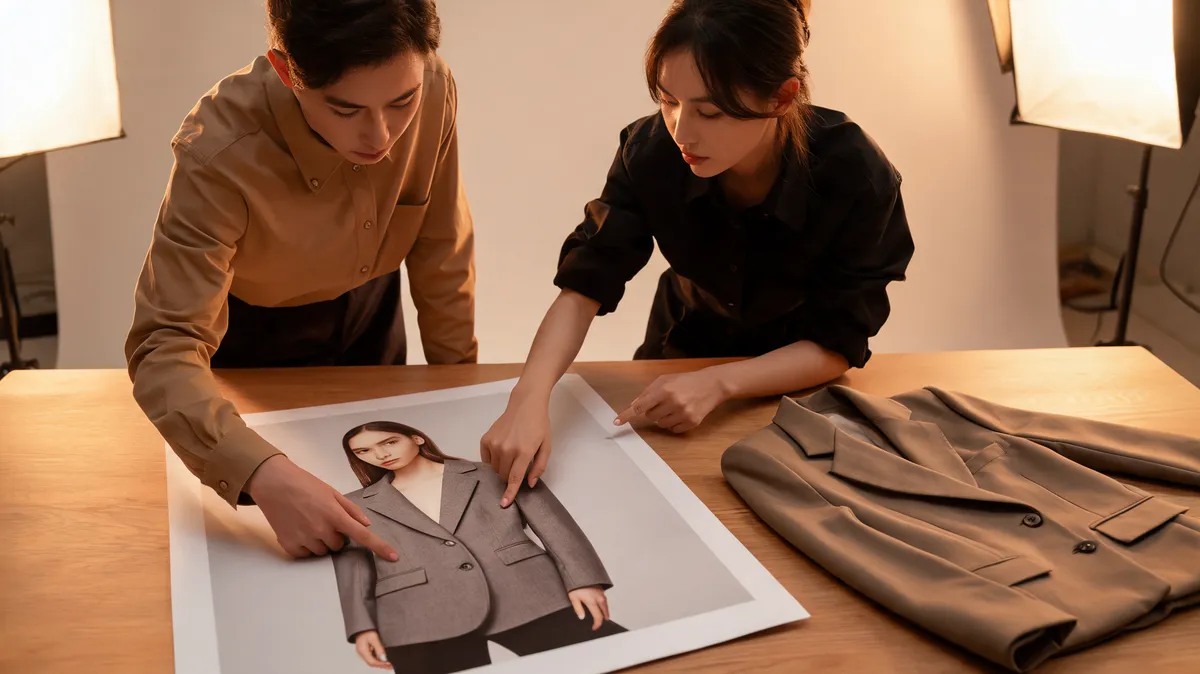
Conceptual editorial review visual, not a claimed LightX output. Use the same review order for any generated outfit preview.
Inspect the output in this order
1. Person and pose
Start with the face, hairline, expression, and body outline. A change to identity, skin tone, or pose means the image no longer answers a clean outfit question. Crop less aggressively or use a simpler source before adding more prompt detail.
2. Garment geometry
Check the neckline, shoulders, lapels, sleeve openings, waist, and hem. A credible-looking garment follows the body and the original pose. Look at buttons, plaid, stripes, fine texture, and small lettering closely; those details often need manual verification or a different production method.
3. Hands, hair, and accessories
The tricky areas are intersections: fingers at cuffs, hair over a collar, a strap across a shoulder, or jewelry near a neckline. A beautiful center of frame does not compensate for a merged hand or a missing accessory at the edge.
4. Lighting and background
Check shadows below the chin, collar, arms, and hem. Then look beyond the clothes. If the background or nearby object changes, record it as part of the generation outcome—not as something to ignore because the outfit looks good.
For a repair-oriented checklist, see why AI clothes swaps look fake. It is more useful to name a failure category than to keep adding adjectives to a prompt.
A verified LightX workflow video
LightX's official channel published the tutorial below. The supplied DataForSEO video-info verification confirmed it as embeddable and directly relevant to “LightX AI clothes changer,” with 490 views when checked on September 24, 2026. It demonstrates a provider workflow, not an independent quality benchmark, so use the inspection checklist above for your own source image.
When a focused alternative makes more sense
LightX makes sense when its presets or wider photo-editing environment match your goal. A focused alternative can be easier to assess when the brief is one person, one outfit direction, and one review standard. Neither outcome is a blanket verdict on the product; the better workflow is the one that produces more usable results for the constraints you actually have.
Use the same source image and preserve the same controls when comparing. Do not give one tool a detailed prompt and another a vague phrase. If face preservation is the priority, note that before you generate. If a specific garment reference matters more, say that too. The test can only answer the question you hold steady.
An AI outfit generator is useful when you have only an occasion or styling idea. For direct person-and-garment comparison, a focused AI clothes swap is the cleaner alternative workflow.
Privacy, consent, and commercial-use checks
Upload only adult photos that you have permission to edit. Keep generated images out of deceptive product listings, identity claims, or body-altering claims. A virtual image can help someone choose a styling direction; it cannot substitute for product photography or a real fit check.
LightX's Terms of Use links to its web and app privacy policies and says the agreement covers the website, app, and service. Before a client, retail, campaign, or other commercial use, read the current policy for the exact route and plan you will use. Specifically verify retention and deletion, training or sharing terms, watermarks, output rights, paid-plan limits, and account deletion.
AIClothSwap's Content Policy makes the same boundaries explicit: use authorized source material, preserve consent, and review every generated result before it is shared.
Frequently asked questions
How does LightX AI Clothes Changer work?
LightX's current AI Clothes Changer page describes uploading a clear photo, choosing a supplied outfit or writing a custom prompt, generating the image, and downloading the result. Check the live page for current options and account rules.
Can LightX AI Clothes Changer show exact fit?
No. It can help compare a styling direction in a photo, but it cannot measure a person or garment, guarantee size, prove fabric behavior, or confirm a retailer's product details. Use a size chart and the actual product for those decisions.
What makes a good LightX clothes-changer source photo?
Use an authorized adult photo that is clear and in focus, with the face and clothing edges visible. Keep hands, hair, bags, and other objects from covering the intended clothing area where possible.
Related guides
- Try the free AI clothes changer →
- Compare a garment with virtual try-on
- Generate outfit ideas from your photo
- Change clothing color without replacing the garment
- Choose a stronger source photo
- See how to change clothes in a photo with AI
Decide from the details you can verify
LightX offers a current photo, preset, and prompt route for exploring an outfit. Keep the request narrow, inspect the person and garment at full size, and check the current terms before consequential use. Then run the same authorized input through the AI clothes changer if you need a second workflow and keep the result that supports your actual decision.