
How to Change Clothes Color in Picsart: A Careful Guide
Learn how to change clothes color in Picsart with a focused selection, a realistic color adjustment, and a practical check for fabric, edges, and skin.
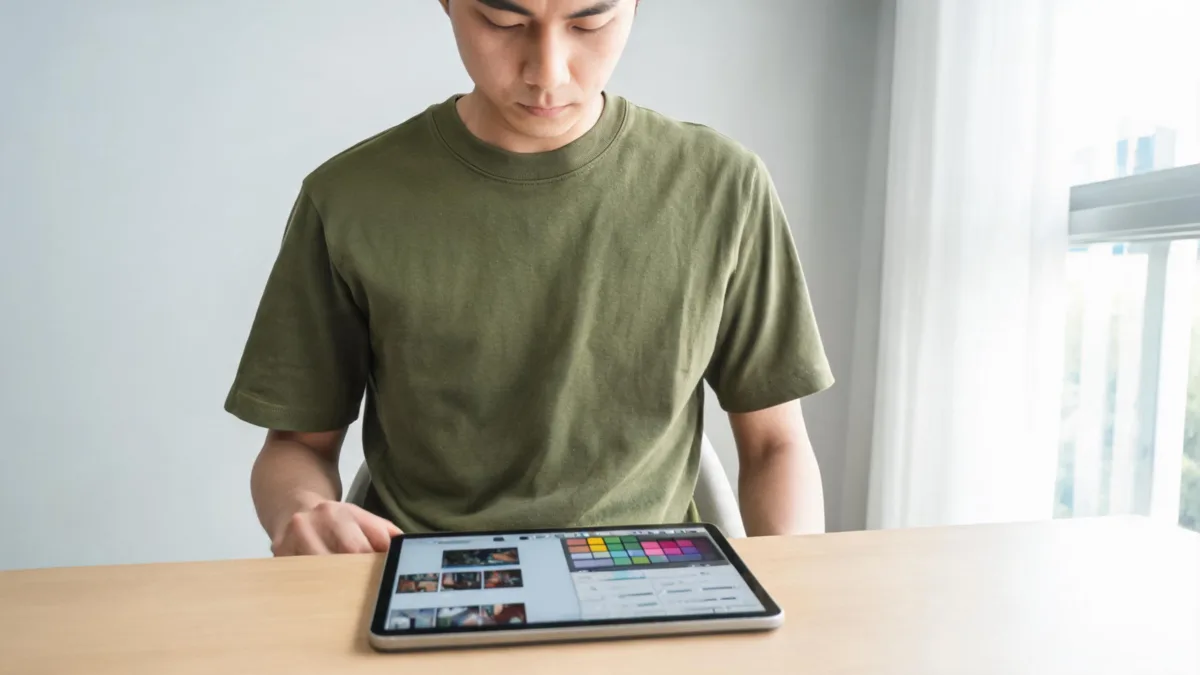
To change clothes color in Picsart, isolate the garment as carefully as you can, make one color adjustment at a time, then check the collar, sleeves, skin edges, and shadows before exporting. It is a sensible route for a small manual edit. If the goal is simply to compare a shirt color on the same photo, a garment-focused AI clothes color changer can be a faster preview—but neither method confirms a real garment’s fit or exact retail color.
Last updated: August 30, 2026 · about 7 min read
Start with the right Picsart method
The phrase “change clothes color in Picsart” can mean two different jobs. An adjustment such as HSL is useful when the shirt is a clear color and that color does not appear elsewhere. A selection-plus-AI edit is better when you need to confine the change to one garment.
Picsart’s current HSL guide says you can choose a represented color and adjust its hue, saturation, and lightness. Its AI Edit tutorial describes selecting an area and using a specific instruction. The labels and locations in an app can change, so use those pages as the current product reference rather than relying on an old screenshot.
| Your photo and goal | Start with | Main risk |
|---|---|---|
| Plain shirt, uncluttered background, small hue change | HSL or a color adjustment | Similar colors in the wall, jewelry, or skin can move too |
| One jacket or shirt needs a new color | A careful selection and AI Edit | A loose selection can change hair, hands, or the background |
| You want several outfit-color ideas quickly | AI clothes color changer | Treat every result as a preview, not an exact product claim |
| The image is for an ecommerce listing | A controlled edit plus human review | A generated shade can mislead shoppers about the real product |
Do not start by changing the whole image. The narrower the garment boundary and the more specific the color request, the easier it is to spot whether the edit remains believable.
Change clothes color in Picsart in five steps
- Choose a usable original. Start with the highest-resolution image you have. The garment should have visible edges and some natural light on it. A dark shirt against a dark wall, crossed arms, or hair over the collar makes any edit harder.
- Decide whether HSL is precise enough. In Picsart, open the photo and use its color-adjustment controls if the garment has a distinct source color. Move hue, saturation, and lightness in small increments instead of pushing all three controls at once.
- Select the garment when colors overlap. If the background or another object has the same color as the shirt, use the selection or AI-edit route instead. Include the visible shirt area but avoid skin, hair, hands, and the surrounding wall. Picsart’s current AI Edit instructions recommend choosing an area first and describing a specific change.
- Write a small instruction. For an AI-assisted edit, ask for one color and preserve the rest: “Change only the cotton shirt to muted navy. Keep the collar, sleeves, seams, face, hands, lighting, and background unchanged.” Do not combine a recolor with a new outfit, a face retouch, and a background replacement.
- Compare before and after at full size. Toggle or place the original beside the edit. A good recolor keeps the garment’s cut, wrinkles, shadows, and visible texture. If one edge is wrong, undo and narrow the selection rather than trying to repair several problems in one pass.
For a larger outfit replacement, use a virtual try-on workflow instead of forcing a color tool to invent a new garment. For a manual baseline, the older AI color changer versus Photoshop comparison explains why pixel-level cleanup still matters for difficult boundaries.
What to check before you export
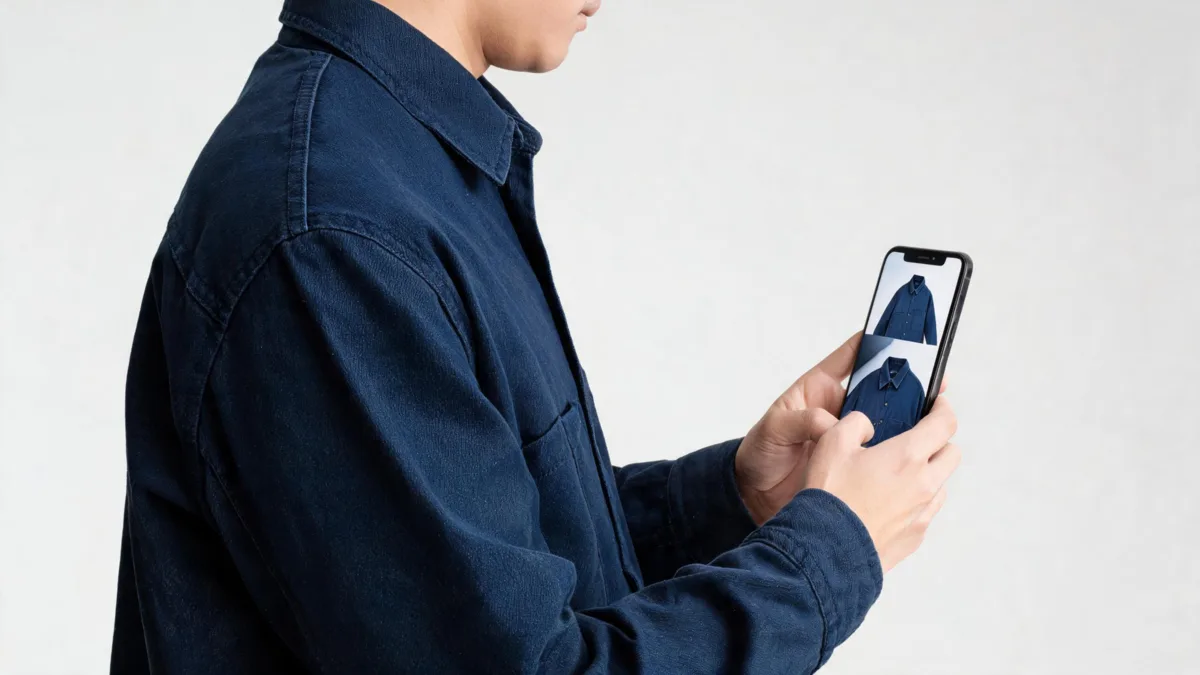
A useful review focuses on garment boundaries and fabric detail, not just whether the new color looks appealing in a thumbnail.
Use this quick pass at 100% zoom:
- Collar and neckline: The color should stop at the fabric edge, not tint skin, hair, necklaces, or a beard.
- Sleeves and hands: Check where a cuff meets a wrist and where fingers overlap the shirt. These are common places for a selection to slip.
- Seams, buttons, and folds: The new color should still have the original light and dark information. A perfectly flat area can make fabric look painted on.
- Background and accessories: Scan for a wall, bag, logo, or chair that changed because it shared the shirt’s original hue.
- Real-world claims: Do not describe the edited image as an exact color, fabric, or available SKU unless a real source supports that claim.
If a change looks good only at phone size, it is not ready for a profile image, store page, or campaign. This is especially important for product photography: a color mockup can support a planning decision, but it should not replace a verified sample or a truthful listing photo.
When an AI color preview is the simpler choice
Manual editing is a good fit when you already know your way around selections and want control over one small area. It becomes slow when you are comparing multiple color directions on the same outfit or cleaning several complicated edges.
An AI clothes color changer is useful as a bounded preview workflow: upload a clear image, name one garment and one color, and review the result against the original. Keep the request narrow. “Change only the linen overshirt to soft olive; preserve the face, hands, seams, shadows, and background” is easier to assess than “make this outfit better.”
Neither workflow measures a body or a garment. Use retailer size charts, product photos, material information, and return terms for a buying decision. If you are preparing a product image, document the original photo and have a person check each published variant. Our clothing color-variant QA checklist is built for that handoff.
Limitations and disclosure
This guide was reviewed on August 30, 2026 against Picsart’s public HSL and AI Edit guidance. It describes a practical photo-editing workflow, not a guarantee about a particular version, subscription, result, or interface. Color appearance also varies by display, lighting, compression, and the original image. Use only images you own or are allowed to edit, and disclose synthetic or significantly edited product imagery where the marketplace or audience requires it.
Frequently asked questions
Can I change clothes color in Picsart without changing the background?
Sometimes. A careful selection or a color adjustment can limit a change to a garment, but similar colors in the background, skin, or accessories can also shift. Zoom in and correct the result before saving.
Is Picsart or an AI clothes color changer better for recoloring a shirt?
Picsart is useful when you want to manually control a small selection or color adjustment. An AI clothes color changer is useful when you want a narrow garment-only preview quickly. Either result needs an edge, texture, and color review.
Can a color edit show the exact color of a shirt I will buy?
No. A photo edit can help compare a color direction, but it cannot prove a retailer's dye lot, screen color, fabric finish, size, or fit. Check the seller's product information before buying.
Related guides
- Try the free AI clothes changer →
- How to change clothes in a photo with AI
- How to recolor clothes without losing fabric texture
- Clothing product photography: keep colors consistent
Keep the edit small and inspectable
Use Picsart when hands-on control helps, and use an AI recolor when you need a fast, garment-only comparison. In either case, one careful change and a real review are more useful than a dramatic edit you cannot verify.