
EaseMate AI Clothes Changer: What to Check Before You Upload
Evaluate EaseMate AI clothes changer with a controlled upload, a clear clothing decision, and practical checks for identity, garment edges, light, and terms.
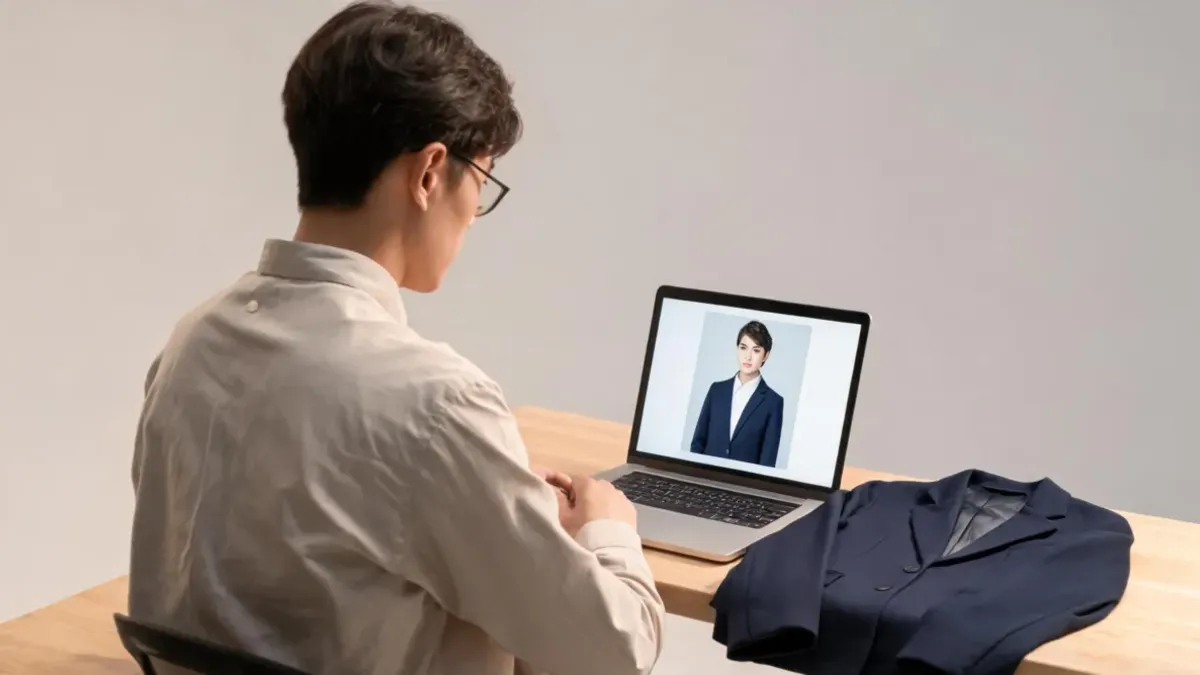
Before you upload to EaseMate AI clothes changer, decide what one outfit question the image should answer, use only an authorized fully clothed photo, and plan to inspect the result beyond its thumbnail. EaseMate’s public tool currently offers a portrait upload, clothing choices or a custom clothing image, and a generate-and-download workflow; treat the output as a styling preview, not proof of fit, ownership, or a real photograph.
Last updated: September 16, 2026 · about 7 min read
The useful way to evaluate a branded clothes changer is not to declare it a winner from its marketing copy. It is to run one controlled test, check what changed, and decide whether the workflow supplies the evidence you need. The EaseMate AI clothes changer page is the primary source for its current public interface and access claims; those details can change, so check the live page before relying on a limit, credit, or download term.
What EaseMate’s public workflow currently shows
At the time of this review, EaseMate’s page presents a portrait-photo upload and clothing choices, with a custom option for uploading a clothing image. It also shows a text-led image-to-image mode, output aspect-ratio choices, and a Generate action. The page lists JPG, JPEG, PNG, and WEBP uploads up to 20 MB in the visible interface.
That means EaseMate can be a plausible first test when your question is broad: “Would a blazer direction work for this portrait?” It is less useful if you need a guarantee about a particular item’s size, availability, real fabric, or retail listing. A generated preview cannot establish those facts.
| Your actual decision | A sensible workflow | What the image cannot settle |
|---|---|---|
| Compare a casual shirt with a blazer | One portrait, one clothing change at a time | Whether either item fits in real life |
| See a particular garment direction | Use a clear custom garment image, if available | Whether the item is in stock or identical to the output |
| Check a product-photo color idea | Change color while preserving fabric and light | Whether a catalog image is accurate enough to publish |
| Choose an event outfit concept | Test a small number of fully clothed directions | Comfort, measurements, venue light, or purchase rights |
Availability, free credits, sign-in requirements, output rights, and upload handling are product terms—not assumptions. Review EaseMate’s live pages and policies before you upload a sensitive image or use an output in a commercial context.
Run one controlled EaseMate test
- Prepare an authorized portrait. Use a clear, fully clothed image in which the face, shoulders, and clothing area are visible. Avoid severe shadows, blocked arms, and a pose that hides the garment boundary.
- Choose one clothing decision. Pick one preset direction or one clear custom garment image. Keep the request narrow: “replace the T-shirt with a navy button-down” is testable; “make everything more stylish” is not.
- Generate, then inspect at normal size. Do not decide from the first thumbnail. Compare the source and output side by side, then keep only the version that changes the clothing without rewriting the person or room.
If you need a separate workflow for a photo you already have, the AI clothes changer offers another starting point for controlled garment changes. For broad style exploration before you settle on one garment, an AI outfit generator can help you name the direction first. Neither route is a fitting room: visual plausibility is not a measurement.
Inspect the parts that often fail
Clothing edits tend to look convincing from a distance and break down at the same small transitions. Look at these areas before you save or share an output:
- Face and identity: A clothes change should not create a different person when identity matters to the task.
- Collar and shoulders: Check where the neckline meets skin, hair, and the original shadow. Uneven lines are a reason to rerun or reject the image.
- Hands and overlap: Fingers, hair, bags, and jewelry crossing the clothing are difficult boundaries. Do not excuse obvious merge errors because the outfit is attractive.
- Fabric and light: Folds, highlights, and shadow direction should belong to the original scene. A crisp jacket in flat light can be less useful than a modest, consistent result.
- Background and proportions: If your brief changes clothing only, reject results that alter the body, pose, or room in ways that influence the decision.
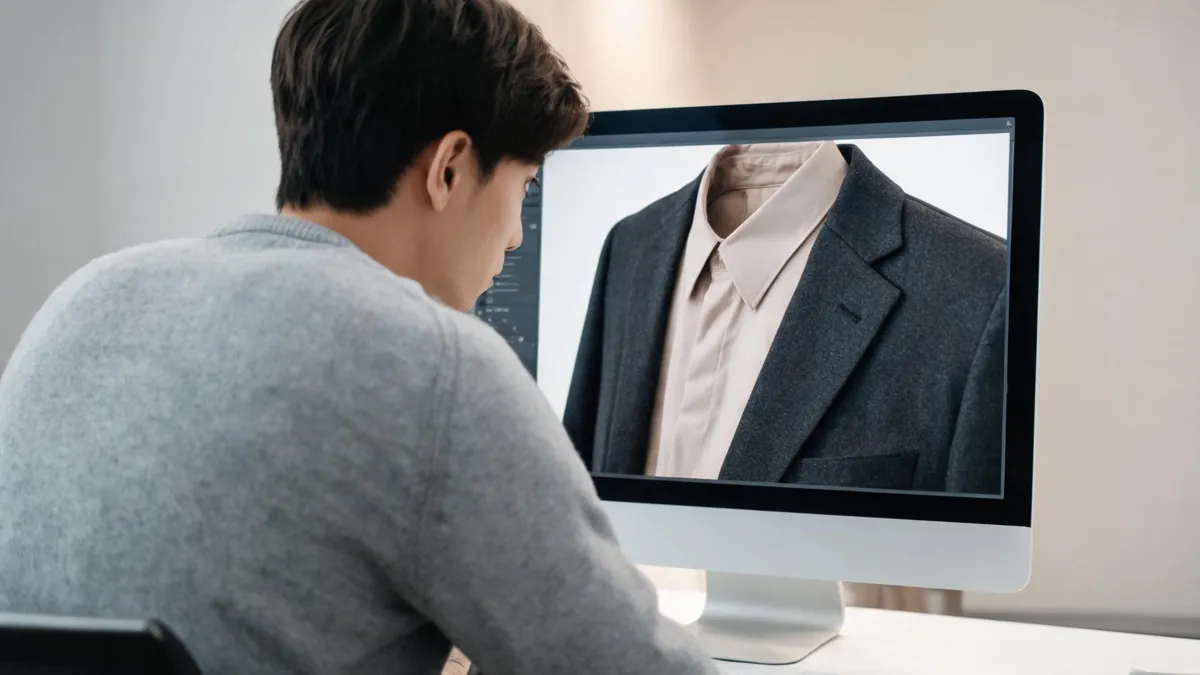
Check the small joins—collar, shoulders, folds, hands, and shadows—before treating an outfit preview as useful evidence.
When a different workflow is a better fit
Choose a process based on the decision, not the vendor label. A general preset can be quick for an outfit direction. A specific jacket, dress, or shirt deserves a controlled garment-reference comparison. A color-only question deserves a focused clothes color changer request so fabric structure stays central.
For example, a creator choosing a shirt for a headshot could make two outputs from one source photo: one navy button-down and one charcoal overshirt. They should keep the pose, crop, and background fixed, then compare whether the collar, shoulder line, and light remain believable. A seller planning a listing needs a higher bar: they must not use a generated result to imply that a product photo is unedited, to promise fit, or to represent a garment they do not have permission to show.
For an honest baseline on the difference between a full outfit exploration and an edit to an existing photo, read AI dress up vs. AI clothes changer. This article takes a different question: how to evaluate EaseMate’s current public workflow before you commit an upload or rely on an output.
Limits and disclosure
This is not a benchmark of EaseMate or a claim that every result performs the same way. It is based on the public tool page checked on September 16, 2026 and a practical review method that applies to outfit images generally. The page’s interface, credits, supported options, and legal terms may change after that date.
Use a preview as a private comparison or art-direction aid unless you have cleared the relevant rights and context. Keep the original file, know who authorized the edit, and disclose a generated or materially altered image when leaving that fact unclear would mislead a buyer, client, or audience. If your decision is about fit, comfort, fabric weight, or stock, verify it with the retailer or the physical garment instead.
Frequently asked questions
What does EaseMate AI clothes changer ask you to upload?
EaseMate’s public clothes changer page currently presents a portrait-photo upload and options to choose a clothing option or use a custom clothing image. It lists JPG, JPEG, PNG, and WEBP inputs up to 20 MB; check the live page for current limits.
Can an AI clothes changer prove that an outfit will fit?
No. An image preview can help compare visual direction, but it cannot establish physical fit, comfort, fabric feel, availability, or how an item will look in every real-world light.
What should I inspect before I use an AI outfit image?
Check identity, garment boundaries, shoulders, hands, fabric folds, light direction, and background consistency. Reject an output that changes the person or scene beyond the clothing decision you meant to test.
Related guides
- Try the free AI clothes changer →
- AI clothes changer review checklist
- How accurate are AI clothes changers?
- How to photograph clothes for AI outfit edits
Use the result as a decision aid
An EaseMate outfit preview is useful when it answers one visual question and survives close inspection. Start a controlled garment comparison in the AI clothes changer, then keep the result in proportion to what an AI image can actually show.