
AI Clothes Changer Review Checklist: 7 Checks to Make
Use this AI clothes changer review checklist to inspect face, hands, garment edges, light, texture, claims, and sharing context before you save or post.
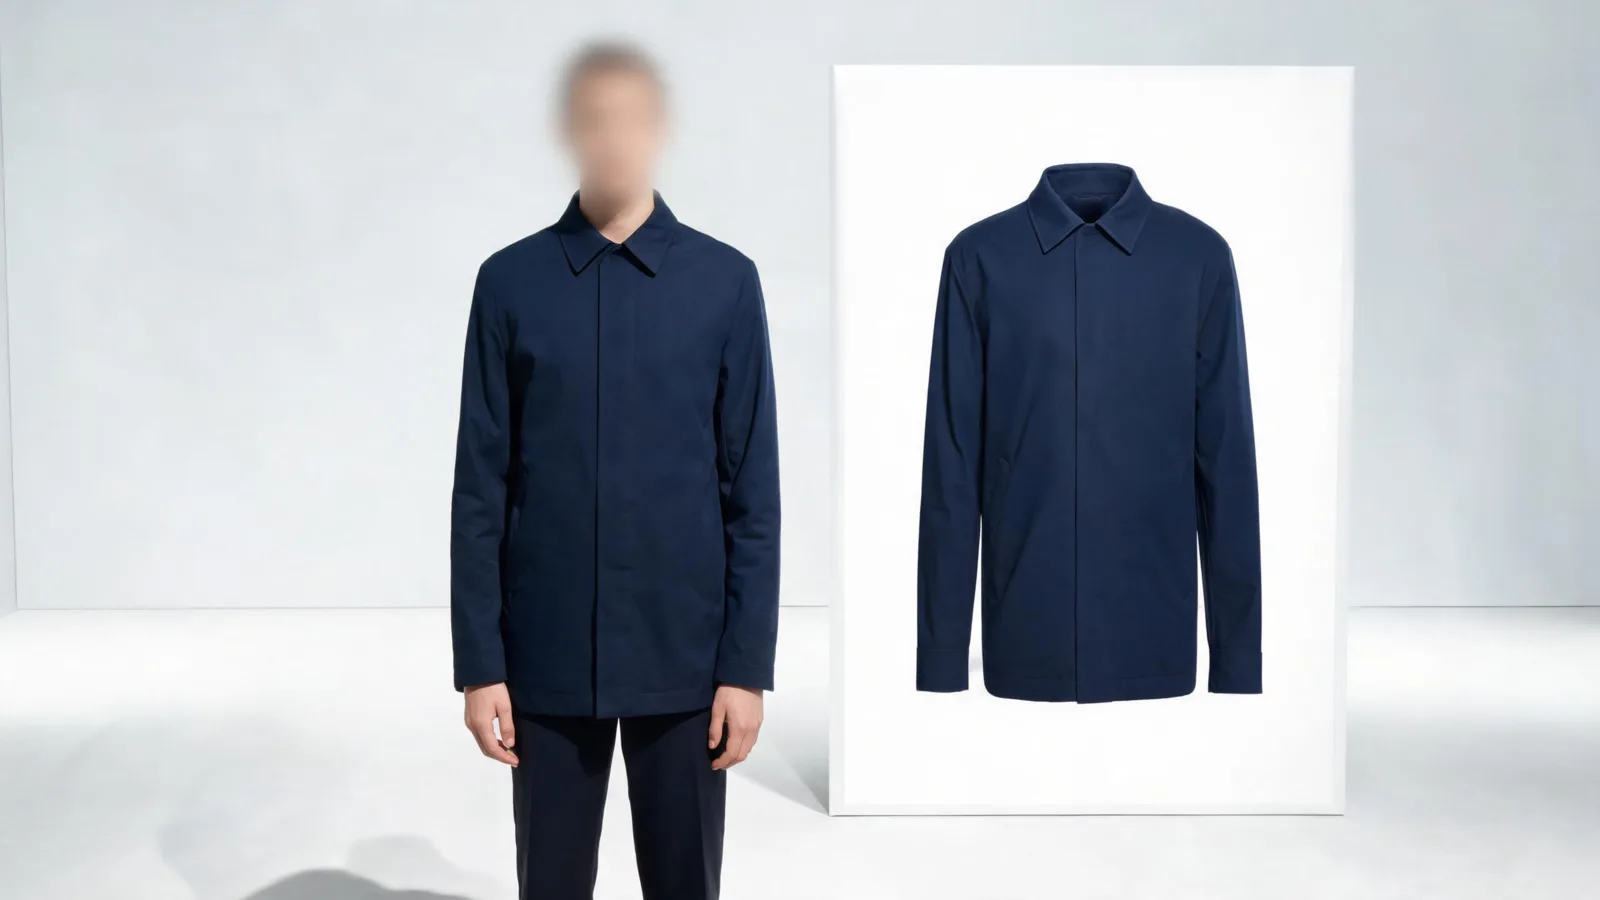
Before you save or share an AI clothes changer result, check seven things: identity, hands and hair, garment edges, texture, lighting, background, and the claim the image could make. A result can be useful for a private outfit comparison while still being unsuitable for a profile, product listing, or public post. Start with a controlled AI clothes changer edit, then review it at more than thumbnail size.
Last updated: September 2, 2026 · about 7 min read
This is not another prompt library. It is the post-generation decision: is this particular output good enough for the next use? The answer depends on what you are doing with it. A slightly simplified cuff may be fine when choosing between two jacket colors. The same flaw is not fine if you are representing a specific garment to a customer.
The seven checks
| Check | Inspect closely | A practical decision |
|---|---|---|
| 1. Identity | Face, expression, hairline, skin tone, and body proportions | Regenerate if the person is no longer recognizable |
| 2. Hands and overlap | Fingers, cuffs, sleeves, hair, bags, and jewelry | Prefer a simpler source pose or change less of the outfit |
| 3. Garment boundary | Collar, shoulders, armholes, waist, hem, buttons, and seams | Reject obvious cut-ins, floating edges, or impossible closures |
| 4. Texture | Folds, knit, denim, shine, print, and transparency | Treat invented texture as an idea, not a product fact |
| 5. Light | Shadow direction, reflections, and contact points | Regenerate if the new clothes belong to different lighting |
| 6. Scene | Background lines, objects behind the person, and crop | Keep the original scene stable for a fair outfit comparison |
| 7. Claim | What a viewer could reasonably infer from the image | Limit the image to a private preview unless facts are verified |
The checklist is deliberately conservative. It prevents the common mistake of accepting an image because the outfit is attractive while overlooking that the face changed, a hand disappeared, or the image now implies a garment detail that was never supplied.
A fast review pass
- Look at the whole image first. Did the result preserve the person, pose, crop, and setting? If the edit changed all four, you are looking at a new image, not a controlled wardrobe comparison.
- Zoom into intersections. Check where fabric meets hair, fingers, necklines, chair edges, belts, and bags. These are the places generated clothing most often looks plausible from a distance but breaks under inspection.
- Compare against the source. Keep the original beside the result. Ask what changed besides the intended garment. If the answer includes face shape, camera angle, body proportions, or background light, the image cannot fairly settle a clothing decision.
- Name the permitted use. “Private color comparison” and “public product image” require different bars. Write the intended use before you decide the output has passed.
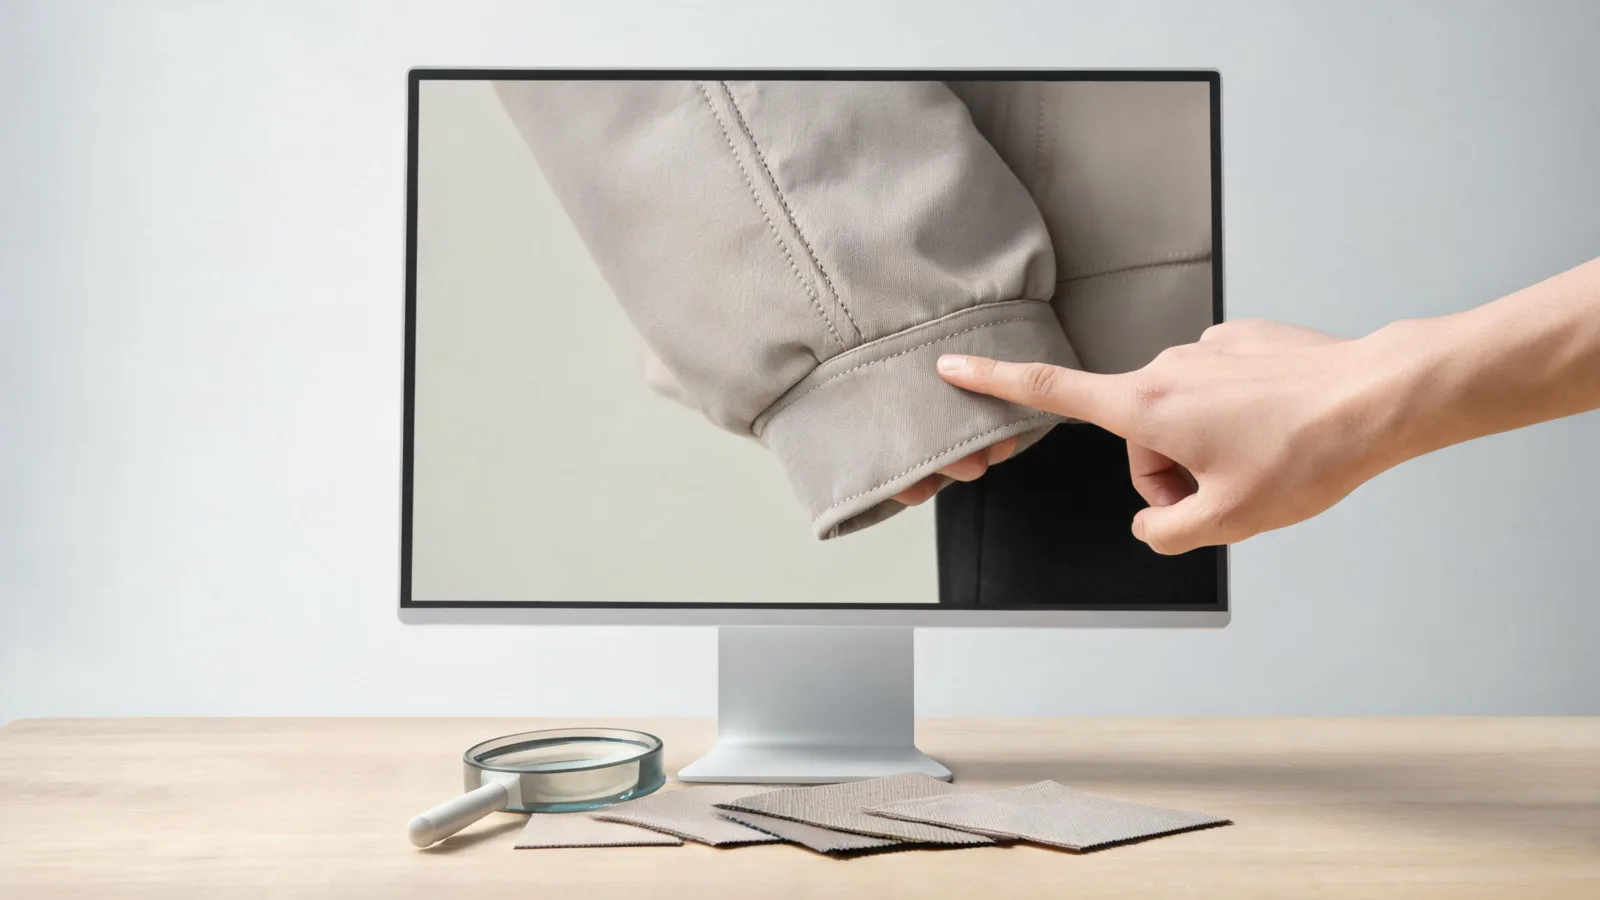
The highest-risk errors often appear where clothes touch hands, hair, furniture, or another layer.
Do not repair a failed result by silently treating it as less specific. If a generated jacket invents a different collar, pocket, or fabric, describe it as an outfit concept—or regenerate it—rather than presenting it as the real item.
Match the quality bar to the use
For personal outfit planning, the first six checks are mostly about whether you can trust the comparison. If the person and setting remain stable, you may learn that cream feels better than charcoal or that a shorter jacket balances the outfit. That is a valid result even if you would not frame the image.
For a headshot, portfolio, or social profile, identity and background preservation become more important. A clean-looking edit that subtly changes your face can be misleading to anyone who expects the photo to represent you. For a product listing, the bar is higher still: customers need accurate details about the real garment, not a convincing approximation. Use the clothing color variant QA checklist when a clothing image could influence a purchase.
Content Credentials can provide provenance information when a compatible tool and publishing workflow apply, but they do not turn a flawed or unverified output into a factual product image. The C2PA specification is a useful reference for what provenance systems are designed to communicate. It is not a substitute for checking the source garment, product copy, and customer-facing claims.
Decide what happens to a passed result
Passing the seven checks does not give every result the same destination. Put each image into one of three buckets. A private comparison is for deciding between outfit directions; it can tolerate modest visual uncertainty if the original and alternatives are kept together. A personal share needs a recognizable person and an honest caption, especially if a friend might mistake the edit for an event photograph. A commercial use needs the strictest review because a customer may infer facts about a real garment.
For a private comparison, save the source photo, the exact prompt or clothing reference, and the two or three outputs that answered the question. That small record keeps you from revisiting a pretty image later and forgetting what it actually tested. For a personal post, say it is an AI outfit preview when that context would change how people understand the image. For commercial work, verify the product separately and use a real product image whenever a detail such as color, logo, fabric, sizing, or availability matters.
This is also the moment to delete weak generations rather than letting them become accidental evidence. A folder full of unlabeled drafts encourages a later editor to pick the flashiest one. Keep the chosen comparison and the original together; remove or clearly mark outputs that changed the person, invented a product detail, or do not have permission for the source image.
Fix the smallest problem first
When a review fails, avoid a total makeover prompt. Keep the same source photo and change only the instruction that relates to the visible error:
- For a face or background drift, ask to preserve face, hair, pose, lighting, and setting; change only one garment.
- For hands under a sleeve, choose a photo where hands do not cross the clothing area, or switch to a simpler sleeve.
- For a painted-looking recolor, state that fabric texture, folds, seams, and shadows must stay unchanged; see how to recolor clothes without losing texture.
- For an invented logo, label, or product detail, do not crop it away and publish. Regenerate with no logos or use a real product photograph.
This controlled approach makes it easier to learn why an output failed. It also gives you two comparable versions instead of replacing the evidence with an entirely new scene.
FAQ
What should I check after using an AI clothes changer?
Review the person's identity, hands, hair and garment edges, fabric texture, light and background, then decide whether the result supports only a private comparison or a higher-stakes use.
Can a realistic AI outfit image be used as a product photo?
Not without a stricter review. A generated image may be useful for an internal concept, but it should not imply unverified fit, color, fabric, branding, stock, or product features to customers.
How can I compare two AI outfit results fairly?
Use the same source photo, change one clothing decision at a time, and reject any version that also changes the face, pose, background, or lighting enough to make the comparison unfair.
Related guides
- Try the free AI clothes changer →
- AI clothes changer prompt examples
- How accurate are AI clothes changers?
- Why AI clothes swaps look fake
Save the evidence, not just the favorite
Keep the original photo and the most useful comparison together. That makes it easier to revisit the real question—color, formality, proportion, or layer—without mistaking a generated image for a verified product fact. Try a controlled outfit preview →.