
AI Try-On Clothes: Run a Three-Photo Test Before You Buy
Use an AI try-on clothes three-photo test before you buy: compare one garment direction across three clear photos, then separate styling evidence from fit facts.
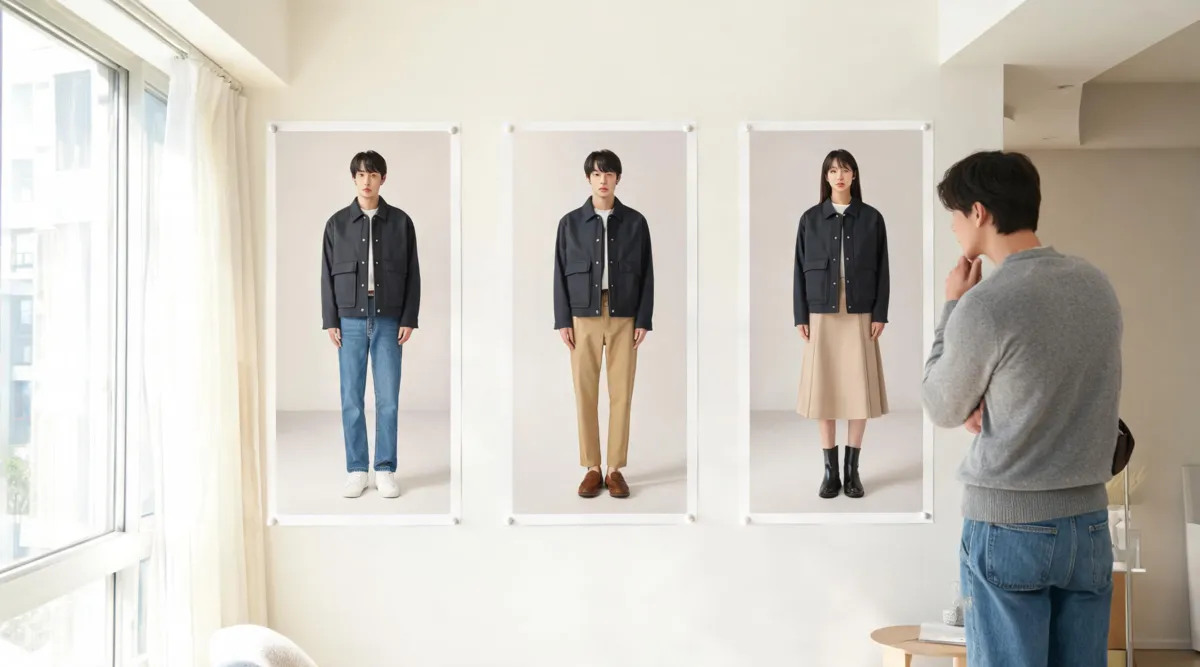
To use AI try-on clothes before you buy, test one garment direction on three clear, authorized photos, keep the request constant, and compare only the decisions a preview can support: broad silhouette, color near the face, and outfit balance. A virtual try-on can make that visual comparison quicker, but it cannot measure you, guarantee a size, or verify a retailer’s fabric, inventory, or return terms.
Last updated: September 29, 2026 · about 8 min read
Most try-on guides stop after one generated image. That is enough for inspiration, but it is weak evidence for a shopping shortlist. This three-photo test asks a more useful question: does the same jacket, dress, shirt, or outfit direction remain believable on the same person when the source photo changes a little? If it does not, keep the real purchase question open rather than letting one flattering image decide it.
This is a companion to AI virtual try-on vs. clothes changer, which explains which workflow label fits your starting inputs. Here the focus is different: use a repeatable pre-purchase test to decide whether a garment direction deserves a closer look.
What a three-photo test can answer
Choose one item or one tightly described outfit direction. It might be a structured black blazer, a mid-blue denim jacket, or a knee-length green dress. Keep that target fixed across three source photos. The result can help you identify a direction worth trying in person or checking against a retailer’s information.
| Question before buying | What the test can help you see | What you still need to verify elsewhere |
|---|---|---|
| Does this silhouette suit my usual proportions? | Broad balance of shoulders, waist, length, and layering in the image | Measurements, tailoring, and physical fit |
| Does this color work near my face? | A rough color and contrast direction in the same scene | Dye lot, screen variation, and daylight color |
| Is this garment direction consistent? | Whether edges, identity, and styling survive three source images | Fabric weight, stretch, lining, and comfort |
| Is it worth putting on my shortlist? | Whether the visual idea is strong enough to investigate | Stock, price, reviews, size chart, and returns |
Treat a three-photo win as a reason to research a real item—not a reason to skip the size chart or describe the preview as a product photograph.
Set up three useful source photos
The three images should show the same adult person but give the model slightly different, workable conditions. They do not need to be studio portraits. The aim is to see whether the garment direction holds up beyond one lucky output.
- Pick a baseline. Use a sharp, well-lit front or three-quarter photo with the full torso visible. Keep the original untouched.
- Add a practical variation. Choose a second photo with a modest change in pose or room, but still clear clothing boundaries. Avoid crossed arms, a large bag over the torso, severe shadows, or a tiny subject.
- Add a decision photo. Use a third image that resembles the setting where you would wear or photograph the item: a daylight portrait, a full-body mirror shot with clean light, or a simple outdoor image. Do not make it so different that the comparison becomes meaningless.
Upload each one with the same garment reference or the same concise prompt. If the reference is a retailer image, keep it separate from the generated result and do not assume that the model reproduced its exact construction. The AI clothes changer is useful when you are comparing a clear outfit direction; if you only need to test a new shade on an existing garment, start with the clothes color changer.
Keep the garment direction constant
Write one literal request, then reuse it. For example: “Place this navy single-breasted blazer over the person’s existing top. Keep the face, hair, body proportions, pose, hands, and background unchanged.” If the reference is a dress, name the visible length, sleeve type, and color rather than adding a mood, a new location, jewelry, and a hairstyle all at once.
Changing several things turns every result into a new experiment. A different face might come from the source image, the clothing reference, or an unnecessary instruction. A different background can make a color look better or worse. Holding the garment direction steady is what makes the three outputs comparable.
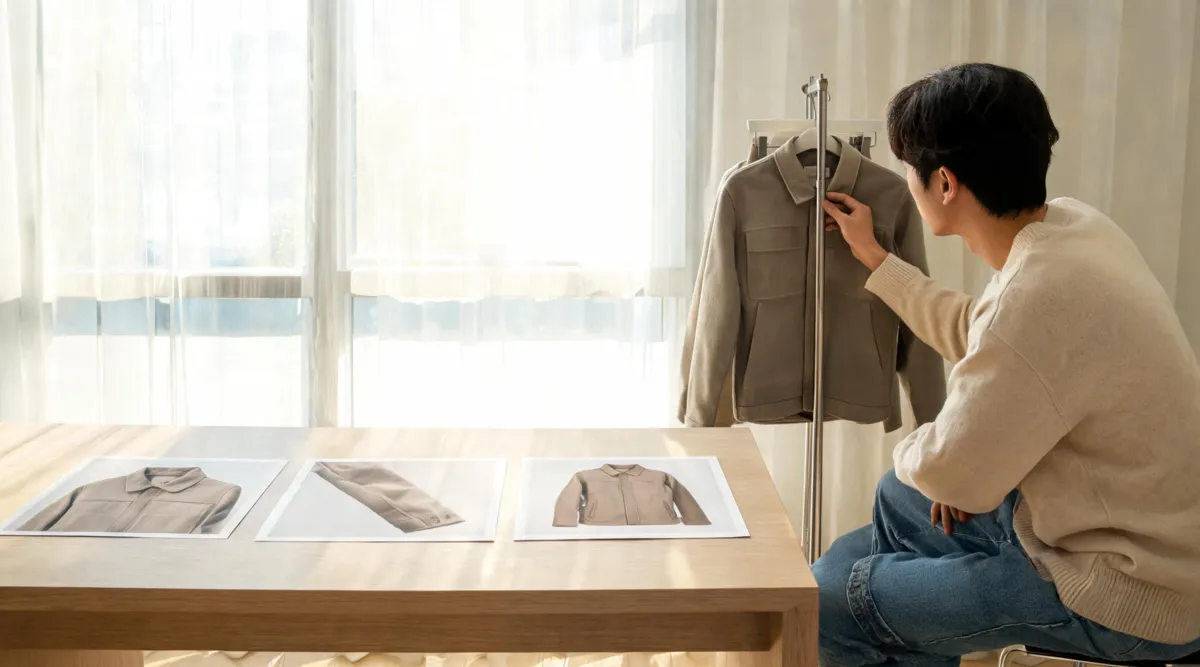
Editorial illustration of a comparison routine. A generated preview can suggest a direction; the real garment remains the source for product facts.
Score the three previews honestly
You do not need a numerical “accuracy” score. Make a simple pass, unsure, or reject decision for each image, then note the reason. Review at full size, not only in a phone-sized collage.
- Person continuity: Does the face, hairline, expression, and general body proportion remain tied to the original photo?
- Garment continuity: Do the collar, sleeves, shoulders, waist, hem, and layers behave like one garment rather than an overlay?
- Boundary continuity: Are hands, hair, bags, skin, and background kept separate from the clothing edge?
- Light and color: Does the new fabric belong to the original light direction, and is the color merely a useful direction rather than an exact promise?
- Decision value: Does the same outfit idea still look appealing in at least two of the three views? If not, it may not deserve a purchase shortlist yet.
When one result fails, label the failure before retrying. “The cuff merges into the hand” is actionable; “it looks weird” is not. Try a clearer source photo or a simpler reference next. If the output still changes the person or invents garment details, stop treating it as a reliable preview.
For a focused fault-finding list, use why AI clothes swaps look fake. If a decision involves a printed garment, the pattern-preservation check shows why tiny motifs, lettering, and dense repeats need stricter review.
Turn the result into a shopping decision
After the three photos, separate the visual conclusion from the purchase conclusion. A result such as “this navy blazer direction is worth trying” is appropriate. “This is my size and will look exactly like this” is not.
Before you buy, open the retailer’s current listing and check the size chart, garment measurements, fabric composition, care information, customer photos where available, stock status, shipping, and return policy. If the garment is expensive or fit-sensitive, compare the chart with an item you already own or try it in person. A virtual preview can reduce the number of directions you explore; it should not replace the evidence attached to the real item.
A verified video that matches this use case
The 8-minute-45-second video “Try-On Clothes Before Buying Using Kling AI 1.6 (Shein, Amazon, Walmart)” is embedded because DataForSEO verified it as directly relevant to the exact search, embeddable, and at 17,896 views on September 29, 2026. It is a third-party walkthrough, not a verification of any retailer listing or of AIClothSwap’s workflow. Use it for the category concept, then apply the three-photo review and real-product checks above.
Limits and responsible use
Use only photos you have permission to edit and keep the subject adult. Do not use a generated try-on to make claims about someone’s body, a retailer’s product, or an item’s availability. For client, seller, or creator work, retain the original input, keep authorization records, and make clear when an image is a concept rather than approved photography.
Three images also do not erase model limitations. A garment can look plausible in a static preview yet behave differently in motion, at another angle, or under a different light. That limitation is why the most valuable output from this workflow is a narrowed shortlist and a better question for the real seller—not a simulated fitting room verdict.
Frequently asked questions
Can AI try-on clothes tell me what size to buy?
No. It can help you compare broad silhouette, color, and styling direction on a photo. Use the retailer’s size chart, garment measurements, fabric details, reviews, and return policy for a purchase decision.
Why use three photos instead of one for an AI clothes preview?
A single result can look convincing by chance. Three suitable source photos let you keep the garment direction constant and see whether identity, garment edges, and overall styling remain credible across different poses or lighting.
What makes a fair AI try-on test photo?
Use authorized adult photos that are sharp, evenly lit, and clear around the torso and target garment area. Avoid heavy filters, major occlusion from hands or bags, motion blur, and a request that changes clothing, pose, hair, and background at once.
Related guides
- Try the free AI clothes changer →
- Use a virtual try-on with a garment reference
- AI virtual try-on vs. clothes changer
- Best photo for an AI clothes changer
- Why AI clothes swaps look fake
Make the shortlist smaller, not the claim bigger
Run the same clothing direction across three clear photos, then let the real garment’s measurements and policies make the final call. Start a controlled outfit preview →.