
PhotoCat AI Clothes Changer: When to Try an Alternative
PhotoCat AI clothes changer: see what it is designed for, what to check in an outfit preview, and when a garment-reference alternative fits better.
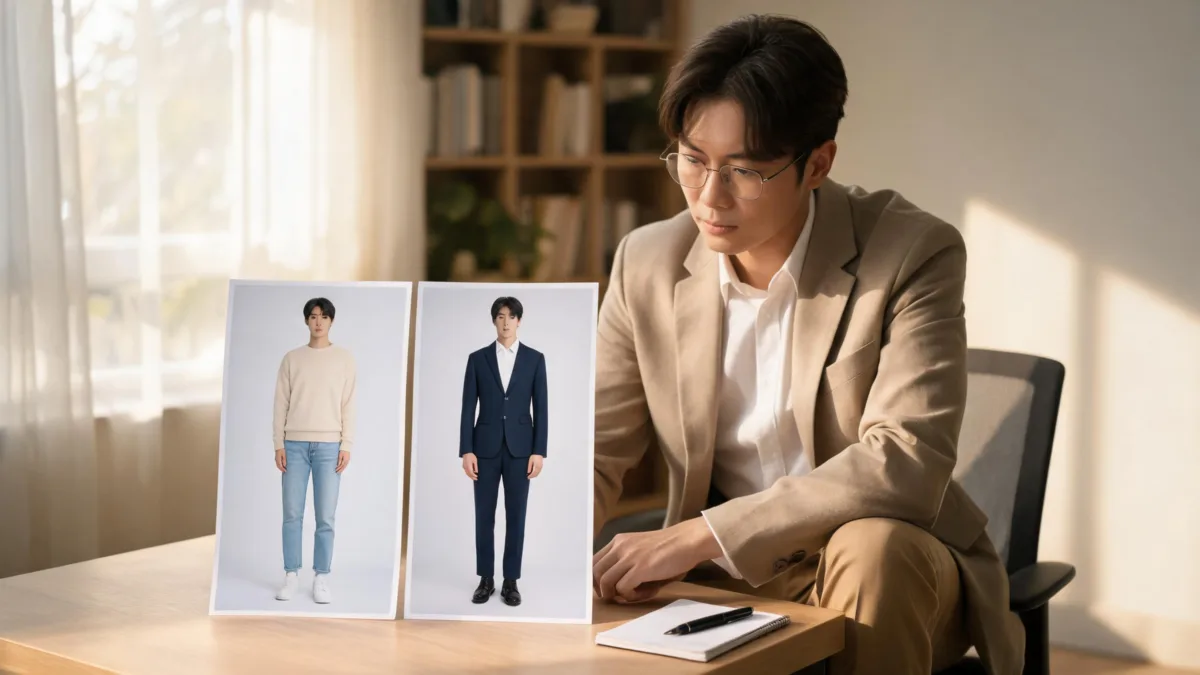
PhotoCat’s AI clothes changer is aimed at a simple photo-to-outfit workflow: upload a photo, choose an outfit option or describe one, then save the generated image. Try an alternative when your question is more specific—such as whether one real jacket, shirt, or dress reference reads naturally on an existing photo. In either case, treat the result as a visual direction, not proof of fit, availability, or permission to edit someone else’s image.
Last updated: September 7, 2026 · about 7 min read
People searching “PhotoCat AI clothes changer” often want to know two things: what it can do with a photo and whether another workflow would better match the job. The useful answer is not a winner’s list. It is a way to match the tool to the decision you need to make.
PhotoCat’s official AI clothes changer page describes uploading a photo, choosing an outfit from its options or entering a request, applying the change, and downloading the image. That is a sensible route for broad visual exploration. Its live options, limits, and terms may change, so check the page before starting a time-sensitive project.
What the PhotoCat workflow is good for
A preset or text-led outfit workflow can be useful when your question is wide enough that a general style answer helps. For example: “Would a formal look suit this portrait?” or “Should I compare a hoodie, shirt, and blazer direction before a shoot?”
Start with a clear, fully clothed photo that you are allowed to edit. Keep the face, shoulders, and the clothing area visible. Then make one modest change per version and compare them side by side. That prevents the common mistake of changing the outfit, pose, light, background, and face at once, then having no way to tell what actually influenced your preference.
It is also worth separating a styling preview from a physical try-on. An image can suggest a silhouette or formality level. It cannot tell you whether a garment is in stock, fits your measurements, feels comfortable, or looks the same under a venue’s lighting.
When is an alternative a better fit?
Choose the workflow by the evidence your decision requires—not by which product has the shortest label.
| Your real question | A workable approach | What to review before using the result |
|---|---|---|
| “Which general style suits this photo?” | Preset or text-led outfit preview | Keep face, pose, and background stable between versions |
| “How would this specific jacket look?” | A garment-reference workflow, such as the AI clothes changer | Compare lapels, shoulder seams, texture, and light |
| “Which color should I test?” | A controlled clothes color changer edit | Change only color; retain fabric folds and source lighting |
| “Will this dress fit me?” | Check the retailer’s size information or try it physically | Do not infer fit from an AI image |
| “Can I publish this result?” | Obtain permission and assess disclosure/context | Do not imply the image is an unedited photograph |
An existing-photo, garment-reference alternative is particularly useful when the garment itself is the point of the test. Instead of asking for “a smart jacket,” you can use a clear reference of the specific jacket and inspect whether the collar, silhouette, and material translate into the source photo. This still does not create a reliable catalog image or a guarantee of real-world fit; it simply gives you a more concrete visual comparison.
The best result is not necessarily the most dramatic one. For a useful comparison, reject any version that changes the person’s identity, body shape, pose, or the room’s light more than it changes the clothes.
A practical three-step comparison
- State one decision in plain language. For example: “I need to choose between a casual crewneck and a navy blazer for a LinkedIn-style portrait.” If you cannot name the decision, the output will be hard to evaluate.
- Prepare controlled inputs. Use one sharp, permitted person photo. For a specific garment, use a well-lit reference that shows its front, neckline, and material. For a broad style direction, keep the request brief and fully clothed.
- Review the whole result before saving it. Check facial identity, shoulder alignment, garment edges, texture, shadows, and background consistency. Keep only versions that answer the original decision without inventing a new person or scene.
For a professional portrait, it helps to use a source photo with both shoulders and the upper torso in frame. Our business attire photo guide explains why a crop that hides one shoulder or a collar makes a wardrobe preview much harder to trust. If you are planning an event look rather than a portrait, use a wider photo and compare only the elements that matter to the occasion.
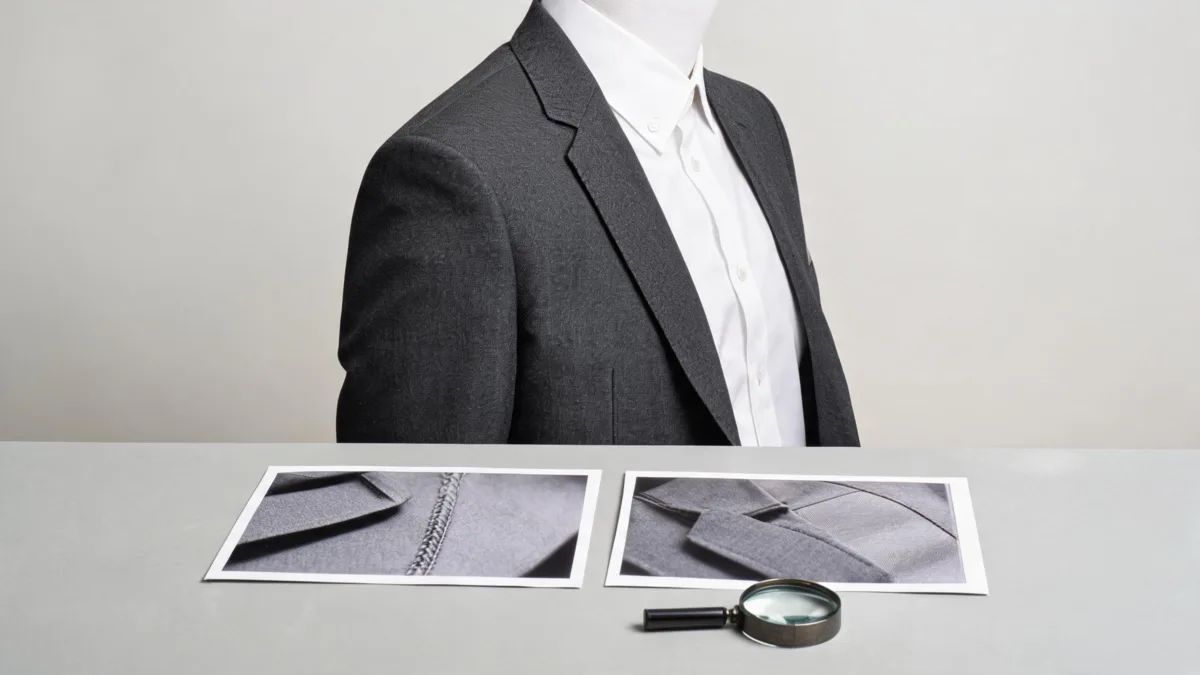
A visual outfit preview is more useful when you inspect seams, texture, light, and body edges—not just the overall style.
What to inspect in every AI outfit preview
The first pass is about the big picture: does the style answer the question? The second pass is where you catch errors that make a result unsuitable for sharing with a client, stylist, or audience.
- Identity and consent: Use only a photo you own or have permission to edit. The face should remain recognizably the same person if the task is a clothes change.
- Garment boundaries: Look closely at collars, lapels, cuffs, waistbands, and areas where hair or hands cross the clothing. These are common places for an edit to break down.
- Fabric and light: Check whether folds, texture, highlights, and shadows belong to the same scene. A jacket with different light from the room is not a dependable comparison.
- Body and background: Reject outputs that alter the person’s proportions, pose, or surroundings when those changes are not part of the request.
- Claim boundaries: Do not use a generated image to claim that a retailer sells an item, that a product fits, or that an unedited event photo exists.
If the real decision is “Which outfit direction should I bring to a shoot?” a quick preview can be enough. If the decision involves a buyer, a client, a public listing, or a sensitive personal image, keep the original file, document permission, and make the generated status clear where context could otherwise be misleading.
Limits and a fair way to compare tools
This article is not a performance test of PhotoCat or every alternative. It is based on PhotoCat’s public workflow description and on the practical review checks that make an outfit image useful. Tools update, and a result can vary with the source photo, reference garment, and prompt.
For a fair comparison, give each tool the same permitted person photo and the same modest clothing goal. Change one variable at a time. Do not judge from a thumbnail: inspect at normal size, compare the original and output, and record why a version was accepted or rejected. That approach is more useful than relying on blanket “realistic” claims.
For additional product-specific checks, review the live tool page and its current privacy and usage terms before uploading a sensitive image. If you need to compare particular garments from photos you already have, the AI outfit generator and the main clothes changer provide a separate starting point for controlled visual experimentation.
Frequently asked questions
What does PhotoCat AI clothes changer do?
PhotoCat’s official clothes changer page presents a workflow for uploading a photo, selecting an outfit option or entering an outfit request, applying the change, and saving the image. Availability and terms can change, so check the live page before relying on a specific option.
Is an AI clothes changer a virtual fitting room?
No. It can help compare visual directions in a photo, but it cannot confirm physical sizing, comfort, fabric weight, stock, or how a garment will look in every real-world light.
When should I use a garment reference instead of a preset outfit?
Use a garment reference when the cut, neckline, texture, or color of one particular item is the decision. A preset or text request is better for a broad style direction such as casual, formal, or eveningwear.
Related guides
- Try the free AI clothes changer →
- AI clothes changer use cases
- How accurate are AI clothes changers?
- AI clothes changer review checklist
Choose the comparison that answers your question
If a broad style preview is enough, start with the workflow that feels simplest. If you need to inspect one particular garment on an existing photo, prepare a clear reference and use the AI clothes changer for a controlled alternative—then keep only the results that survive a careful review.