
OpenArt AI Clothes Changer: What It Does and When to Try an Alternative
OpenArt AI clothes changer: see what its image-editing workflow can do, what to inspect, and when a focused alternative is a better fit.
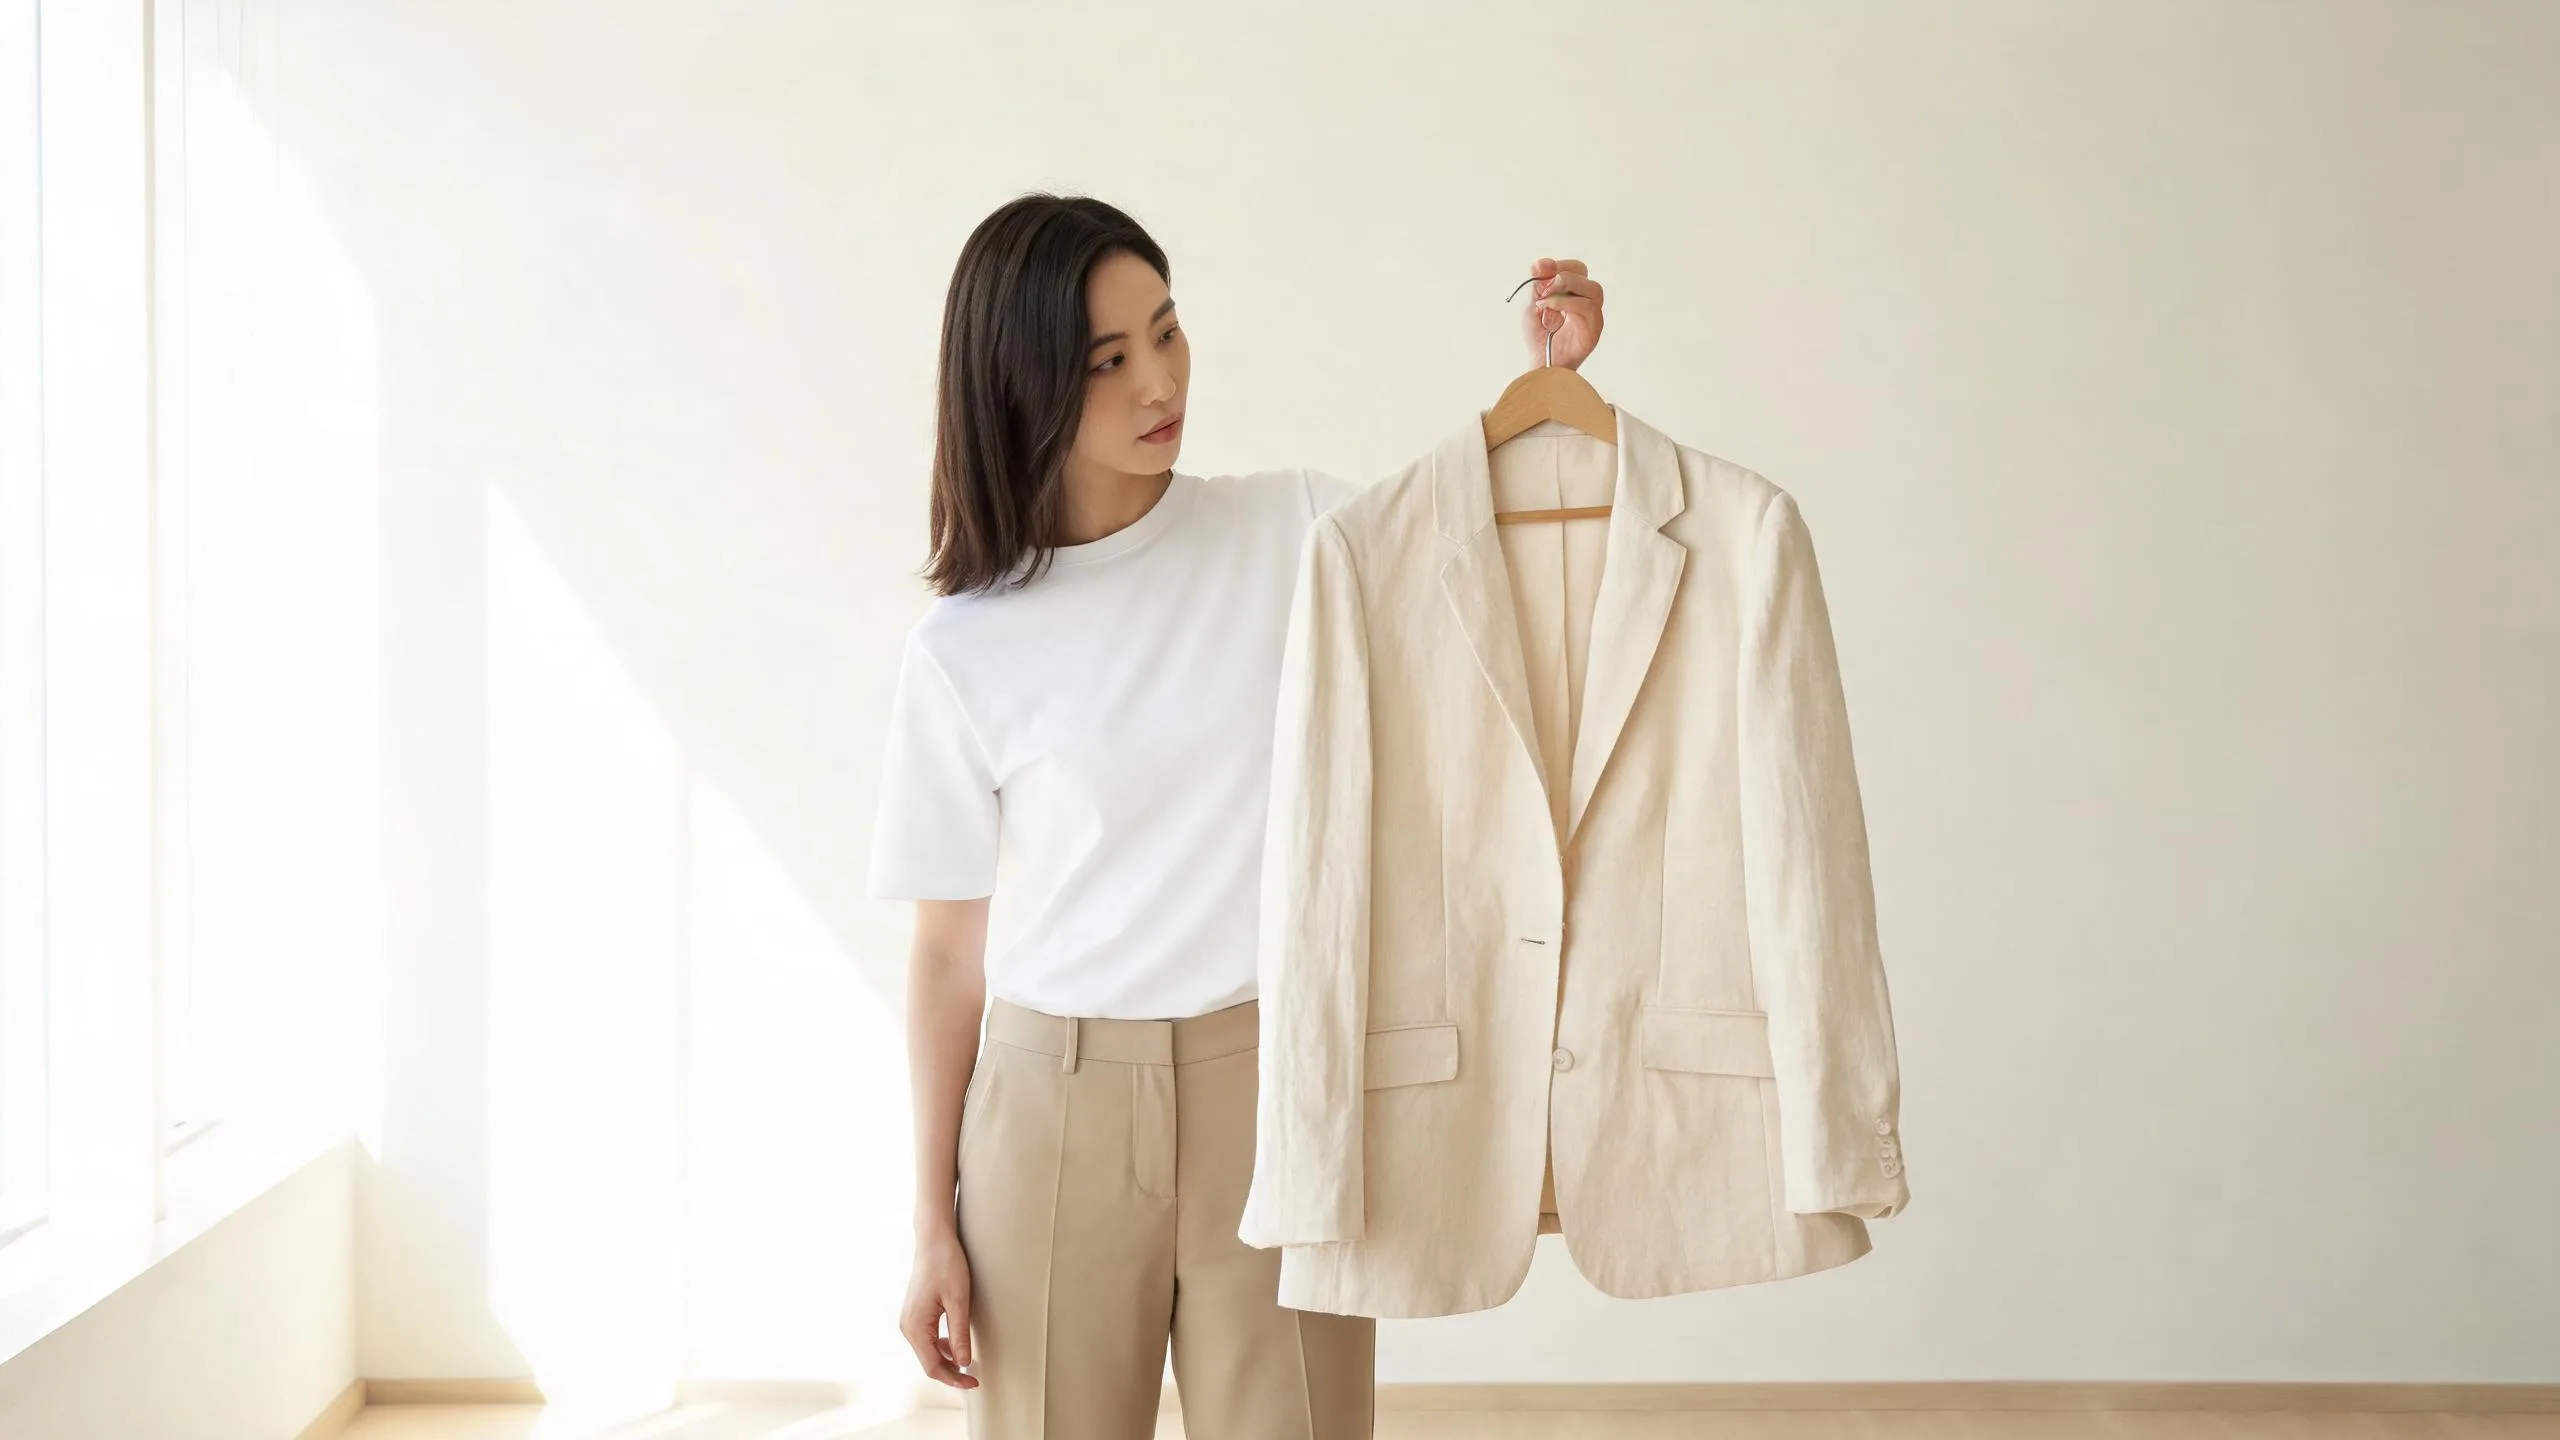
OpenArt can handle outfit edits as part of its broader AI image-creation and editing suite, but it is not presented as a single-purpose clothes changer. If your goal is a quick outfit preview on one photo, a focused AI clothes changer can be the more direct workflow. Either way, use a clear source photo and judge the output at full size before you rely on it.
Last updated: September 6, 2026 · ~7 min read
This is an editorial comparison, not a sponsored review. We checked OpenArt's public product pages on September 6, 2026. Its homepage describes a broader platform for generating and editing image, video, audio, characters, and other creative assets; specific tools and plans may change, so check the live controls before starting paid work.
What does OpenArt offer for outfit changes?
The search phrase “OpenArt AI clothes changer” describes a use case rather than a clearly branded, standalone OpenArt feature. OpenArt publicly lists AI image generation and image-editing tools, alongside features such as character building and an AI headshot generator. In practice, an outfit edit belongs in that wider image-editing workflow: start with a source image, give the editor a clothing direction, then inspect what changed.
That breadth is useful when the outfit is only one part of a creative job. You may also need to refine a character, make several scenes, or turn the result into other media. It can be more setup than a person needs for one wardrobe preview, though. A direct virtual try-on is usually the better starting point when the decision is simply, “How would this garment look on this person?”
OpenArt's official site calls itself an all-in-one AI creation platform and currently groups image generation and image editing with video, characters, and other tools. That is the relevant distinction here: suite flexibility versus a shorter, photo-and-garment workflow.
Do not treat an AI-generated outfit as proof of garment fit, exact color, or construction. It is a visual preview, not a catalog photograph or a measurement tool.
OpenArt versus a focused clothes changer
The practical choice is about the job around the image, not a claim that one rendering engine always looks better.
| Decision point | OpenArt workflow | Focused AI clothes changer |
|---|---|---|
| Main purpose | A broad image and creative-media suite | Preview or replace an outfit in a person photo |
| Useful when | An outfit edit is one step in a larger creative project | You need one direct clothing change or comparison |
| Typical starting point | Select an image-editing path and describe the change | Upload a person photo, then add a garment reference or outfit idea |
| Review priority | Consistency with the wider character or asset workflow | Identity, garment boundaries, texture, and scene lighting |
| Potential trade-off | More options to evaluate before you reach the edit | Less suited to a multi-asset creative production workflow |
If you have an existing garment photo, the relevant question is whether the tool makes the fabric, seam lines, and silhouette readable enough to transfer. If you only have an idea, a written outfit direction can be a sensible first test. For color-only work, use a clothes color changer rather than asking an editor to recreate the whole outfit.
How to test an outfit edit fairly
Use the same inputs whenever you compare two tools. Changing the source photo or adding extra prompt detail to just one test will not tell you much.
- Choose a clean source photo. Use one adult subject, even lighting, visible shoulders and torso, and as little arm or hair overlap as possible. A sharp photo gives the editor more reliable edges to work with.
- Prepare one clear clothing direction. For a reference garment, show the whole item against a simple background. For a written request, keep it concrete: garment type, color, material impression, and any important layer such as “navy blazer over white collared shirt.”
- Run the same brief in each workflow. Keep the person image and clothing direction unchanged. Generate more than one attempt if the service allows it, then save the original next to the candidates.
- Inspect full-size output. Zoom in before you decide. A good-looking thumbnail can hide a changed face, broken cuff, merged hand, or invented button.
- Keep only results that meet your use case. A personal style experiment has a lower bar than a client deliverable. For commercial work, check every visible logo, label, pattern, and claim before publication.
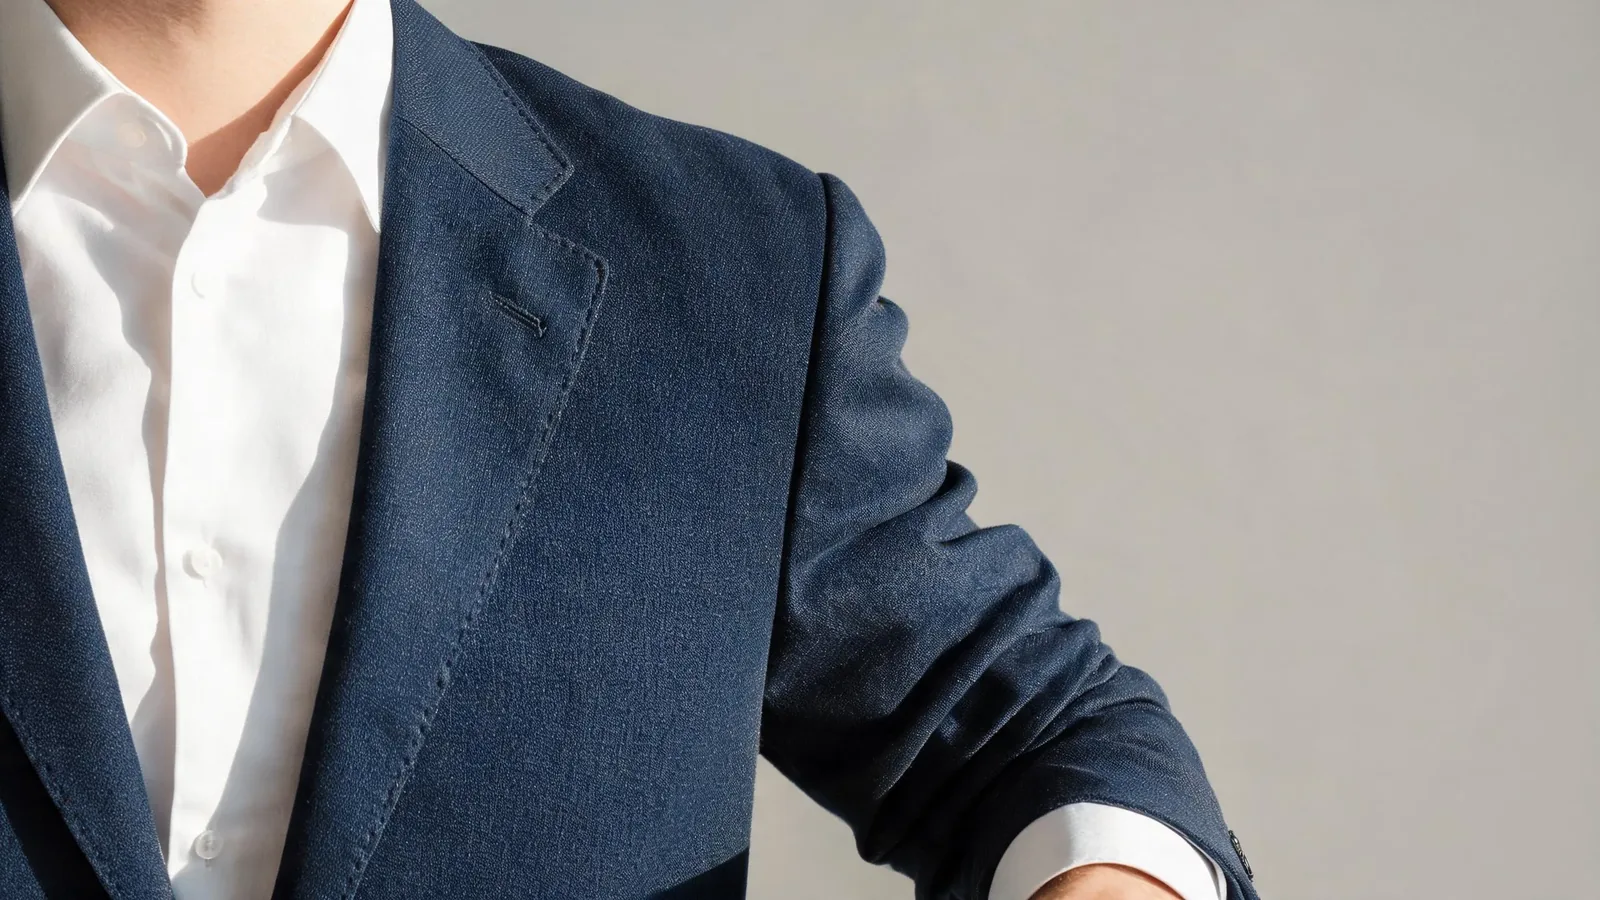
Editorial detail study: assess seams, cuff edges, fabric texture, and light separately; this is not a claimed output from OpenArt or AIClothSwap.
The quality checks that catch most problems
Start with identity. The face, hairline, and facial expression should still plausibly belong to the source photo. Then look at the garment's boundaries: collar, shoulders, lapels, sleeve openings, waist, and hem. These transitions reveal whether clothing sits on the person or merely overlays the image.
Next, inspect construction and texture. Plaids, pinstripes, logos, tiny lettering, and repeated prints are hard for generative image tools to reproduce faithfully. A result can look attractive while still being unusable for a product listing. If the exact garment matters, use the generated image as a concept preview and keep the original product photography as the source of truth.
Finally, examine the scene. A replacement garment needs light, shadow, and color that agree with the surrounding photo. Check under the chin, around the arms, at the collar, and along the hem. For a deeper recovery workflow, see why AI clothes swaps can look fake.
When should you try an alternative?
Try a focused alternative when the creative suite is not the work you actually need. That usually means one of these situations:
- You want to compare a jacket, shirt, dress, or full look on a single person photo.
- You need to use a garment reference without building a wider character or media project.
- You want a repeatable review process for a few wardrobe options.
- You need a second rendering path after the first edit changed the face, hands, or garment detail.
AIClothSwap is designed for that narrower decision: preview or replace outfits using a garment reference or a written look. It supports whole-look changes, not only one item, but it still has limits. Low-resolution images, crossed arms, heavy shadows, dense patterns, and clothing hidden behind hair or props give any generator less reliable information. For source-photo guidance, read how to photograph clothes for AI outfit edits.
An OpenArt outfit-edit tutorial
This video is included because it explicitly covers changing a character's outfit with OpenArt. It is a third-party tutorial, not an endorsement or a claim that its workflow matches every current OpenArt interface.
Privacy and commercial-use checks
Only upload an adult's photo with their permission. Do not use an outfit editor to make deceptive, intimate, or non-consensual images. For client or store work, confirm that you own or are licensed to use the person image and garment reference.
Before you put an output into a campaign, review the provider's current terms and privacy policy for retention, deletion, training use, watermarking, and commercial-use terms. Those policies matter more than a feature list. Also label an AI-generated concept clearly inside your own production process so it is never mistaken for an approved product photo.
Frequently asked questions
Can OpenArt change clothes in a photo?
OpenArt's image-generation and image-editing tools can be used for an outfit-change workflow. The usable result depends on the source image, edit direction, selected model, and the level of detail you need to preserve.
Is OpenArt a dedicated clothes changer?
OpenArt currently presents itself as a wider AI creation platform with image, video, character, and editing tools. The “clothes changer” phrase describes one possible edit rather than a reason to assume there is only one fixed workflow.
What is the best photo for an AI outfit edit?
Use a sharp, evenly lit image with one adult subject and visible clothing boundaries. Avoid heavy occlusion from arms, hair, bags, or other people. Our best photo for an AI clothes changer guide covers the selection criteria in more detail.
Related guides
- Try the AI clothes changer →
- Preview an outfit with virtual try-on
- Change clothing color without a full redraw
- Generate an outfit idea from a description
- How to change clothes in a photo with AI
Choose the workflow around the job
OpenArt is worth considering when an outfit edit belongs in a broader creative project. When you need a direct visual wardrobe preview, try the AI clothes changer, keep the inputs clear, and review every result against the original before you use it.