
Krea AI Clothes Changer Masking: Fix Background Changes
Fix a Krea AI clothes changer edit that altered the background. Refine the garment mask, protect hair and hands, and compare the scene before saving.
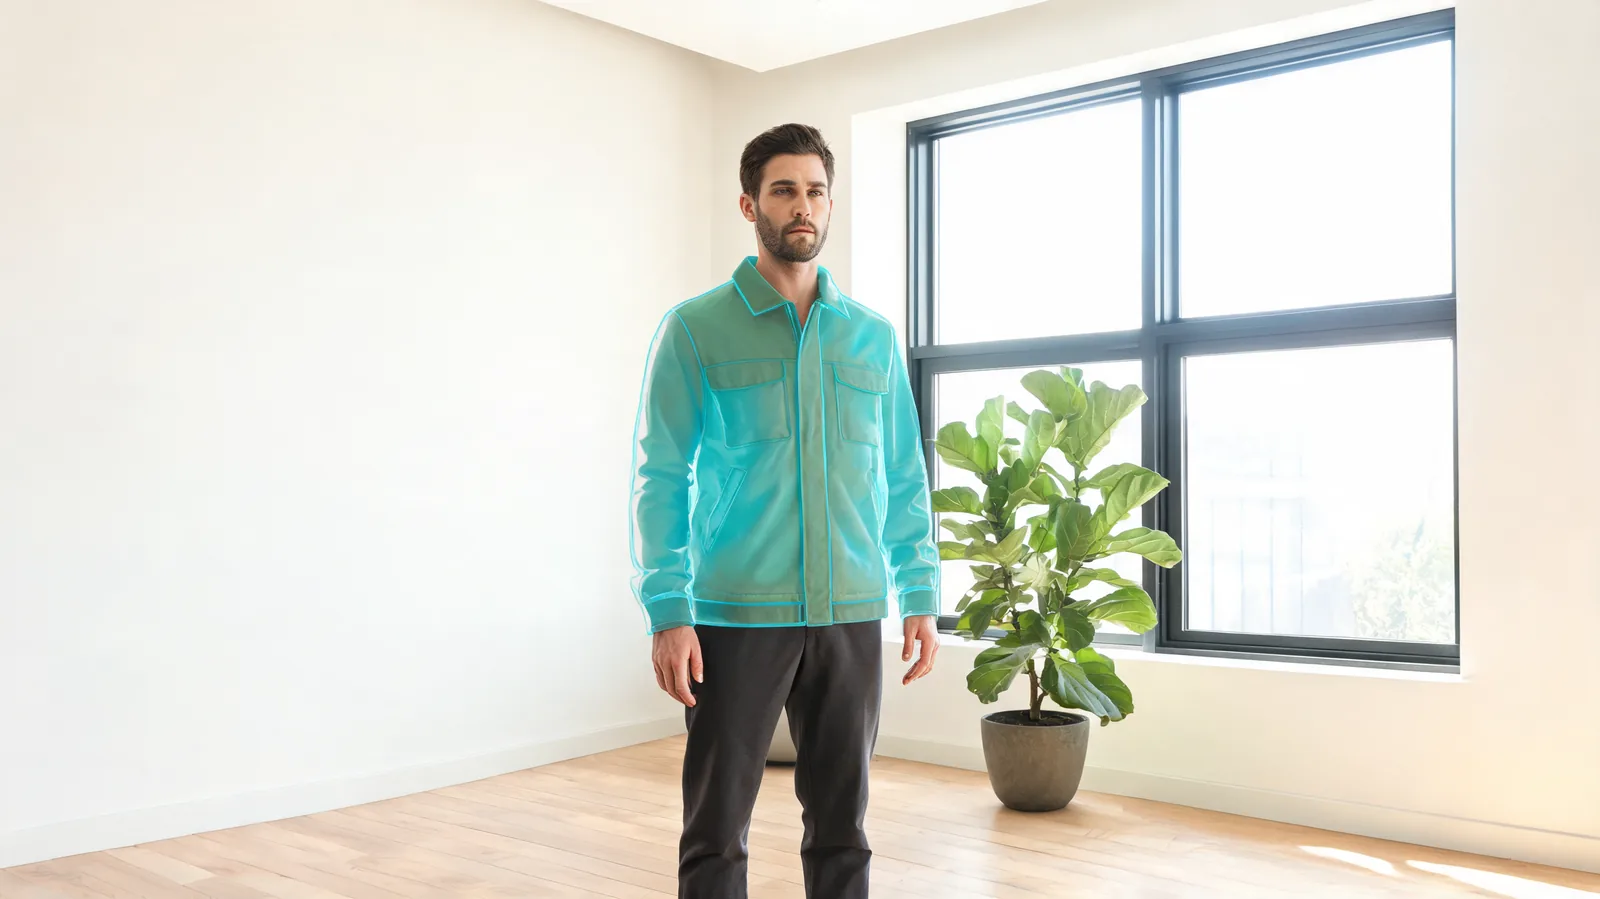
For a Krea AI clothes changer mask that keeps the background, start from the original photo, select only the clothing region, and request one garment change. Protect hair, hands, and nearby objects, then compare the entire scene before saving. A focused AI clothes changer can provide another outfit preview, but every generated result still needs inspection.
Last updated: October 4, 2026 · ~7 min read
First, identify which Krea workflow you are using
This tutorial concerns Krea’s web editor and a clothing change that has disturbed the surrounding scene. If your result came from a general clothes-changing app, open the original in Krea Edit when you need more explicit region control.
The Krea Team’s official Krea Edit guide, published March 9, 2026, documents region selection and editing history. Its image editor overview also describes prompt, brush, mask, and reference guidance. The controls available can vary with the chosen editing path, so this guide uses selection principles rather than assuming every screen has identical buttons.
Do not confuse the web editor with a community Krea-model workflow in desktop software. A tutorial for a different interface may show settings that are absent from your app. Look for the region-editing path, not a matching slider name.
What kind of background change happened?
Compare the original and edited image before drawing a new selection. Identify whether the problem is a local edge, a whole-scene change, or a shift in pose. Each needs a different response.
| What changed | Likely issue to investigate | Next controlled attempt |
|---|---|---|
| Wall or furniture far from the outfit | Broad regeneration or scene instructions | Return to the original and request a region edit only |
| Halo beside a sleeve | Selection boundary or blending | Refine that sleeve edge |
| Hair touching the new collar | Hair included in the clothing selection | Exclude the hair and simplify the collar request |
| Hand gripping a pocket became distorted | Clothing and anatomy overlap | Protect the hand; consider a clearer source photo |
| Subject moved and the room moved with them | Pose change was requested or inferred | Remove pose directions and use the original framing |
| Color shifted across the entire room | Relighting or palette change | Remove scene-wide color and light instructions |
These are diagnostic possibilities, not a measurement of how often each failure occurs. A single output does not reveal the model’s reasoning. Test one explanation at a time: remove a scene instruction or adjust one edge, then compare again.
Do not repair the whole room because one sleeve is wrong. That adds another generation problem while moving farther from the original. Save the failed output for comparison, but return to the clean source for the retry.
How do you repair the edit in three steps?
- Restore the original photograph. Keep the unedited file as the scene anchor. Avoid building the next attempt on an output that already changed the face, window, or furniture.
- Select the garment and refine its boundary. Start with the main fabric area, then inspect neckline, cuffs, hem, and overlaps. Protect the visible person and background except where the new silhouette needs room.
- Request one clothing change and compare the result. Keep the garment reference, framing, and lighting goal constant. Inspect outside the selection before accepting the new clothes.
Note the boundary you adjusted, such as “Excluded hair at left shoulder,” so you can tell whether it helped.
How tight should the clothing mask be?
Select the area that must be regenerated, not every object near it. A broad rectangle around the torso can be a starting region, but it may also contain arms, hair, a chair, or part of the wall. Use the available brush or selection controls to refine those edges where the interface allows.
A selection that is too tight can be restrictive. Replacing a fitted cardigan with a structured blazer may require space beyond the current shoulder outline. Replacing cropped trousers with a longer hem needs room below the old garment. Include that necessary area deliberately, while avoiding unrelated background.
Work by garment construction. Follow the collar, sleeve opening, waistband, and hem rather than a generic box. For a jacket worn over a shirt, decide whether the visible shirt is part of the edit. If it should remain, leave it outside the changed region where practical.
A useful mask follows the intended new garment shape and includes the room a wider shoulder or longer hem needs.
A clothes color changer is worth considering when the garment shape is already correct and only its hue should change. Replacing the entire outfit creates unnecessary uncertainty for a simple palette decision.
How do you protect hair, hands, and accessories?
At the collar, leave visible hair outside the clothing region. Long hair falling over a jacket needs particular attention because the strands and fabric share the same area. If those boundaries are too small to see, enlarge the image for selection work rather than guessing.
At the wrists, protect skin and fingers. A sleeve can change without redrawing the hand beyond it. When fingers grip the lapel or disappear into a pocket, the overlap is harder. A different source photo with relaxed, visible hands may be more efficient than repeated repairs.
Treat straps, bags, scarves, and jewelry as separate decisions. If a shoulder bag should stay, protect its strap and the bag itself. If the new coat should sit beneath the strap, inspect that intersection carefully. A correct background does not make an impossible clothing overlap acceptable.
Use the same caution for nearby objects. The chair behind the subject, a plant beside an arm, and the edge of a mirror can enter a broad selection. Exclude them when they should stay. Where an overlap is ambiguous, preserve the original and plan a small manual retouch rather than asking the editor to reinvent the scene.
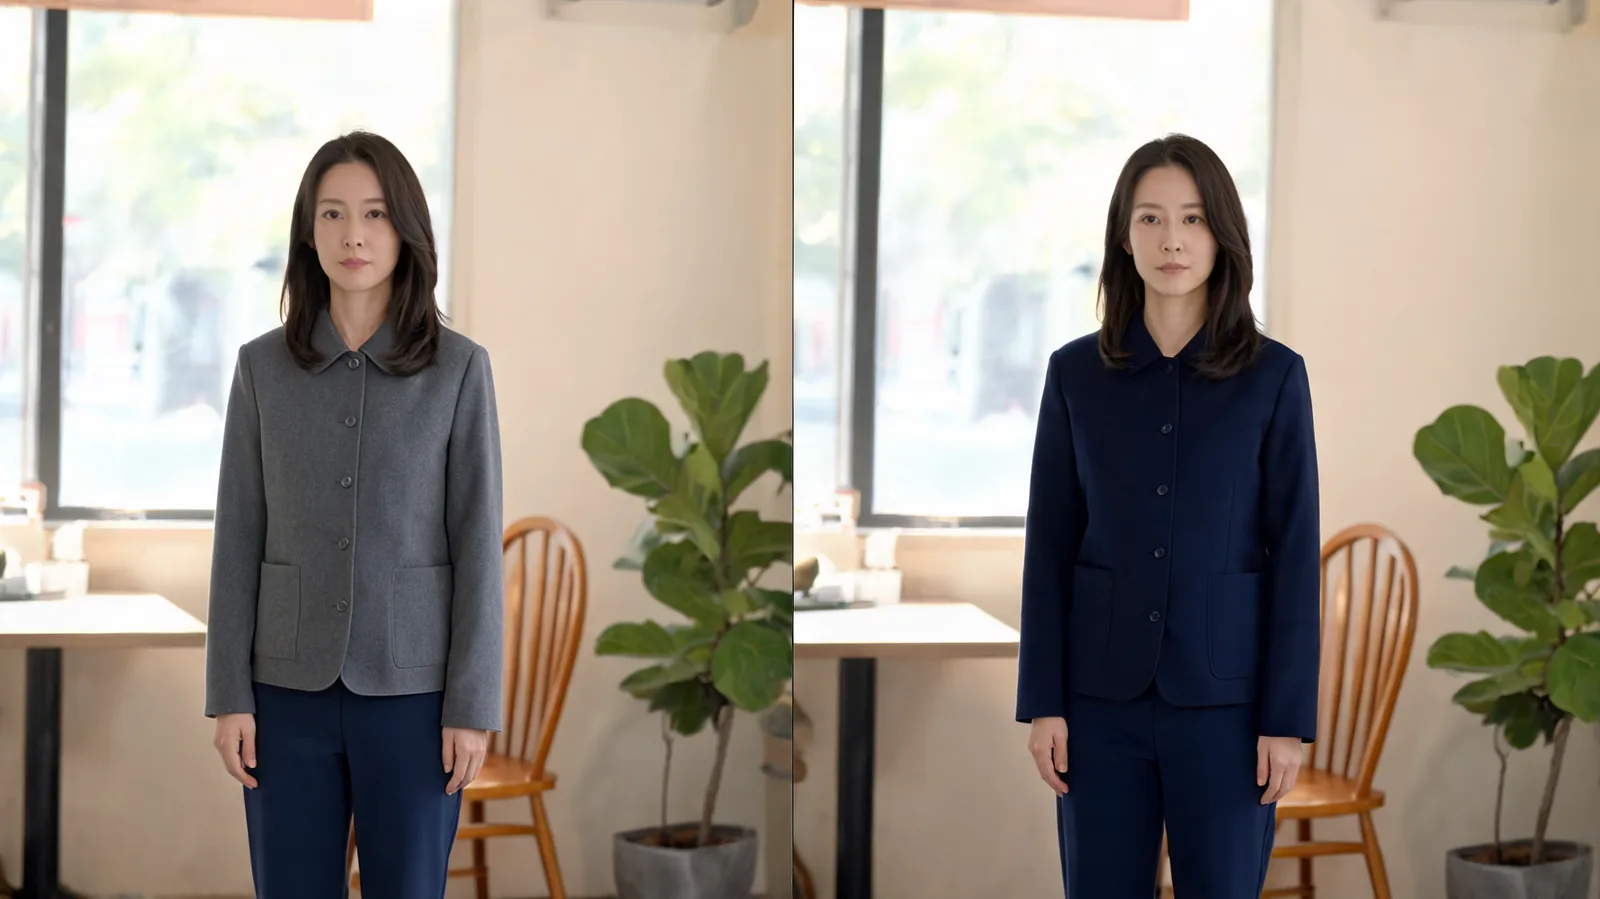 Illustrative comparison, not a Krea test result: check the chair, plant, window, and pose as well as the changed jacket.
What should the instruction say?
Write an instruction that describes the selected edit and the elements to retain. For example:
Replace the selected jacket with the navy jacket in the reference. Keep the person’s pose, visible hands, hair, background objects, framing, and lighting unchanged.
This is a suggested starting instruction, not a guaranteed preservation command. Keep it short enough that you can identify what each clause is doing. The reference carries clothing information; the sentence identifies the scope.
Avoid adding “cinematic,” “new studio lighting,” or “fashion campaign background” while troubleshooting background drift. Those phrases can conflict with preserving the existing scene. Once the garment is acceptable, decide separately whether a new scene is actually wanted.
Also avoid asking for a new pose in the same repair. Changing an arm position can expose background that did not exist in the source and require new shadows. That is a different task from keeping a room intact.
How do you know the repair worked?
Check distant details first. Compare window divisions, picture frames, chair legs, and plant leaves. They are easier to judge than fabric because the clothing is supposed to change. If those objects moved, the result still contains scene drift.
Then inspect the garment boundary. Look for a light halo, duplicated edge, missing hair, skin-colored fabric, or a shadow that stops abruptly. At normal display size, the clothing should belong in the photograph. At close range, the contact points should remain plausible.
Compare the face and hands too. The goal is a clothing edit, not a different person. Our guide to changing an outfit without changing the face covers identity checks in more detail.
Finally, judge the reference match. The scene may now be stable while the jacket’s pockets, pattern, or closure are wrong. That is a separate garment problem. Do not widen the mask across the whole image to solve it; improve the reference or ask for one specific clothing correction.
What if masking still does not preserve the scene?
If the room keeps changing, simplify before escalating. Start again from the original, remove scene-wide directions, and alter one selection boundary. A cleaner portrait or clearer garment reference may be the next useful change.
When exact background pixels matter, use a layer-based editor to composite an accepted garment region over the original photograph. Keep the original as the base, reveal only the approved clothing area, and inspect edges and shadows. This can preserve the surrounding image while requiring careful blending near hair and hands.
For a single-reference outfit question, you can also compare a dedicated virtual try-on workflow. If the request is a formal jacket concept rather than a specific item, the suit filter offers another starting point. These are alternative visual workflows, not promises of pixel-exact protection.
Use the broader Krea AI clothes changer comparison when deciding which workspace fits the overall job. Stay with this repair process when the job is already clear: change the clothes and keep the scene.
Frequently asked questions
How do I keep the background when changing clothes in Krea?
Start from the original image in Krea Edit, select the clothing region, and request only the garment change. Keep pose, lighting, and scene directions out of the request. Inspect the background afterward; selection is guidance rather than proof of unchanged pixels.
Should the mask include hair or hands?
Usually no. Exclude visible hair, skin, and hands when they should remain unchanged. Refine the boundary around sleeves and collars. If a new garment needs a larger silhouette, include only the small surrounding area needed for that change.
Can I use the same mask for every outfit?
No. A fitted shirt, wide coat, and long dress occupy different areas. Adjust the selection to the intended garment shape while protecting nearby objects and anatomy.
What if the background still changes after masking?
Return to the original, simplify the instruction, and adjust one boundary at a time. If exact scene pixels must be preserved, composite an accepted garment region over the original in a layer-based editor and inspect the blend.
Related guides
- Try the focused AI clothes changer →
- Preview one garment with virtual try-on
- Change clothing color
- Choose a clearer person photo
- Compare Krea with a dedicated clothes changer
Keep the repair focused
Save the original, protect everything outside the intended garment change, and accept only a result that passes the full comparison. For another one-reference preview, try AIClothSwap with the same inputs.