
AI Clothes Changer Free Preview vs Essential Try-On
Compare AI clothes changer Free Preview with Essential Try-On. Learn when one garment reference is enough and when sign-in and instructions help.
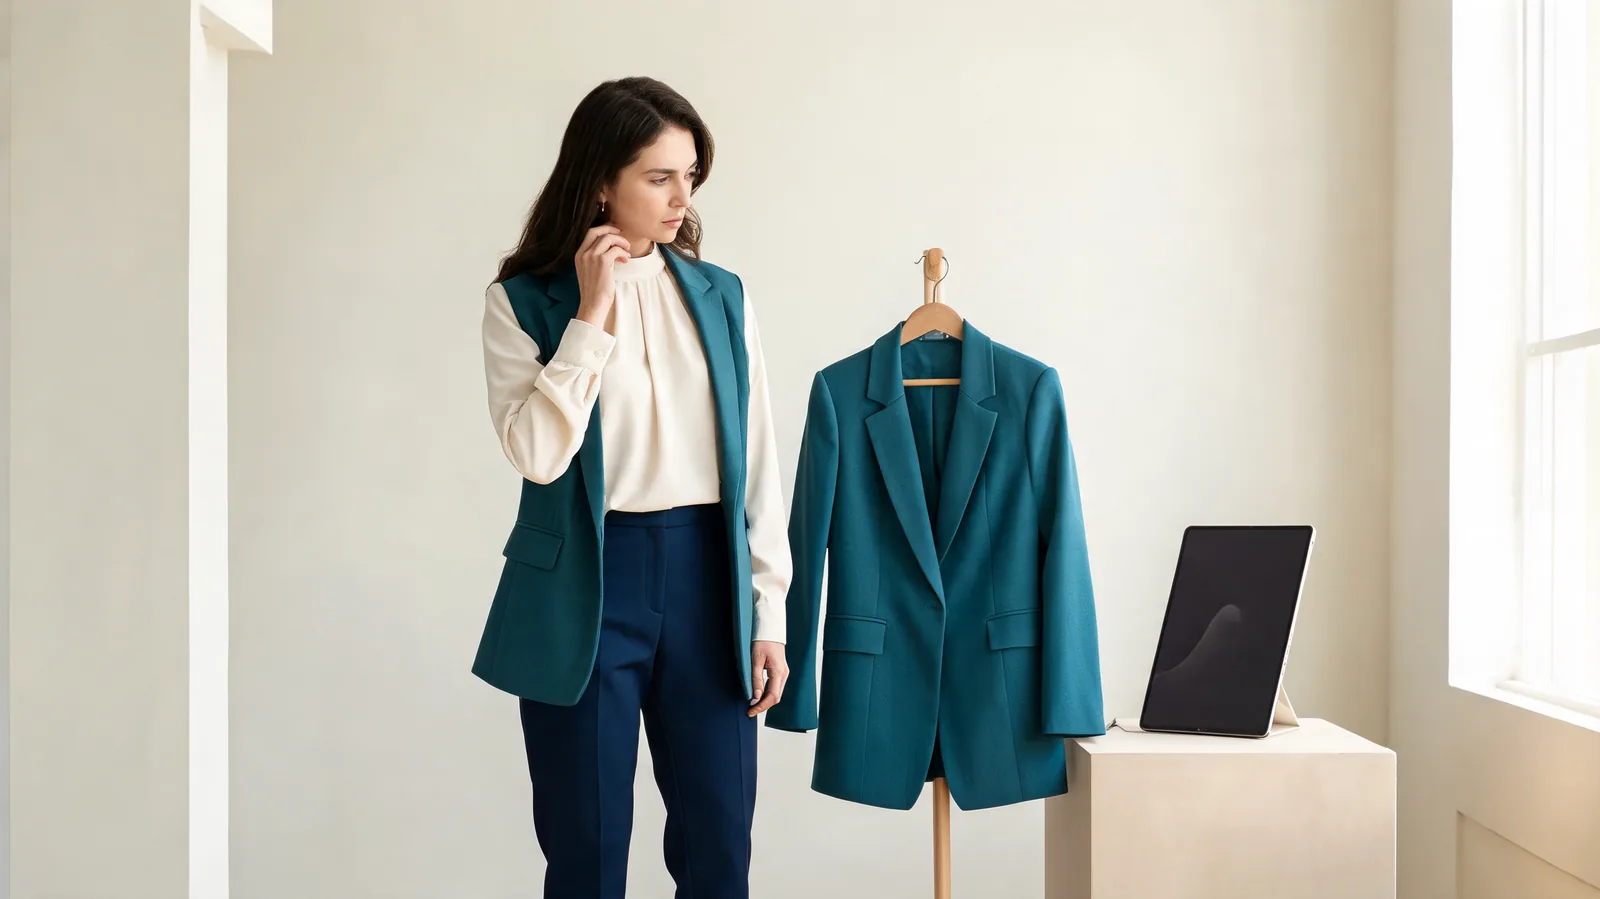
Choose Free Preview when you want a first look at one garment on your photo without signing in. Choose Essential Try-On when you need basic instructions and can sign in to use credits. On the AI clothes changer, both start with one person photo and one outfit reference; neither confirms real-world fit.
Last updated: October 4, 2026 · ~8 min read
What is the difference between Free Preview and Essential Try-On?
Free Preview is the shortest path from a garment image to an outfit visualization. You upload your person photo, add one outfit reference, and choose the garment area. There is no prompt box. The input photographs and your area selection carry the request.
Essential Try-On adds basic prompt control and is presented as the option for better garment detail. It still accepts one outfit reference, so signing in does not turn it into a multi-garment composition tool. A short instruction can clarify which clothing details matter, but detailed directions may not be followed closely.
The homepage currently labels Essential Try-On at 10 credits per generation. Check your available balance before starting. The free account and daily claim options offer a way to keep trying eligible generations, while Studio Quality requires paid access. The current pricing and account conditions explain those separate choices.
| Decision | Free Preview | Essential Try-On |
|---|---|---|
| Start without an account | Available within the displayed allowance | Sign-in required |
| Person input | One photo | One photo |
| Outfit input | One reference image | One reference image |
| Describe a correction | No custom instructions | Basic prompt control |
| Control the clothing region | Garment-area selection | Reference plus available instructions |
| Cost to start | Limited free preview | Currently 10 credits per generation |
| Best first question | Does this garment direction suit the photo? | Can a simple instruction improve this one-outfit preview? |
These are workflow differences, not a guarantee that one result will always look better. A clear reference and unobstructed portrait can matter more than switching experiences. If the original garment is hidden behind crossed arms, both paths have less information to work with.
When is Free Preview enough?
Start here when your question is narrow: whether a teal blazer looks better than your current jacket, whether a cardigan changes a portrait’s mood, or whether a dress silhouette is worth considering. You already have an image of the item, and you do not need to invent a new outfit from text.
It is also useful when you want to learn what your source photo allows before making an account decision. A first look can reveal that the torso is too small, the garment reference cuts off the sleeves, or the source outfit hides the waist. Fix those inputs before another attempt. Directions cannot restore a sleeve or waistline that the photographs never show.
A visual preview can help you decide which item deserves closer attention. It cannot tell you that the fabric will stretch, a seam will sit comfortably, or a size will fit. For that, use the seller’s measurements and your own. The virtual try-on guide explains the broader visual workflow, but the same boundary applies to every generated outfit.
Make the first decision about style and silhouette. Make the purchase decision from measurements, material, price, and returns as well as the preview.
How do you prepare the two images?
Choose a person photo taken at a useful distance. For a jacket, include the shoulders, torso, waist, and enough of each arm to read sleeve placement. For trousers, show the hips and legs. A close face crop cannot provide a reliable picture of a full outfit.
Keep the pose ordinary. Arms held away from the torso are easier to inspect than hands buried in pockets or a bag pressed across the jacket. Even light helps you distinguish garment texture from shadow. Avoid beauty filters that blur skin and clothing boundaries together.
For the reference, show the whole clothing item with its neckline, hem, and sleeves visible. A clean flat lay, hanger photo, or readable product image is more useful than a small collage. Do not submit several separate garments inside one busy image and expect each to be treated as an independent reference.
Match the reference to the question. If you want to inspect a cardigan’s front, use a front view rather than a back view. If a jacket is photographed closed but you want it open, the missing inner layers will require interpretation. Read our guide to photographing clothes for outfit edits for a preparation checklist.
Try Free Preview in three steps
- Upload one clear person photo and one outfit image. Use an adult subject whose photo you have permission to edit. Keep the original files available so you can compare the result against them.
- Select Free Preview and the appropriate garment area. Match the area to the item: a top, a bottom, or a one-piece garment. Check the selection before generating; a jacket reference should not be treated as a trouser change.
- Generate, then inspect the preview. Compare the face, garment outline, hands, and background. Decide whether it answers your style question or leaves a specific detail unresolved.
Do not immediately judge only the overall impression. A convincing small thumbnail may hide a broken cuff or a collar that merges into hair. Look at normal viewing size first, then enlarge the boundaries that matter. Keep a result only when those details are acceptable for its intended use.
If the preview is unavailable or your allowance is exhausted, follow the workspace’s account options. Do not assume “free” means unlimited retries. Signing in for Essential is a separate route with its own credit balance.
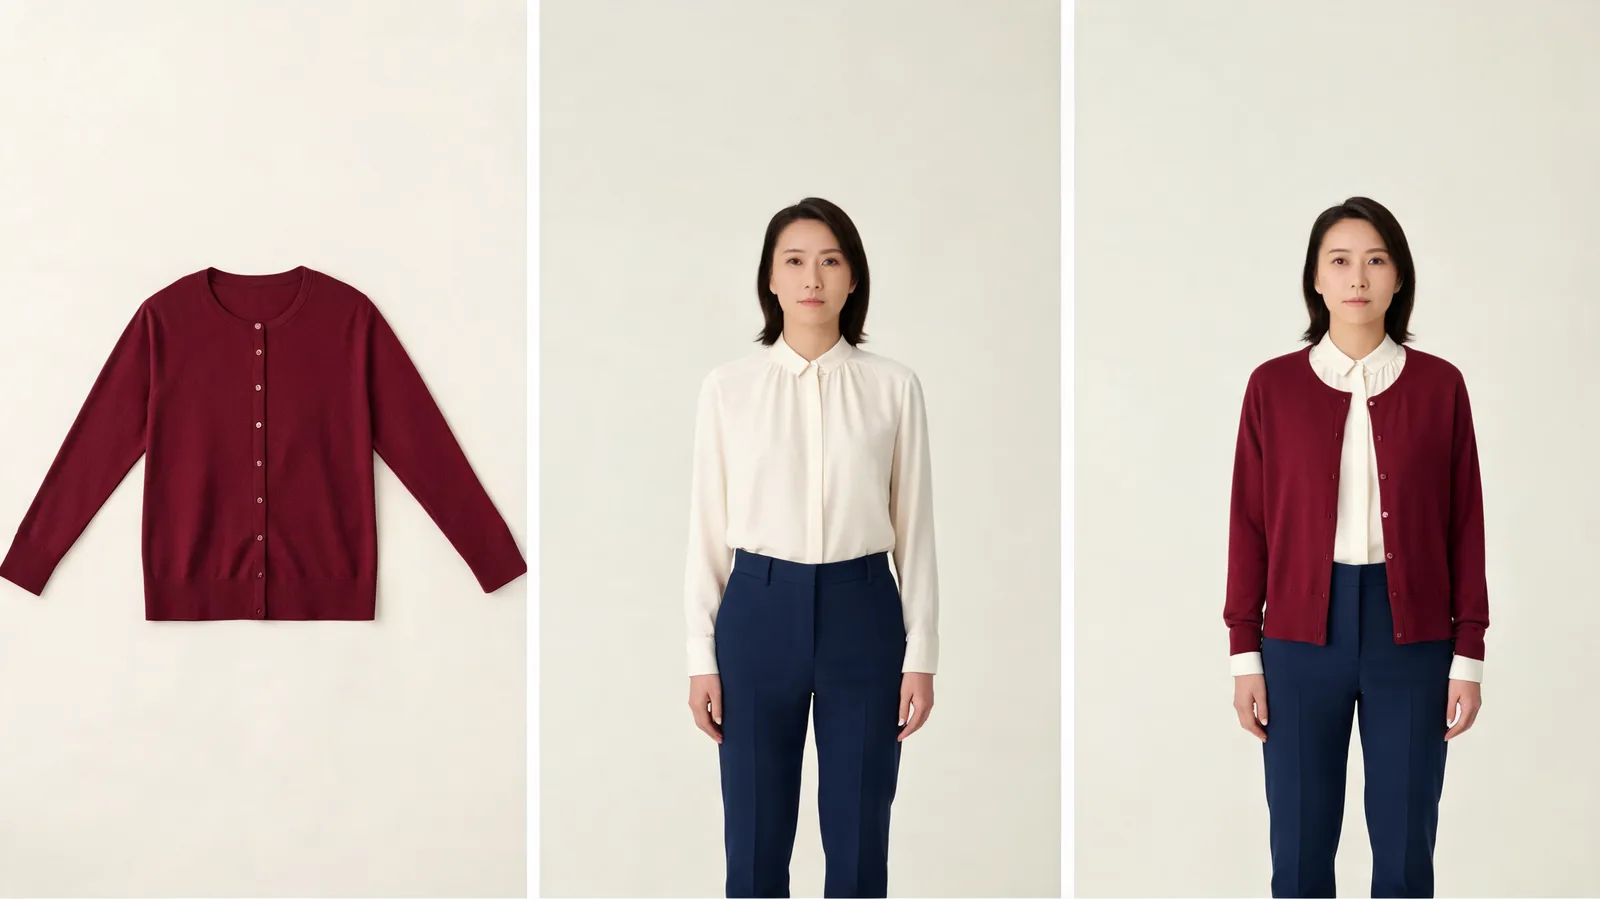 Illustrative outfit comparison, not a product test: use the reference to check the garment’s neckline, sleeves, and overall silhouette.
When should you switch to Essential Try-On?
Switch when you can state what the next attempt should do differently. “Keep the original background and replace only the jacket” is a focused instruction. “Make everything perfect” gives no useful direction. “Change the jacket, pose, room, hair, and lighting” asks for several unrelated edits.
A basic instruction might be: “Use the navy jacket from the reference. Keep the person’s pose and existing trousers.” This describes the garment and protected elements without adding a new scene. Essential still relies on the reference image; the instruction supplements it.
Hold the photographs constant for the first comparison. If you change the source portrait, outfit reference, and directions together, you cannot tell which adjustment helped. After comparing the two results, improve one input if necessary. A cleaner photograph can be the better next step than another instruction.
Choose Essential for another controlled attempt, not as a promise to preserve every button or printed word. The workspace warns that detailed instructions may not be followed closely. If the request depends on several separate clothing pieces or broader editing controls, read Essential Try-On versus Studio Quality.
What do credits and watermarks mean for the decision?
A generation allowance, an account credit balance, and a clean download are different things. Free Preview gives a limited first look. Essential uses credits after sign-in. A free account can still produce watermarked results, so creating an account is not itself a watermark-removal purchase.
The site offers first-day credits and eligible daily claims, but the amount available can depend on the account and the offer shown. Use the balance and claim screen as your guide rather than assuming a fixed number of free attempts. Each additional Essential generation needs enough credits; do not repeatedly submit while a previous result is still processing.
Paid account benefits include no-watermark access under the displayed payment conditions. Those benefits remain unless all payments are refunded. Having watermark access does not remove the credit requirement for another generation. Likewise, spending free credits does not automatically grant paid account benefits.
Before downloading an image for a public purpose, check the current plan, usage rights, and the Content Policy. For private outfit planning, the more immediate question is whether the visualization is useful. For a listing or campaign, rights and faithful garment representation matter too.
How do you decide whether another attempt is worthwhile?
Use four checks rather than an overall “looks good” judgment:
- Person: The face, expression, visible hands, and body proportions still represent the source photo. Reject a result that changes the subject in a way you did not request.
- Clothing: The neckline, cuffs, hem, and closure resemble the reference. Patterns should continue sensibly across folds, while text and logos need separate scrutiny.
- Scene: Background objects and light direction remain suitable. A changed chair, wall, or shadow may matter even if the outfit looks convincing.
- Purpose: The image answers the intended style question. It does not need to become a final campaign asset merely because a generation succeeded.
When only the color is in doubt, a clothes color changer may answer the question with a narrower edit. When you have no garment reference and want to explore an idea from a description, an AI outfit generator is a different starting point. Neither is a reason to overload a one-reference try-on.
Stop when the image has answered the question you brought to it. If the collar is unreadable because the reference is blurry, replace that reference. If an instruction is the missing ingredient, try Essential. If you need proof of physical fit, move to the size chart or a real fitting instead of generating more images.
Frequently asked questions
Can I use Free Preview without signing in?
Yes. Free Preview offers a limited garment-reference try-on without signing in. It uses one person photo and one outfit image, with garment-area selection. Follow the allowance and availability shown in the workspace.
Can I add a prompt to Free Preview?
No. Free Preview has no custom instruction control. Choose Essential Try-On for basic instructions with one outfit reference; detailed edits and multiple references belong in Studio Quality.
Does signing in remove the watermark?
No. Free-account results remain watermarked after sign-in. Paid-account watermark benefits are separate from having enough credits to generate, and remain subject to the payment conditions shown on the site.
Can either experience tell me which clothing size to buy?
No. Both produce visual outfit previews, not body measurements or fit guarantees. Check the retailer’s size chart, garment measurements, fabric information, and return policy before buying.
Related guides
- Try the free AI clothes changer →
- Virtual try-on
- Change clothing color
- Choose a good person photo
- Compare Essential with Studio Quality
Start with the question your photo can answer
Use Free Preview on AIClothSwap for a first garment-reference look, then choose Essential only when a specific instruction or another credit-based attempt will help your decision.