
Essential Try-On vs Studio Quality: Which to Use
Choose the right AI clothes changer quality for your photo: Essential Try-On for a simple one-outfit preview, or Studio Quality for more detailed, multi-image edits.
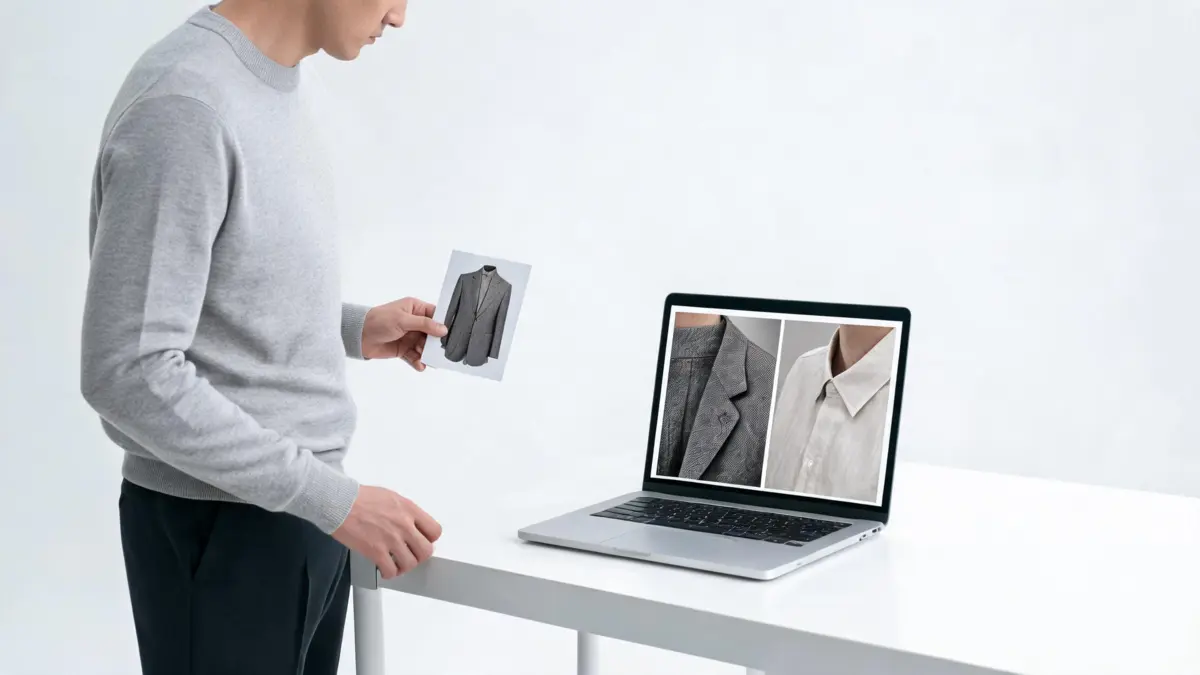
Use Essential Try-On when one outfit reference and a simple preview are enough; choose Studio Quality when your decision depends on several garments, precise instructions, or fine clothing details. On the AI clothes changer, that is the practical quality choice: start simple, then move up only when the result leaves a real question unanswered.
Last updated: September 18, 2026 · ~6 min read
What changes when you switch quality?
Quality is not a promise that every result will be perfect. It changes the amount of control and the kind of work the tool can reasonably handle. Essential Try-On is built around one outfit reference and basic prompt control. Studio Quality is the paid editing option: it supports up to six images, follows instructions more closely, and is intended to preserve faces, garments, and fine details more precisely.
That makes the choice less abstract than “fast versus good.” Ask what the photo needs. If you are testing whether one blazer changes a portrait’s mood, one reference is usually enough. If you are combining a jacket, shirt, trousers, and accessories, or you need to specify a background or pose adjustment, the extra control is relevant.
| Your job | Start with | Why |
|---|---|---|
| Preview one dress, jacket, or full look | Essential Try-On | One clear garment reference keeps the request focused. |
| Check a simple outfit direction before shopping | Essential Try-On | You are comparing style, not producing a final retouch. |
| Combine several pieces into one look | Studio Quality | It can use up to six garment images. |
| Edit a photo beyond the outfit or give detailed instructions | Studio Quality | The interface offers image editing and closer instruction control. |
| Preserve a complex pattern, layered collar, or small accessory | Studio Quality, then inspect | More precise results help, but visual review still decides. |
Treat an AI try-on as a visual decision aid, not evidence of exact fit, fabric weight, or retail color. It can help narrow choices; it cannot replace a size chart, product measurements, or a real garment sample.
A practical quality-switching workflow
Use a two-pass approach rather than paying for detail before you know you need it.
- Make one controlled Essential Try-On. Use a sharp person photo, one clear garment or full-look reference, and one plain instruction. Keep the pose and background request modest so you can judge the clothing change.
- Inspect the result at normal size and close up. Look at the collar, cuffs, hem, hands near the garment, repeated patterns, and shadows. Decide whether the problem is the source photo, the instruction, or the amount of garment information.
- Switch to Studio Quality only for a specific reason. Add the relevant separate pieces or state the needed edit. Ask for one correction at a time, then compare it with the first result rather than assuming the higher-quality option solved everything.
This is also the point of the post-result Studio Quality recommendation on the homepage: a basic result can be useful, while detailed garments, complex patterns, or a need for more natural-looking detail can justify a second pass.

Illustrative quality check: inspect garment texture, collar shape, seams, and lighting before deciding whether another pass is worthwhile.
What to check before you spend another credit
The best next step is usually a diagnosis, not a longer prompt. Use this short checklist.
- Identity: Does the face still look like the person in the source image? Are hands and ears plausible near the new clothing?
- Garment boundaries: Do the neckline, sleeve ends, lapels, waistband, and visible layers connect cleanly?
- Pattern and texture: Does a plaid, knit, print, or sheen continue across folds without abrupt changes?
- Light and shadow: Does the new garment share the room’s direction and softness of light?
- Instruction fit: Did you ask for one clothing change, or did the request also introduce a new pose, scene, hairstyle, and accessories?
If the answer is “the source is unclear,” replace the photo before switching modes. A dark, blurry, heavily cropped, or obstructed input gives every quality level less useful information. If the answer is “I need multiple references or a more controlled edit,” Studio Quality is the more appropriate next attempt.
What Studio Quality does not decide for you
Studio Quality is not a sizing tool. It cannot confirm whether a garment will fit, how a fabric feels, or whether an item is still available. It also does not make an overloaded instruction reliable. A request that changes clothing, body position, background, hair, and lighting at once has several moving parts to evaluate.
For a color-only decision, use the dedicated clothes color changer workflow instead of replacing the garment. For a broader outfit experiment, the AI outfit generator is a better starting point. And when the real question is whether a style works for a particular event, compare a few restrained options with the virtual try-on workflow.
A short decision rule
Choose Essential Try-On when the input is clear and the question is singular: “How would this one outfit look on this person?” Choose Studio Quality when the output must reconcile multiple pieces, preserve more nuanced detail, or follow a specific edit instruction. In both cases, keep the first pass simple and retain only results that pass the visual checks above.
Frequently asked questions
Should I use Essential Try-On or Studio Quality?
Use Essential Try-On when one outfit reference and a straightforward preview answer your question. Choose Studio Quality when you need multiple garment references, more precise instructions, an image edit, or a closer check of fine clothing details.
Can Studio Quality use more than one outfit image?
Yes. On the AIClothSwap home workspace, Studio Quality supports up to six garments, while Essential Try-On accepts one outfit reference.
Does Studio Quality make the queue faster?
No. Studio Quality changes image fidelity and editing capability. Queue access depends on account and credit status, so treat quality and speed as separate decisions.
What should I inspect before I keep an AI clothes changer result?
Check the face and hands, garment edges, seams and pattern continuity, light direction, and whether the garment layers make physical sense. Regenerate or use a cleaner source image when a detail does not hold up.
Related guides
- Try the free AI clothes changer →
- How accurate are AI clothes changers?
- Why AI clothes swaps look fake
- How to photograph clothes for AI outfit edits
Try the quality that fits the job
Start with one controlled outfit preview, inspect it closely, and use AIClothSwap when the next decision calls for more garment detail or control.