
How to Change the Color of Clothes in Lightroom
Learn how to change the color of clothes in Lightroom with garment masks, Hue or Point Color, clean edges, and checks that preserve fabric detail.
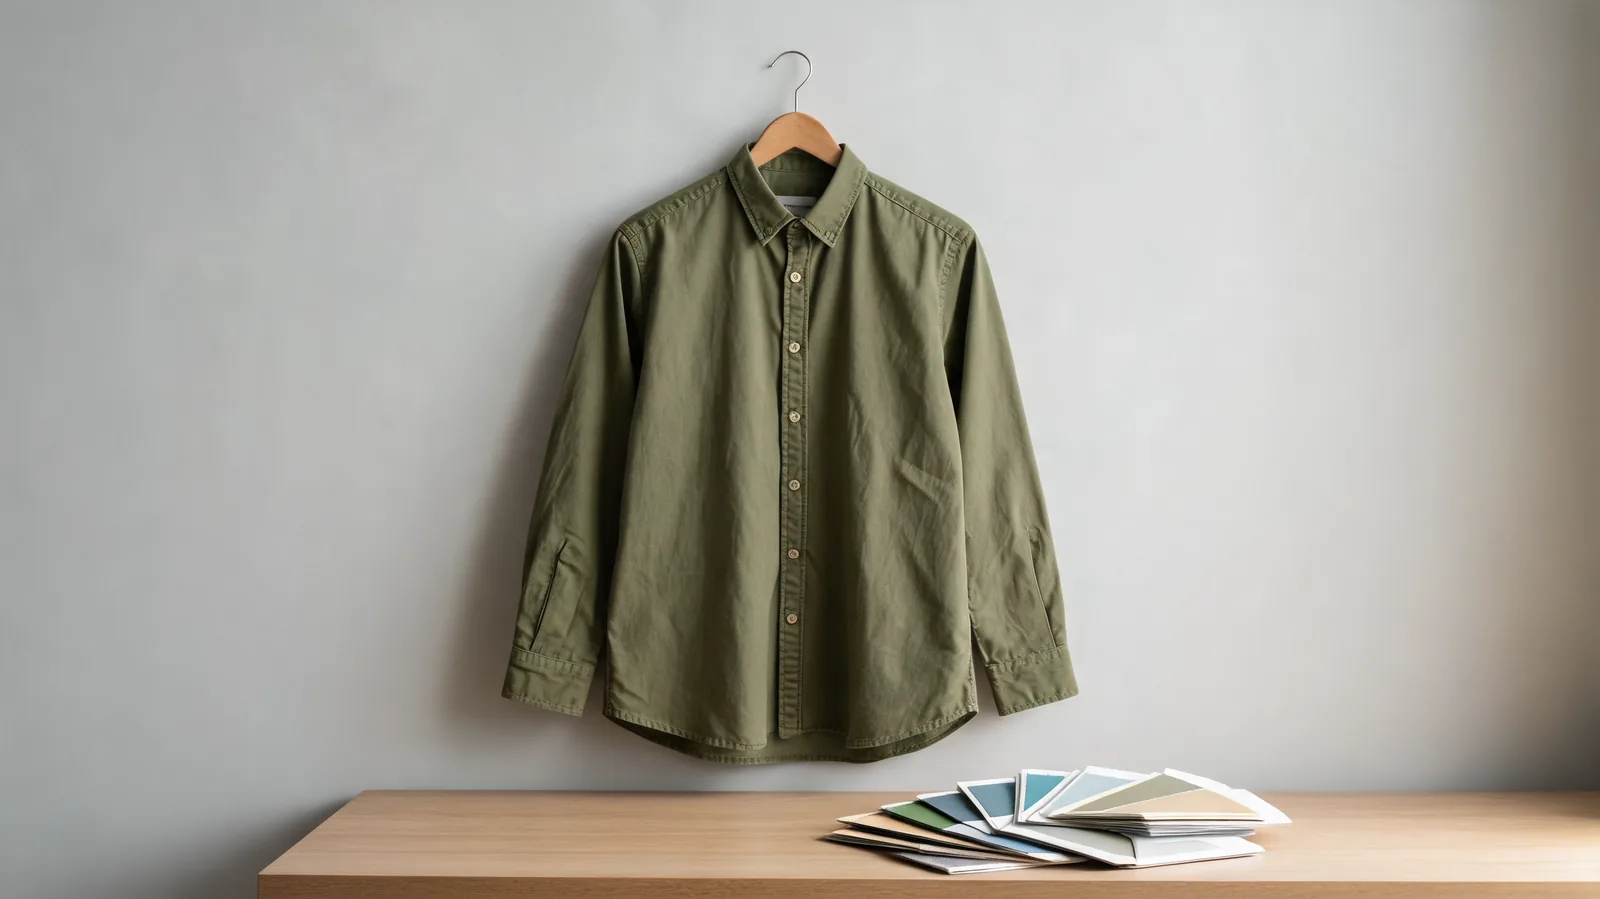
To change the color of clothes in Lightroom, mask the garment first, then adjust its local Hue and Saturation while preserving the folds and shadows. Refine the edges before exporting. For a separate generative color concept, the AI clothes changer offers a Studio recoloring workflow, but Lightroom gives you direct control over the photographed fabric.
Last updated: October 6, 2026 · ~8 min read
The common mistake is moving a global color slider before isolating the clothes. A red-shirt adjustment can also affect red lips or a warm background. The reliable starting point is a selection that includes the fabric and excludes everything around it.
This guide uses current Lightroom Classic and Lightroom desktop terminology, with a mobile alternative below. Exact menus depend on your version and plan. The illustrations show fabric concepts rather than Lightroom screenshots or verified editing results.
Which Lightroom recoloring method should you use?
Choose the method from the photograph, not from which panel is easiest to find.
| Photo or task | Starting method | Main limitation to check |
|---|---|---|
| One garment on a person | Garment mask plus local Hue | Hair, hands, and neighboring layers may enter the mask |
| A colored garment against different-colored surroundings | Object or Brush mask, refined with Color Range if useful | Similar-colored objects may be selected too |
| A small change to a distinct shade | Point Color, within a mask where supported | The selected range may miss highlights or deep folds |
| All instances of a color should change | Global Color Mixer | Skin and background may change along with the garment |
| Black or white clothing needs a major color conversion | Careful tonal work or another editing workflow | Hue alone cannot create the needed brightness and detail |
Adobe's Lightroom Classic Color Mixer guide distinguishes global color-range adjustments from more precise Point Color sampling. A global adjustment is useful when you intend to change matching colors throughout the photo. It is a poor shortcut when only the shirt should change.
How do you change clothing color in three steps?
1. Select the garment and clean the mask
In Lightroom Classic, open the photo in Develop, then open Masking. If People detects the subject and offers a Clothes selection, use that as your starting point. Inspect what it includes: a clothes selection can cover several garments when you only mean to recolor one.
If that option is unavailable or selects too much, try Objects where supported, or use Brush to paint the garment. An automatic selection saves time only if its boundaries match the task. A plain shirt against a contrasting wall is usually easier to isolate than a layered outfit with similar colors.
Turn on the mask overlay and zoom in. Use Add to include missed fabric and Subtract to remove skin, hair, hands, jewelry, and background. Brush around the collar, cuffs, waist, and any crossing arm. Use a smaller brush near seams and a softer transition where the fabric edge is genuinely soft.
Adobe's Classic masking documentation explains the available selection tools and how to refine masks. Do not assume a detected person means every clothing edge is correct.
A Color Range mask selects by color rather than by garment identity. It can help narrow a selection, but a matching chair or wall may enter the same range. If supported in your version, intersect the garment selection with Color Range; otherwise, subtract the unwanted regions manually.
2. Shift the color without flattening the fabric
Keep a reference copy for comparison. Hide the overlay so you can judge the actual color. With the garment mask active, move the local Hue control toward the desired shade. Use finer adjustment for small corrections. Then adjust Saturation only as much as needed to make the color believable.
Where your version provides Point Color inside Masking, sample a representative fabric area and refine Hue Shift, Saturation Shift, and Luminance Shift. Use its range controls to inspect which shades are affected. Adobe's Lightroom desktop editing guide describes Point Color and its use with masks.
Start from a midtone rather than a bright reflection or nearly black crease. If only part of the garment changes, examine the selected range before adding a large brightness correction. A narrow color range may exclude the folds you still need to recolor.
3. Inspect the edges and export a comparison
Toggle the mask adjustment off and on. The face, hands, other clothing, and background should stay visually stable. Look closely for a colored halo near a cuff or a strip of the original shade along the collar.
Export a copy, then inspect the actual file at the size in which you will use it. A clean editing preview can still reveal rough edges after resizing or sharpening. Keep the original photograph beside the export so you can compare the fabric shape and lighting, not just the new shade.
Fix the selection before compensating with stronger color controls. A perfect shade applied to the wrong pixels is still a failed clothing edit.
How do you preserve texture, seams, and shadows?
Use the original photograph as the texture reference. Zoom in on a visible seam, a button, and a folded area. Those details give you a practical test: if their contrast disappears, the recolor has changed more than the shade.
Do not increase Texture or Clarity automatically to “bring back” detail. First check whether brightness or saturation adjustments have hidden it. Extra local contrast can make a cotton shirt look harsh or exaggerate noise in a dark fabric.
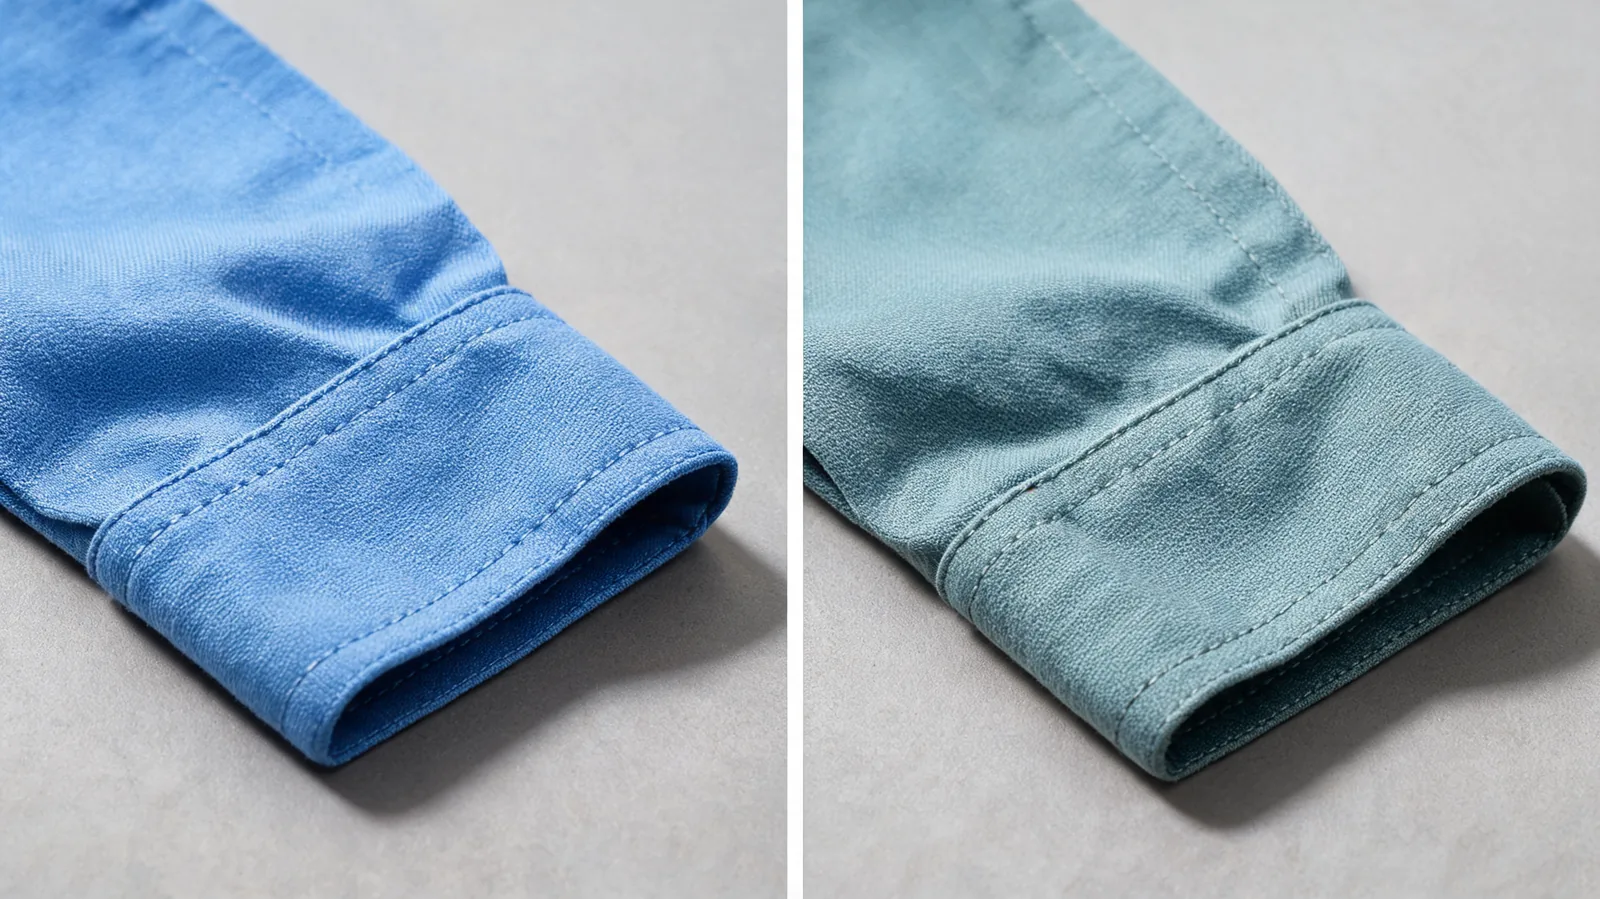 Illustrative texture comparison: inspect the weave, stitches, and shadow transitions as well as the target color.
For more inspection criteria, see how to recolor clothes without changing fabric texture. The useful question is whether the material still looks like the photographed material after the edit.
Why are black, white, and patterned clothes harder?
Hue works most predictably when the source contains useful color information. A white shirt has very little saturation to shift. A black shirt may have so little visible detail that making it bright exposes noise or produces gray, flattened folds.
Patterns create another decision: should the entire garment change, or only its base color? If the print should remain stable, mask it separately or refine the color range to exclude it. A multicolored pattern may need several controlled adjustments rather than one broad hue shift.
For a concept preview when direct adjustments become awkward, the clothes color changer offers a generative alternative through Studio. That can help explore a color direction, but it can also redraw details. It should not be treated as an exact record of a real garment.
How does the workflow differ on Lightroom Mobile?
Open the photo, choose Masking, and create a selection using the tools your app provides. Brush is a useful fallback when automatic selection includes several layers. Refine the garment edges before opening the local color controls.
Adobe's mobile local-adjustment reference lists Hue, Saturation, brightness, and other controls available within masks. Desktop panel names do not always match the mobile layout, and masking access depends on your version and subscription.
Watch a clothing-color editing walkthrough
Heather Lahtinen demonstrates changing clothing color with Lightroom's adjustment brush and masking controls.
The video uses an earlier Lightroom interface, so apply its selection-and-review approach with the mask controls in your current version.
When should you use Lightroom or an AI color preview?
Use Lightroom when the existing garment is right and you need controlled color adjustments to its photographed pixels. Use a generative preview when you are exploring a look and accept that the image may change beyond color. If you also want a different garment or complete outfit, AI dress up is a separate task from selective recoloring.
For ecommerce work, neither a convincing Lightroom edit nor an AI image proves that an item exists in the depicted shade. Compare with the actual product under appropriate lighting before using a recolored photograph as a factual sales image. The color-variant photography guide covers that broader decision.
This article is published by AIClothSwap's editorial team. The Lightroom instructions use Adobe's documentation; the product links describe an alternative workflow rather than an Adobe endorsement.
Frequently asked questions
Can you change the color of clothes in Lightroom?
Yes. Isolate the garment with a mask, then adjust its local Hue and Saturation. Point Color offers another way to refine sampled colors in supported versions. Check the mask edges so skin and background colors remain unchanged.
Why is Lightroom changing my background color too?
A global Color Mixer adjustment affects similar colors throughout the photo. Use a garment mask for local edits, and subtract any background areas included in the selection. A Color Range selection alone can also include matching colors outside the garment.
Can I change a black shirt to white in Lightroom?
A convincing black-to-white conversion is difficult because it needs a large tonal change, not just a hue shift. Raising brightness can expose noise or flatten folds. Use a dedicated retouching workflow or a new photograph when accurate fabric appearance matters.
Can I recolor clothing in Lightroom Mobile?
Yes, where your app version and plan provide masking. Create a garment selection, refine it with the Brush, and use the local color controls. Mobile menus differ from desktop, so follow the controls actually available in your version.
Related guides
- Try the AI clothes changer →
- Clothes color changer
- Clothing color variants without a reshoot
- AI clothes changer prompt examples
Choose the edit from the photograph
Start with a garment mask in Lightroom when you need to preserve the photographed material. For a separate outfit concept, open AIClothSwap and review the result as a preview before making any claim about a real product.