
Change Clothes With AI: Use a Hex Code for One Garment
Change clothes with AI using one hex color: make a controlled one-garment preview, protect the rest of the photo, and review the result before relying on it.
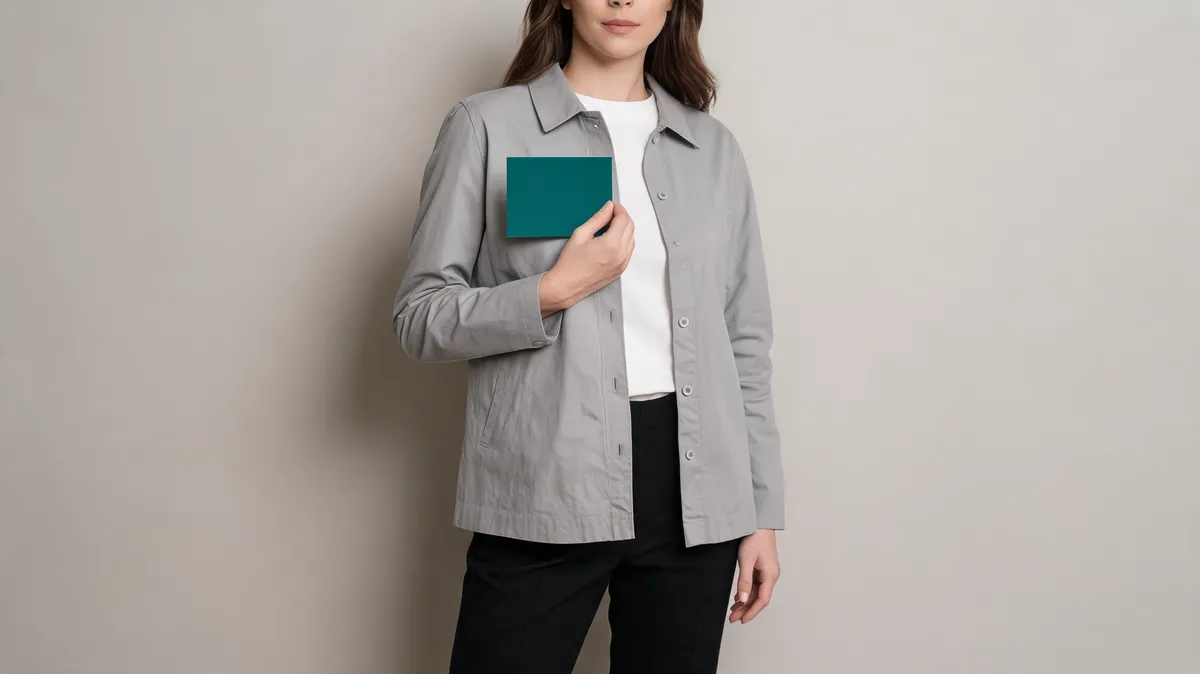
To change clothes with AI using a hex code, pick one visible garment, state the target value, and name everything that must stay unchanged. A clothes color changer can make a fast color-direction preview, but a hex value does not prove the color of a real garment or guarantee that every edge, texture, hand, and shadow survived the edit.
Last updated: September 30, 2026 · about 7 min read
This is an execution guide, not another AI-versus-Photoshop comparison. The useful question here is narrower: how do you test a specific digital color on one jacket, shirt, dress, or pair of trousers without quietly recoloring the whole image? Start with a source photo that shows the target garment clearly, make a controlled request, and decide from a side-by-side review whether the preview is useful.
What a hex-code preview is actually for
A hex code is a compact way to represent a digital color, commonly written as #RRGGBB; the W3C CSS Color specification defines the notation. That specificity is useful when your brief says “use this teal,” not merely “make it blue.” It does not turn a generated photo into a physical color sample.
| Your decision | A hex-code AI preview can help with | It cannot establish |
|---|---|---|
| Compare two approved-looking digital directions | Whether one color reads better in this photo | The exact dye, batch, or physical swatch match |
| Recolor one visible overshirt | Broad color placement while keeping the outfit concept | Perfect preservation of weave, labels, or tiny patterns |
| Plan a shoot or product variant | A shortlist of directions worth reviewing | SKU accuracy, commercial approval, or stock |
| Prepare a client conversation | A visual discussion draft | Permission to present it as finished photography |
A hex code makes the request specific. It does not remove the need to inspect the output or to check a physical source before making a color claim.
Set up a one-garment request
Begin with an authorized adult photo that is sharp, evenly lit, and large enough to show the garment edge. The ideal target has a readable collar, shoulder line, sleeves, and hem. Hair draped over the collar, crossed hands, a bag over the torso, harsh reflections, and deep shadows all make it harder to see whether the color stayed inside the intended boundary.
Next, choose a target value from the approved digital source you are actually using. Keep the prefix: write #0F766E, not just “0F766E.” Then state the garment in plain language and list what must not change. A usable prompt is:
Change only the light-gray overshirt to
#0F766E. Keep the face, hair, hands, white top, trousers, pose, background, seams, fabric texture, highlights, and shadows unchanged.
The exact words are less important than the separation between the intended edit and the protected parts. If the photo contains a jacket and shirt, name which one to recolor. “Make the outfit teal” leaves the system—and your review—without a boundary.
Change clothes with AI in three steps
- Lock the source and the target. Save the original, identify one garment, and copy the approved hex value. If the image is for a seller or client, record where the value came from and label the result as a preview.
- Run one constrained preview. Use the clothes color changer, choose or enter the target color, and use a short instruction to protect the other garments, person, pose, light, and scene. Do not combine a recolor with a new body shape, hairstyle, room, or pose.
- Review at full size. Compare output and original side by side. Reject a version that changes a neighboring garment, tints skin or hair, deletes a fold, invents a seam, or makes the new color float above the fabric.
For a color-only decision, this workflow is deliberately different from a full AI clothes changer. If you need to compare a specific garment reference on a person photo, use virtual try-on instead; it is a different input and a different visual question.
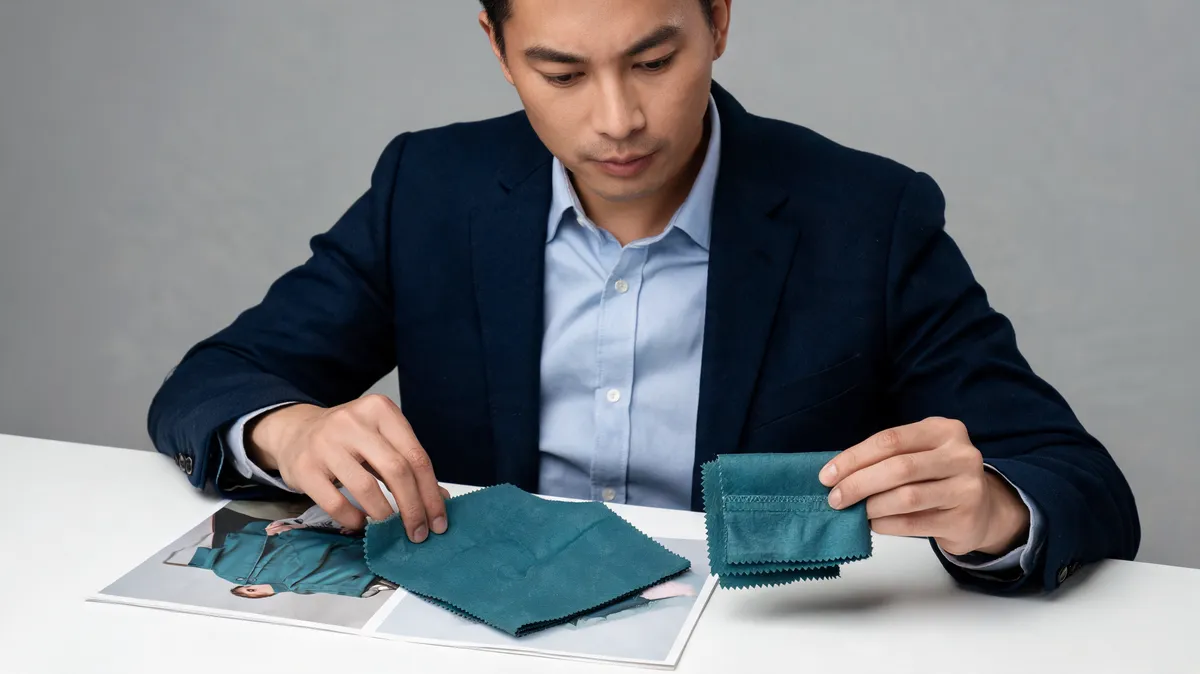
Editorial illustration of a quality-control step. The color code guides a digital preview; texture, boundaries, and real-world color still need review.
Inspect the places a thumbnail hides
The most attractive image is not always the most useful one. Zoom in and compare these areas with the source:
- Garment boundary: collar, shoulder seam, cuffs, waist, hem, and any edge against skin or hair.
- Untouched clothes: shirt, trousers, belt, shoes, and accessories should remain the colors you did not request.
- Fabric information: folds, highlights, shadows, texture, buttons, and prints should still follow the original garment rather than becoming flat paint.
- People and setting: face, expression, hands, proportions, pose, light direction, and background should not drift just because one garment changed.
- Color judgment: the output should read as the requested digital direction, while being labeled a preview rather than a physical color proof.
If a teal request leaks into a white shirt or colors fingers at the cuff, reduce variables before trying again: use a clearer photo, choose a garment with cleaner boundaries, or simplify the instruction. For pattern-specific checks, see how to recolor patterned clothes without smearing the print.
Where the workflow stops
Do not use this preview to claim a retailer offers that item, that a physical piece is a particular Pantone or dye-lot match, or that the person was photographed wearing the recolored garment. A screen, camera, ambient light, textile, and generative edit can all alter the apparent result. For a product listing, campaign, or any color-sensitive deliverable, compare against the approved physical sample and retain human approval.
The earlier AI clothes color changer vs. Photoshop guide helps with the separate tool-choice decision. This guide’s outcome is simpler: one controlled digital preview, one documented limitation, and one honest accept-or-reject call.
Verified video: garment color with a hex value
“Change the Color of a Garment with Hex Color using AI - AI Clothing Color Changer” is embedded because DataForSEO verified it for the exact search “change clothes color hex code,” confirmed it can be embedded, and reported 561 views on September 30, 2026. It is a third-party demonstration, not a test of AIClothSwap or proof that any generated output preserves every garment detail.
Frequently asked questions
Can a hex code guarantee the exact color of a real garment?
No. A hex code is a precise digital color instruction, but a rendered preview and a physical garment can differ because of fabric, dye, lighting, cameras, displays, and image-generation behavior. Use an approved physical swatch or product specification for final color decisions.
How do I change only one garment with AI?
Name the garment and its target hex value, then explicitly list the elements that must remain unchanged: the face, hair, hands, other clothes, pose, lighting, background, seams, and fabric texture. Review those boundaries against the original after generation.
When should I use Photoshop instead of an AI color preview?
Use a controlled preview to explore a color direction quickly. Use a manual editing workflow when a final asset needs exact masking, approved brand color, complex fabric repair, or pixel-level control. In either case, a human should approve a customer-facing image.
Related guides
- Try the free AI clothes changer →
- Change one garment with the clothes color changer
- Recolor clothes without losing texture
- Keep patterns sharp in a recolor
- Choose AI or Photoshop for the job
Keep the claim smaller than the preview
Use one hex value to test one visual direction, then let the original photo, physical sample, and human review decide what is publishable. Start a controlled color preview →.