
AI Vampire: Turn Your Photo Into a Vampire Costume Look
Make an AI vampire costume photo from your portrait. Learn which mode to choose, how to describe the clothes, and what to check before saving.
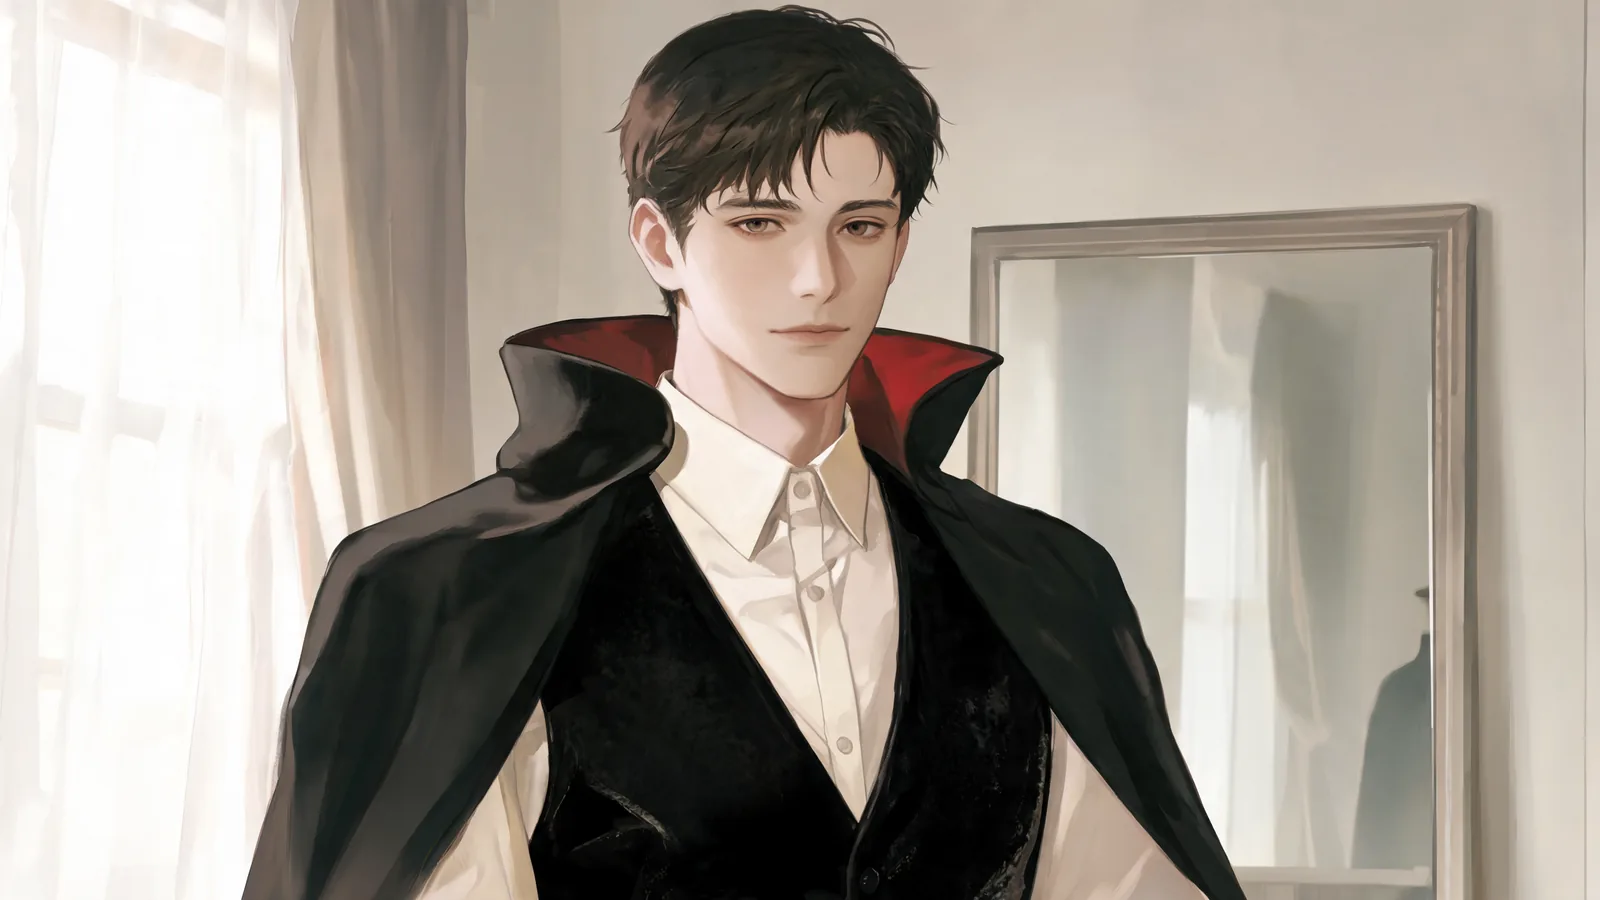
To create an AI vampire costume photo, open Vampire Filter, upload a clear photo of a consenting adult, and choose Studio Quality to use the editable costume description. Keep the cape-and-velvet direction or name different clothes, generate a still image, and inspect the face, collar, sleeves, hands, and cape edges.
Last updated: October 13, 2026 · about 8 min read
Begin with three clothing choices: the outer layer, the fabric, and the red accent. A cape over a velvet waistcoat gives you a clearer starting point than an elaborate character description. Decide what you want to see on yourself before adding a dramatic room or extra accessories.
This guide describes the studio as of October 13, 2026. Its cover is a costume illustration, not an editing result. The feature page has its own classic, modern, and Victorian demonstrations; use those to understand the styling directions rather than expecting an identical output.
1. Frame the photo around the garment you want to judge
Choose one photograph of yourself, or another adult who has agreed to the upload and edit. For a first attempt, use a standing portrait with the shoulders visible and the arms separated from the torso. An elbow across the chest can hide the waistcoat fastening; a scarf can make the new collar harder to distinguish.
A close crop answers a small question: does a red-lined collar suit this portrait? It cannot show whether a long cape or gown has the outline you wanted. For those decisions, start with a three-quarter or full-length photograph and leave room around the legs and shoulders.
Use light that lets you see the eyes, mouth, and hairline. A dark costume does not require a dark source photo. Strong shadows across the face make identity checks harder, and black clothing against a black wall can hide the garment boundary.
If you need more help choosing a source, the photo preparation guide explains framing and obstructions. Do that preparation before you spend time refining a costume description.
2. Choose a mode that accepts your input
On Vampire Filter, the distinction is between describing an imagined outfit and supplying a photograph of an existing one. Select the mode for the input you actually have.
| Your starting point | Mode on Vampire Filter | What to prepare |
|---|---|---|
| One outfit photograph for one adult | Free Preview | One person photo and one outfit reference; the preview is available at no cost |
| One costume photograph | Essential Try-On | One outfit reference, such as a complete cape-and-waistcoat look |
| A written costume idea | Studio Quality | Your person photo and a specific description |
| Several garment references | Studio Quality | Up to six outfit images with clear instructions about their combination |
| Two adults in the same photo | Studio Quality | Both adults' consent and separate left/right clothing instructions |
Studio Quality unlocks after any membership or credit-pack purchase. Essential Try-On uses one outfit image; it is not the text-only route on this page. Free Preview applies one outfit reference to one person. These mode distinctions refer to Vampire Filter; other feature pages can have their own workflow.
If you are comparing a costume sold in a shop, use a reference showing the actual garments. You can upload costume photographs instead of writing a description. With multiple references, make each role clear: the cape from one picture, the waistcoat from another. Contradictory complete outfits can make the desired combination ambiguous.
3. Keep the default or replace it with one clear direction
The page starts with an original vampire description: a high-collared black cape with deep red lining, dark velvet clothing, and a candle-lit gothic hall, without blood. It also includes subtle makeup instructions. The description is editable, so remove the makeup or change the setting if your purpose is to compare clothing.
For a controlled first portrait, choose one main outfit. Do not ask for a classic cape, a city overcoat, and a Victorian gown all at once. Name the garments, their colors, and the parts you want visible. Ask to preserve the original face and pose, then review whether the image actually does.
Classic: define the collar before the scenery
A plain black cape over an ivory shirt and charcoal waistcoat makes the red lining easy to assess. Specify whether the cape is open or fastened. An open cape reveals more of the outfit underneath; a closed one shifts attention toward the collar and shoulders.
An example description to adapt:
Add an original black cape with burgundy lining over an ivory shirt and charcoal velvet waistcoat. Keep the cape open and the collar below the jaw. Leave the face, hair, hands, and pose recognizable. Retain the original room and use soft light. No blood or character likenesses.
This is a suggested instruction, not a claim that a particular result has been produced. Begin with a simple fastening; ornamental chains near the neck create more small details to check.
Victorian: make the layers readable
For a period-inspired portrait, request a dark frock coat, a buttoned waistcoat, and a restrained cravat. Give the coat a definite length and keep the cuffs plain initially. If you prefer a gown, specify an opaque burgundy velvet dress with long sleeves and a high neckline.
The useful question is how those layers sit together. A coat should have a clear front opening; a cravat should sit inside the neckline rather than appear to grow from the collar. Avoid adding gloves until you can see whether the hands and sleeve endings look sensible.
Modern goth: keep the tailoring visible
A black tailored jacket, straight trousers, and a deep red shirt can create a modern direction without a cape. Ask for a visible jacket lapel and a clean trouser outline. Keep the source setting while you compare the outfit, then consider a night-time city backdrop separately.
The Halloween costume generator page describes the wider costume theme, while the couples Halloween costumes page covers styling a pair. Those are useful context if your decision extends beyond one vampire portrait.
4. Generate, then check the person before the costume
Follow the studio's sign-in and verification prompts and generate your still photo. Once it is ready, compare it with the original at a similar viewing size. Start with the eyes, mouth, hair, and jawline. Clothing changes should not make the subject unrecognizable.
Then follow the outfit's construction: collar to shoulders, shoulders to sleeves, cuffs to hands, and cape fastening to hem. A dramatic background can distract from errors at those junctions. Inspect the picture enlarged as well as at the size you intend to share.
Use this acceptance checklist:
- The face remains recognizable, with no unwanted replacement or distortion.
- The collar does not cut across the chin or merge with hair.
- The cape has continuous edges and a plausible fastening.
- Sleeves connect to shoulders, and cuffs stop at the wrists.
- Hands remain separate from clothing and have a believable shape.
- The waistcoat, coat, or gown is visible enough to inform the clothing decision.
The best version for costume planning is the one whose clothes you can read clearly. Heavy shadows can conceal a bad cape edge just as easily as they can create atmosphere.
5. Revise the specific part that failed
Keep the successful pieces of the instruction and change the part responsible for the problem. If the collar is too tall, lower it. If the red lining dominates the portrait, ask for a narrow visible strip. If the coat blends into the room, retain the clothing and request a lighter background.
| What you see | What to change next |
|---|---|
| Collar overlaps the jaw | Ask for a lower, softer collar and an uncovered neck |
| Cape seems attached to an arm | Use a clearer pose and specify a simple shoulder fastening |
| Lace cuffs obscure fingers | Replace the lace with plain cuffs |
| Too many overlapping garments | Remove one layer or one reference image |
| The requested outfit is hidden | Ask for an open cape and brighter, even light |
Changing everything at once makes comparison harder. Keep a short note about the clothing decision you are trying to resolve, such as “open cape versus long coat.” If the source itself hides that area, use a better photograph rather than repeatedly asking the description to recover it.
Use the portrait to plan the real outfit
A convincing image is a visual interpretation. It does not establish garment measurements, fabric weight, comfort, stock availability, or physical fit. Compare shop photographs and sizing information before ordering anything shown in a reference.
For more wearable combinations, see vampire costume ideas for adults. Once you have the physical garments, walk and sit in them. Health Canada's Halloween safety guidance notes that long or loose costumes can cause trips and falls. Keep a real cape or coat hem clear of the floor.
AIClothSwap publishes this guide and operates the studio. The clothing descriptions are planning examples, not a report of hands-on tests of every suggested look. Use original adult costumes, without gore, sexualized styling, franchise characters, or celebrity likenesses.
Frequently asked questions
How much of my body should the source photo show?
Include the whole area the costume needs. A waist-up portrait works for a collar and waistcoat; a three-quarter or full-length photo is better for cape length, a frock coat, or a gown. Keep your face clearly visible.
Can I remove the castle from the default description?
Yes. Edit the description in Studio Quality and ask to retain the original background. You can also remove the makeup instructions and specify only the clothing you want.
Why does the cape collar look wrong?
A high collar can overlap the jaw, hair, or shoulders. Ask for a lower collar with a simple fastening, remove extra neck accessories, and use a source photo with an unobstructed neckline. Reject an edit that changes your face.
Can AI Vampire make a video or replace my face?
AIClothSwap produces still photos. Vampire Filter edits clothing and aims to keep you recognizable; it is not a face-swap tool. Compare facial features with the original because an edit can still introduce unwanted changes.
Related guides
Create your vampire costume photo with one clear clothing direction, then check the portrait against your original before saving it.