
AI Ease Clothes Changer: What to Check Before You Upload
Use AI Ease clothes changer with a clear photo and one outfit goal. Check upload choices, garment details, privacy questions, and reference-based alternatives.
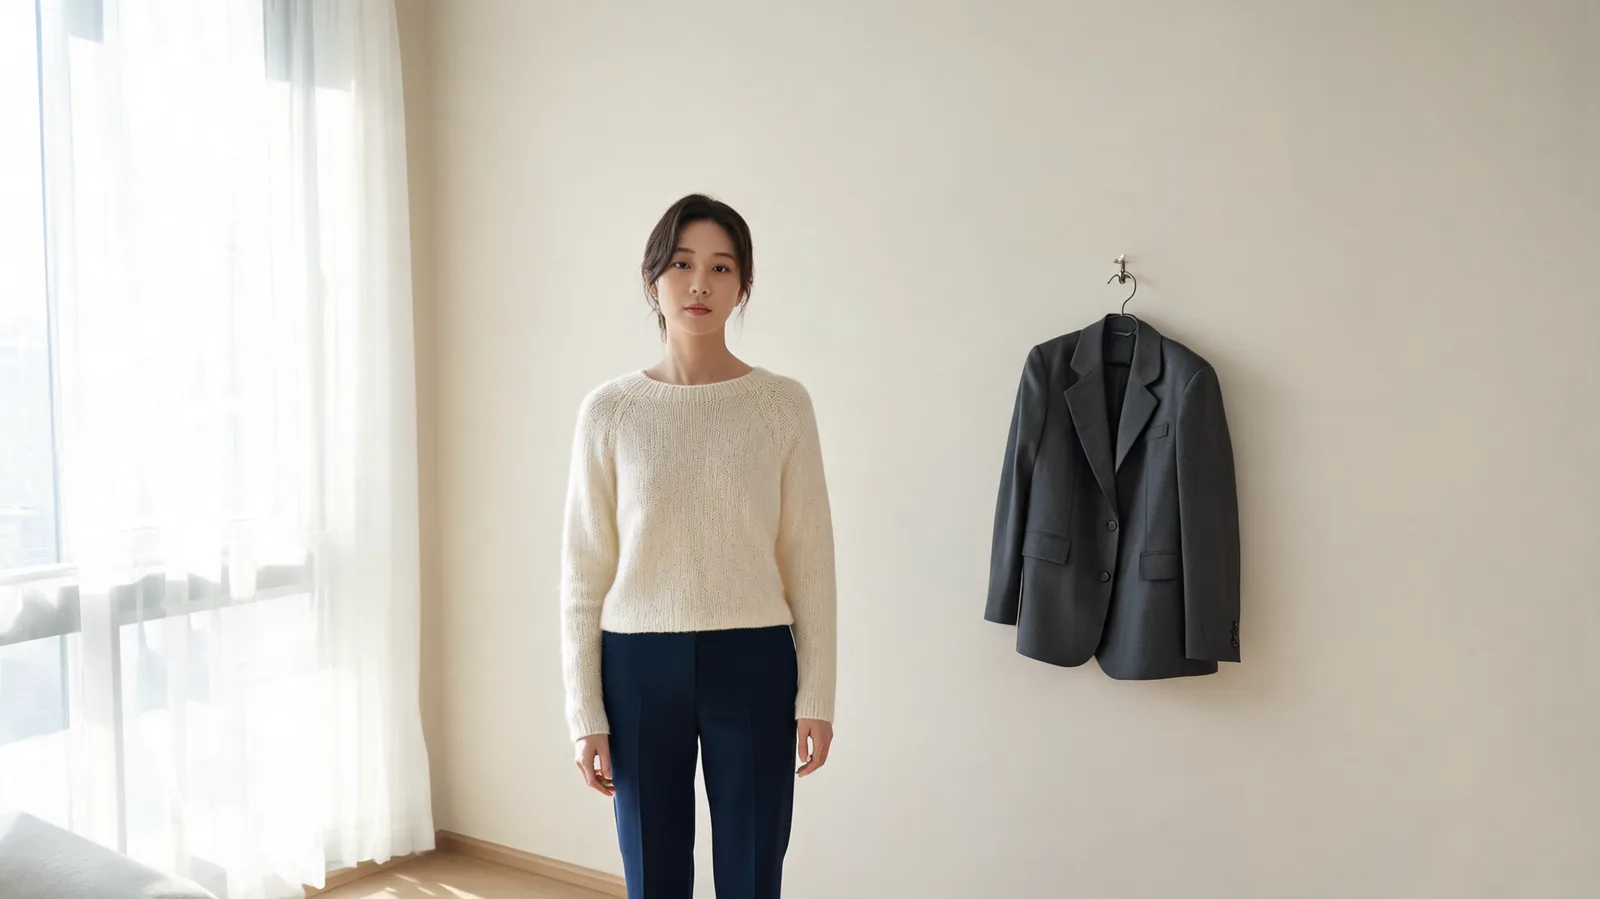
AI Ease clothes changer is a starting point for trying clothing templates on a portrait. Before uploading, choose a clear photo, decide on one outfit change, and check the current account and download conditions. If you want to preview a specific garment instead, the AI clothes changer offers a person-photo and clothing-reference workflow.
Last updated: October 5, 2026 · ~8 min read
What does AI Ease clothes changer actually offer?
AI Ease’s official clothes changer page describes uploading a half-body or full-body portrait, selecting a clothing template, generating a result, and downloading it. The upload area lists JPG, JPEG, PNG, BMP, and WebP. Its examples include business attire, wedding outfits, and everyday styles.
That is useful for a style question: would a tailored look suit this portrait better than casual clothing? It is a different question from whether a particular jacket in your wardrobe will work with particular trousers. A template offers a direction; a garment reference gives the editor a specific item to work from.
This guide is published by AIClothSwap’s editorial team. It explains the public workflow and offers a practical evaluation method, rather than claiming a hands-on ranking or a measured quality comparison. The illustrations show what to inspect; they are not screenshots or test results from AI Ease.
Start by writing down the decision you want the picture to answer. “Would a dark jacket work with this background?” is manageable. “Make me look better” leaves the garment, pose, lighting, and identity open to interpretation. You will also find it harder to decide whether the result succeeded.
What should you check before uploading a portrait?
Prepare a working copy and keep the original untouched. Choose a photograph you have permission to edit, with only the intended person in frame. If a background contains personal paperwork or other people, use another photo or crop that unrelated area out.
Then check the part of the body that matters to the clothing. A head-and-shoulders portrait can show a neckline or blazer lapel. It cannot help you inspect the length of trousers. For a full outfit, include the hips, legs, and shoes with a little space around the figure.
Avoid starting with a picture in which arms are folded tightly across the chest, a bag covers the waist, or a dark coat hides the entire silhouette. Such photos can produce attractive edits, but they leave less visible information for judging how the new clothing connects to the body.
| Check | A useful starting photo | Reason to replace it |
|---|---|---|
| Framing | The body area for the intended edit is visible | Sleeves, waist, or legs are cut off |
| Light | Clothing edges can be distinguished from shadow | Deep shadows conceal the neckline or cuffs |
| Pose | Arms and hands have readable boundaries | An arm, phone, or bag covers the clothing |
| Detail | The source still looks clear when opened larger | Compression makes hair and fabric edges blur together |
| Purpose | One clothing decision is defined | The request changes the entire scene at once |
You do not need a studio photograph. A simple, evenly lit picture is enough for a first experiment. The goal is to make errors easy to notice, not to make the input look like an advertisement.
If the portrait passes these checks, look at the upload controls for file limits and accepted formats. Avoid repeatedly converting a small image into different file types; changing the extension cannot restore missing detail. Return to the original camera file when it is available.
How do you run one controlled clothing edit?
AI Ease’s published sequence is a template workflow. Use it as a focused trial rather than changing every setting together:
- Upload the prepared portrait. Keep the source open separately so you can compare it later. Use a framing that shows the clothing area you intend to change.
- Choose one template and generate. Select a look that answers your written question. For the first attempt, avoid also seeking a different hairstyle, body pose, or background.
- Inspect before downloading. Compare the result with the original at normal viewing size and enlarged. Keep it only if the outfit and the person both remain plausible.
For example, suppose you want a more formal portrait for a professional profile. Start with one tailored outfit direction. Check whether the shoulders, collar, and sleeves look coherent before trying a second style. Do not choose a result solely because the new jacket is appealing if the face has changed noticeably.
For a specific shopping question, the virtual try-on workflow is a closer match: you supply the person and clothing images rather than relying only on a style category. Use the same portrait when comparing different tools so the input does not become another variable.
Keep one question fixed across attempts. A clothing preview is easier to evaluate when the face, pose, crop, and background are meant to stay consistent.
This walkthrough shows AI Ease’s portrait upload and clothing-template workflow; the current layout may differ.
Which details decide whether the result is usable?
Begin with identity. Compare facial shape, eyes, hairline, and visible ears with the original. A flattering result is still a poor clothing edit if it makes the person look like someone else. Check hands where they touch a pocket, sleeve, or waistband.
Next, follow the garment boundaries. A shirt collar should connect to the neckline rather than float above it. Jacket lapels should form distinct folds. Cuffs should end around wrists without swallowing fingers. Look at the hem and waistband for unexpected joins or gaps.
Finally, compare the light. New fabric should share the scene’s general direction of illumination. A jacket with a bright highlight on the opposite side from the person’s face can feel pasted into the picture, even if the color is appealing.
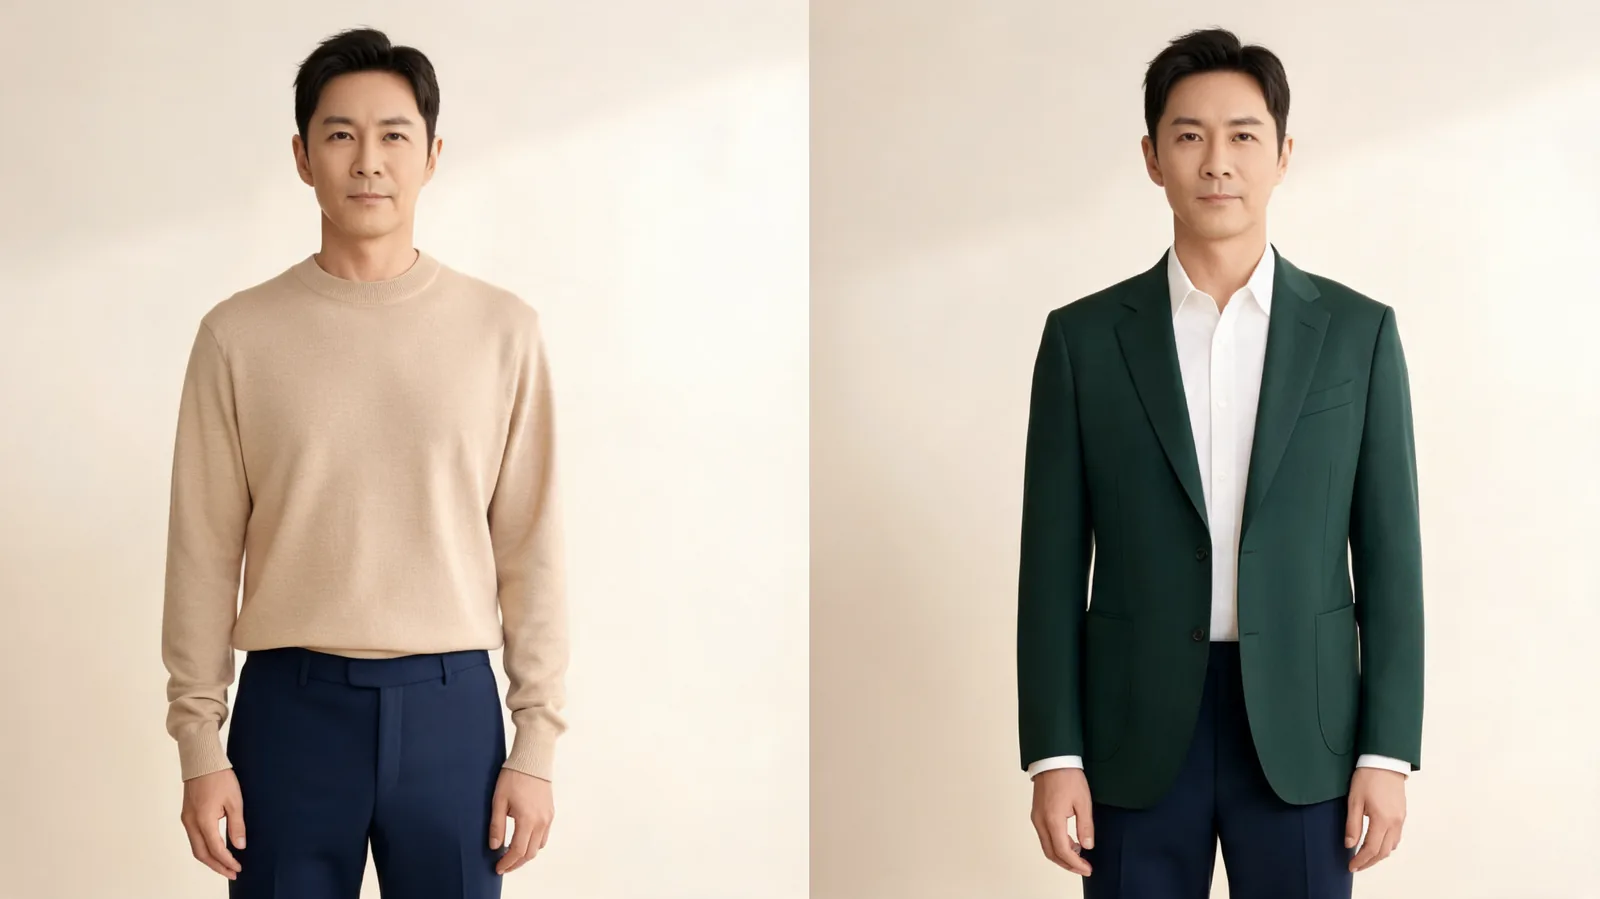 Illustrative clothing comparison, not an AI Ease result: check the face, lapels, cuffs, and unchanged surroundings as well as the new outfit.
Use a simple pass-or-fix decision. If the picture is for a small social post, fine stitching may be less important than a natural overall silhouette. If it will appear in a large portrait, zoomed clothing detail matters more. Decide the intended viewing size before spending time on tiny imperfections.
For an item you plan to buy, compare the actual product photograph separately. Count visible buttons, look at pocket placement, and check whether a print has been simplified. An outfit that looks convincing can still differ from the item being considered.
How should you handle free access and privacy questions?
AI Ease advertises this tool as free. Before you invest time preparing a whole wardrobe, check what the current interface requires for an account, how many attempts are available, and whether downloading the result has additional conditions. Treat any allowance shown to you as the relevant one; do not assume the label means unlimited generations.
Read the AI Ease privacy policy before uploading a personal portrait. Look for language that applies to your intended tool and data, rather than extending a statement about one image service to every feature. If retention or deletion details are unclear for your use, ask the provider or choose a less sensitive photo.
The AI Ease terms of service are also relevant when you intend to publish or use an edited image commercially. Check permitted use and your rights to the original photograph. Permission to edit your own portrait does not automatically cover a photographer’s image or somebody else’s likeness.
These checks are useful with any online image editor. Use only the information needed for the clothing task, avoid documents visible in the background, and keep a local copy of your original. If you are preparing a client image, resolve consent and intended use before making the upload.
When is a garment-reference workflow a better choice?
Choose a template when you are exploring a broad style. Choose a reference-based workflow when the question depends on an identifiable garment: a particular collar, a specific pattern, or the combination of pieces you already own.
AIClothSwap’s Free Preview and Essential Try-On accept one outfit image. Paid Studio Quality supports up to six garment images and instructions for combining them. These are input choices, not guarantees of perfect reproduction or fit. The quality selection guide explains when the extra control is useful.
Prepare the reference so the whole relevant garment is visible. A clean hanger photograph or flat lay can make the neckline, sleeves, and hem easier to distinguish. Avoid a collage containing several similar jackets if you intend to select only one. The editor should not need to guess which item matters.
If you have no specific garment and want to explore a described look, an AI outfit generator fits that goal. If the garment itself is right and only the shade is in question, use the clothes color changer rather than replacing the entire outfit.
What should you try when an edit looks wrong?
First identify whether the problem is missing information or an unwanted change. A cropped cuff suggests an input issue. A new hairstyle suggests the edit changed more than you wanted. A different jacket silhouette may mean your reference or instruction did not establish the important detail clearly enough.
Change one thing on the next attempt. Use a sharper portrait, choose a simpler outfit direction, or replace an ambiguous reference. Do not fix a blurry input by adding a paragraph of adjectives. More instructions cannot supply a sleeve that is absent from every photograph.
If several tries still alter the person, stop and choose another source image. Keep the trial useful: it should help you narrow a style decision without encouraging you to accept a picture you cannot trust. For buying clothes, finish with measurements, fabric information, and returns. A plausible image answers how a look might appear, not how it will feel or fit.
Frequently asked questions
How do I use AI Ease clothes changer?
Start with a clear half-body or full-body portrait, choose a clothing template, generate a preview, and inspect it before downloading. Keep the original photo so you can compare the face, pose, and clothing edges.
Is AI Ease clothes changer free?
AI Ease advertises the clothes changer as free. Check the current account requirements, allowance, and download conditions in the tool before starting; the free label alone does not establish unlimited use.
Can an AI outfit preview tell me which size to buy?
No. A generated preview can help you judge a color or silhouette, but it cannot establish garment measurements, stretch, comfort, or physical fit. Use the seller’s size chart and return policy for buying decisions.
What if I want to upload a specific garment photo?
Choose a workflow that explicitly accepts a person photo and a garment reference. AIClothSwap Free Preview and Essential Try-On accept one outfit image; paid Studio Quality supports up to six garment images for a combined look.
Related guides
- Try the free AI clothes changer →
- Virtual try-on
- AI outfit generator
- How to photograph clothes for AI outfit edits
- Why AI clothes swaps look fake
Try one outfit question
Choose a clear portrait and one clothing reference, then inspect a focused preview with AIClothSwap.