
AI Clothes Changer Tool: Crop for a Better High-Quality Edit
Use an AI clothes changer tool's optional High Quality crop step to keep the face, shoulders, and outfit in frame before an edit.
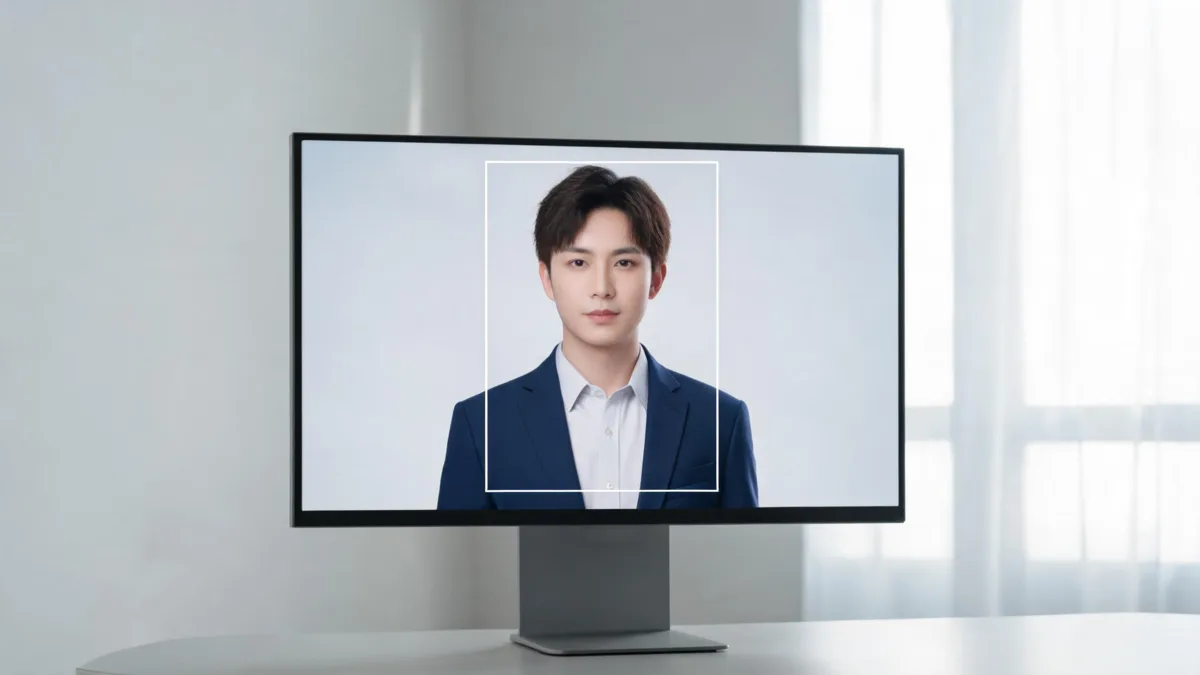
For a better High Quality edit, use the optional crop when your original photo is much wider, taller, or otherwise framed differently from the suggested image ratio. The goal is not to make the photo look “perfect”; it is to keep the face, shoulders, and clothing area readable before an AI clothes changer works on the image. If the suggested frame would cut out something you need, keep the original and judge the result carefully.
Last updated: September 7, 2026 · about 7 min read
Cropping is easy to overdo. A tight portrait may look tidy, but it can remove the sleeve, hem, or background light that makes an outfit preview believable. A loose frame can leave too little garment detail. The useful middle ground is a photo that gives the editor a stable person and a clear clothing area.
On AIClothSwap, the optional crop is offered for High Quality uploads whose dimensions do not align with a supported image ratio. It suggests a matching ratio, lets you reposition the crop, and also gives you the choice to continue with the original. That is a framing aid, not a promise that every result will improve.
When should you use the optional crop?
Use it when the suggested frame protects the details you are actually comparing. It is especially worth trying when a very tall phone photo leaves a lot of empty space above the head, or a wide image places the person at one edge.
Leave the original alone when the suggested crop would remove a hand covering a sleeve, a bag strap, a dress hem, or important environmental light. A crop should simplify the composition, not hide the evidence you need to inspect later.
| Source-photo situation | Sensible first move | What to check before continuing |
|---|---|---|
| Tall portrait with empty space above and below | Try the suggested crop | Head, shoulders, and outfit remain visible |
| Wide group or event photo | Keep the original unless one person is clearly isolated | No other person or object intersects the target outfit |
| Headshot for a blazer or shirt preview | Crop only if the collar and shoulders stay in frame | Lapels, neckline, and shoulder line are not cut off |
| Full-length outfit comparison | Preserve more of the original frame | Hem, footwear, and body proportions remain useful |
| Blurry or backlit photo | Retake or choose a clearer source first | Crop will not restore missing detail |
A crop is a composition decision, not a repair tool. If the original is soft, heavily compressed, or blocked by hands and hair, start with a cleaner photo instead of trying to crop the problem away.
How the High Quality crop step works
The workflow is deliberately optional. It is useful when a ratio mismatch would otherwise make the useful part of the photo harder to preserve.
- Choose High Quality and upload a permitted person photo. The tool checks the image dimensions. If the photo is already a compatible ratio, there may be no crop decision to make.
- Review the suggested frame before accepting it. Drag the crop area until the face, shoulder line, and the part of the outfit you want to judge are all inside it. For a jacket, this usually means keeping the collar, both shoulders, and enough torso to see the silhouette.
- Continue with the crop or retain the original. If the crop makes the framing worse, use the original instead. Then add your garment reference or describe the intended outfit where the High Quality workflow allows it, generate, and review the complete result.
The current High Quality flow chooses from supported image ratios rather than forcing one universal portrait shape. A non-native image can be matched to a nearby supported ratio; the crop control lets you move the frame before it is saved. That is why it is worth looking at the frame rather than accepting it automatically.
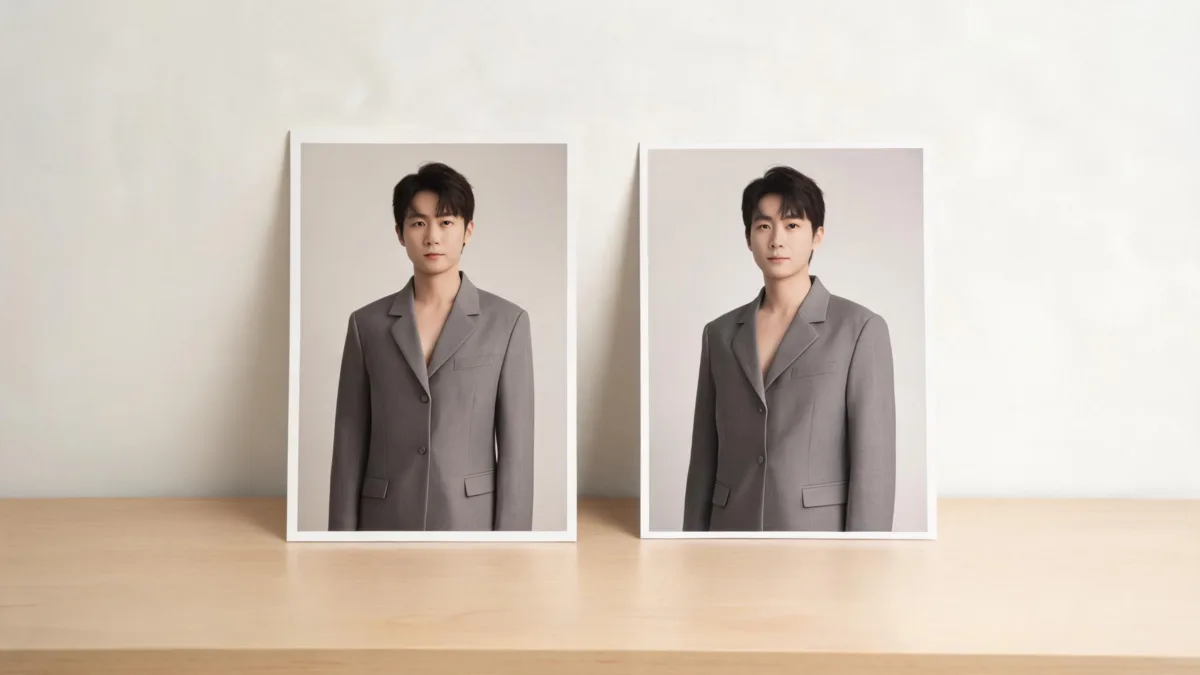
A useful crop preserves the person’s head, shoulders, and the clothing area you need to evaluate.
What to keep in frame for different clothing decisions
The right crop depends on the question. You do not need the same framing for a color test as for a full event outfit preview.
For a shirt, jacket, or blazer, protect the head, both shoulders, collar, and at least the upper torso. This makes it easier to tell whether a neckline or lapel belongs to the person rather than floating on top of the image. If you are comparing professional looks, a business attire photo guide is more useful when the crop shows the amount of torso that will appear in the final headshot.
For a dress or full outfit, keep more of the original. Cropping at the waist can make a garment look plausible while hiding an awkward hem transition or a change in body proportions. A virtual try-on works best as a visual direction test, not as a measurement or fit guarantee.
For a colour-only change, retain fabric folds and a little surrounding light. Those are the clues that help you decide whether a recolour is consistent with the photo. If color is the only variable, use the dedicated clothes color changer page and compare one controlled change at a time.
A quick review after generation
Do not stop at a flattering crop. Open the result at normal size and check the whole image, then zoom into the places where wardrobe edits usually fail:
- The hairline, ears, face, and neck should still look like the permitted source photo.
- Collar points, shoulder seams, cuffs, and lapels should meet the body naturally.
- The garment should follow the source light rather than carrying a different shadow direction.
- Hands, straps, hair, and jewelry crossing the clothing should not become smeared or fused into the fabric.
- The final frame should still answer your original question: color, formality, silhouette, or styling direction.
If the result changes more than the clothing or makes a material claim you cannot support, discard it. An AI outfit image is a planning visual, not evidence of how a garment will fit, look under every light, or exist in a store.
Give the crop a workable source photo
The optional frame has the best chance of helping when the source is simple to read. Stand with the camera roughly level with your upper body, use even light from a window or soft room light, and avoid a busy pattern directly behind the shoulders. If you are photographing a particular outfit reference, lay it flat or hang it against a plain background so its collar, sleeves, and texture are visible.
Before uploading, zoom into the original once. If the face is already soft, the image is a screenshot of a screenshot, or a hand covers the neckline, make a new photo. A few seconds at this stage is usually more useful than repeatedly changing the crop position after the details have been lost.
Limits worth knowing before you crop
The crop feature cannot infer missing pixels outside the frame. It also cannot make a complex scene simple. Dense crowds, a person partly hidden behind furniture, heavy motion blur, very low-resolution screenshots, and severe backlighting are still difficult starting points.
Use only photos you own or have permission to edit. If another person appears in the frame, do not use a crop to make their presence less obvious while keeping their likeness in the result. Ask for permission or choose a different image. For work involving a client or public-facing post, keep the original and label the generated version as an outfit visualization when that context matters.
Frequently asked questions
Should I crop a photo before using an AI clothes changer?
Crop only when the frame cuts through the face, shoulders, hands, or the garment detail you need to judge. Keep enough of the person and surrounding light in view for a useful outfit preview.
Will cropping make every AI outfit edit look better?
No. A compatible, well-composed crop can give the edit a clearer starting frame, but it cannot repair blur, heavy occlusion, harsh shadows, or an unclear garment reference.
What should stay inside the crop for a jacket or shirt edit?
Keep the full head, both shoulders, the collar area, and the part of the torso where the jacket or shirt will be assessed. Avoid cutting directly through a cuff, lapel, or hand resting on the garment.
Related guides
- Try the free AI clothes changer →
- How to photograph clothes for AI outfit edits
- Why AI clothes swaps can look fake
- AI clothes changer review checklist
Try the crop only when it helps
Start with one clear, permitted photo. If High Quality suggests a crop that keeps the important framing intact, test it; if it does not, retain the original and use the AI clothes changer as a careful visual preview.