
How to Change Clothes Color in Fotor Without a Swap
Learn how to change clothes color in Fotor with its color changer or AI Replace, then check that the garment design and surrounding photo stay intact.
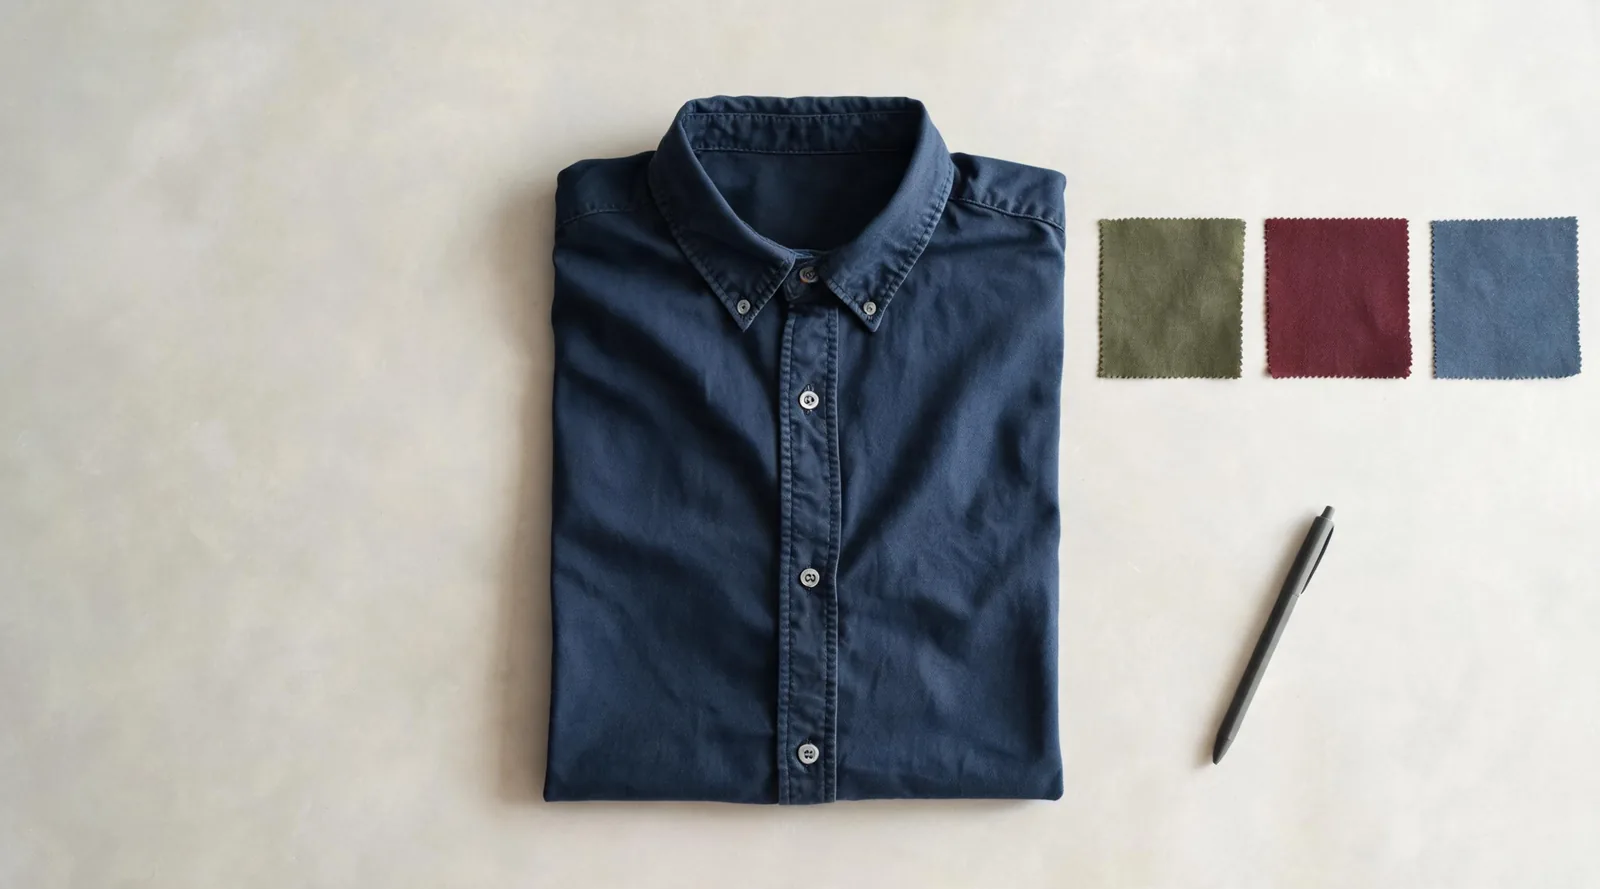
To change clothes color in Fotor, use its image color changer to identify the garment and specify a new shade. AI Replace offers another route: select the clothing area and request a color-only edit. Inspect the design before saving. The AI clothes changer also offers a clothing-focused recoloring workflow.
Last updated: October 10, 2026 · ~7 min read
Which Fotor tool changes clothing color?
Fotor currently describes two relevant routes. Its image color changer lets you upload a picture, identify an object or area with a selection or prompt, choose a target color, and generate a preview. Clothing is one of the uses listed on that page.
Its AI Replace help article documents a different sequence: open the photo in the editor, brush over the area or use Quick Select, enter a prompt, and generate. The help article includes clothing colors among the supported edits. It describes Apply for accepting a result and Generate More for another attempt.
Those are documented workflows, not a promise that every selected garment will survive unchanged. Controls can differ between Fotor's website and apps. Start from the relevant linked tool rather than searching for a setting with the same name in every version.
This guide uses the public Fotor instructions available on October 10, 2026. It is published by AIClothSwap, which offers a competing clothing tool. The comparison concerns workflows and review criteria; it does not claim a measured accuracy winner or present the cover illustration as a tested result.
Prepare a photo for a color-only edit
Use one clear photo of yourself or an adult who has agreed to the edit. Keep a separate copy of the original. Pick a picture where the target garment is easy to distinguish from hair, skin, bags, and other clothes.
A plain button-front shirt is a useful starting example. You can compare the collar, button row, cuffs, and hem before and after the change. With a patterned blouse or layered jacket, there are more details that a generated edit might alter.
Write down the job before opening the editor: “Change this navy shirt to muted olive; keep the same shirt.” That sentence gives you a stopping point. If the output becomes an olive sweater or adds pockets, it has failed the task even if the image looks attractive.
Keep the request to one garment and one color so you can judge whether the edit worked.
Change clothes color with Fotor's image color changer
Follow the tool's current prompts in this order:
- Upload the original photograph. Open the image color changer linked above. Use the source photo rather than a compressed screenshot of it.
- Identify the garment and the target shade. Use the available object-selection or prompt controls. Ask for a named item, such as “the button-front shirt,” rather than “all the blue.” Choose or describe the new color in the controls offered.
- Generate, compare, and download. Review the preview against the original before saving. If another item changes, refine the garment instruction or selection and start from the original again.
For example, if the shirt and a cushion are both navy, a request to replace navy everywhere leaves the editor with the wrong task. Identify the shirt as an object. Then check the cushion explicitly after generation instead of assuming the color change stayed within the garment.
Check any sign-in, credit, or download requirement shown in your account before committing to a workflow. A “free” entry page does not establish that every resolution, export, or number of attempts will be free. Avoid spending repeated attempts on an edit whose boundaries are already unsuitable.
Use AI Replace when you need to select an area
In Fotor's Photo Editor, open AI Replace. Brush over the garment, adjusting the brush size for smaller areas, or use Quick Select as described in the help article. Review the selected region before generating: a nearby hand or bag should not be included simply because it overlaps the shirt.
Give the prompt a narrow job. Here is an example you can adapt:
Change only the button-front shirt to muted olive green. Keep the existing cotton fabric, collar, sleeves, buttons, seams, folds, and shadows. Keep the person, trousers, hands, and background unchanged.
This is an instruction, not a guarantee. AI Replace generates a modification inside the selected area. Naming the details you want to retain gives you a useful review list, but the output may still change them.
At a difficult cuff, check whether the selection covers skin as well as cloth. If you cannot separate them cleanly, choose a photograph with less overlap.
After generation, compare the selected area with the source before clicking Apply. If the shirt changes into a different garment, return to the original selection and revise the prompt. Repeatedly editing an already altered version can make it difficult to track which details belong to the real shirt.
Why not use the design color picker?
Fotor also has a color picker in its design tool. Its color-picker help page explains changing a selected design element's color. That is useful for a shape or editable element on a canvas.
A shirt inside a photograph is a different object: its cloth, folds, highlights, and surroundings are represented by image pixels. Clicking a design element's fill color is not the documented garment-selection workflow. If you find yourself recoloring a text box or background shape, return to the photo-editing tool.
Global hue adjustments may tint skin, walls, and accessories along with the shirt. That does not meet a one-garment edit.
Fix an outfit swap, color spill, or lost detail
Treat an unwanted design change as a failed color-only edit. Do not accept a new neckline just because the shade looks right.
| What changed unexpectedly? | What to review | Next attempt |
|---|---|---|
| Collar, sleeves, or pockets | Whether the prompt asked for a new outfit or style | Remove style requests and name the existing garment details |
| Hand or wrist | Whether the selected area overlaps skin | Refine the selection or use a less obstructed photo |
| Another garment or background object | Whether the instruction targets a color rather than an item | Name one garment and check the selection |
| Buttons or print | Whether small details remain recognizable | Retry from the original; reject invented details |
| Flat-looking cloth | Whether highlights and folds disappeared | Ask to retain texture and lighting, then inspect again |
Choose a stopping rule before retrying. For a personal mood board, a small irregularity may be acceptable if you label the image as a concept. For a product listing, an invented seam or changed print is a reason to stop and use verified photography or a controlled editing process.
Do not infer a physical product from a plausible output. A recolored shirt can show whether olive works with your trousers. It cannot establish that the retailer sells that shirt in olive, that the dye looks the same in daylight, or that the material has the illustrated finish.
Compare Fotor and AIClothSwap on the same task
Keep the comparison small: one permitted adult photo, one named shirt, one requested shade. Save the original once and use that same file in both tools. Do not compare Fotor's color edit with a completely different outfit generated elsewhere.
The AIClothSwap clothes color changer uses one person photo with color swatches, a color wheel, or a hex reference. Its instructions can specify one piece to recolor. The dress color changer provides a dress-focused entry point when that is the garment you are comparing.
| Decision | Fotor | AIClothSwap |
|---|---|---|
| Starting route | Image color changer or Photo Editor's AI Replace | Clothing recolor workspace |
| How you identify the task | Object or area selection and a color instruction | Person photo, color choice, and garment instruction |
| Useful workflow fit | An area edit within a broader photo-editing workflow | A dedicated clothing-color preview |
| Required review | Compare the garment and surrounding image | Compare the garment and surrounding image |
Choose by the amount of control you need and the workflow you already use. If you are editing several unrelated parts of a photo, Fotor's broader editor may be convenient. If the job is only a clothing-color idea, a dedicated workspace may be simpler. Neither workflow earns a pass merely because the output looks polished.
For the comparison, inspect the shirt at the same display size in both results. Check color direction first, then count and compare visible buttons, trace the collar and cuffs, and inspect skin boundaries. Finally, check the untouched trousers and background. Keep whichever result satisfies your task; if neither does, change the source photograph or use a more controlled editor.
Our outfit color changer guide explains the general one-garment review method. For this Fotor workflow, the extra decision is which editing route and selection controls to use before that review.
Frequently asked questions
How do I change clothes color in Fotor?
Open Fotor's image color changer, upload the photo, identify the garment, choose or describe the target color, and generate a preview. Alternatively, use AI Replace to brush or Quick Select the clothing area, enter a color-only prompt, and inspect the result before applying it.
Why does Fotor replace my shirt instead of just changing its color?
AI Replace can regenerate the selected area. A broad selection or a prompt describing a new outfit can encourage design changes. Return to the original photo, narrow the selection, and ask for one color change while retaining the collar, seams, buttons, and fabric.
Can I use Fotor's design color picker to recolor a photographed garment?
The design color picker changes the color of a selected design element. It is not the same workflow as selecting clothing pixels in a photograph. For a garment in a photo, start with the image color changer or AI Replace.
Will a hex code guarantee the exact clothing color?
No. A hex value is a digital color reference, not proof of a physical fabric shade. Lighting, texture, screen settings, and the generated edit affect how the garment appears. Confirm a real product color with the seller or a physical sample.
Related guides
- Explore the AI clothes changer
- Clothes color changer
- Dress color changer
- Recolor clothes without losing texture
Keep the original photo beside every preview. To compare a clothing-focused route, open the color changer with the same permitted photograph.