
AI Ghost Photo: How to Put a Ghost Costume on Your Picture
Create an AI ghost photo with a visible face. Choose a costume direction, edit the description, and check the clothing before saving your portrait.
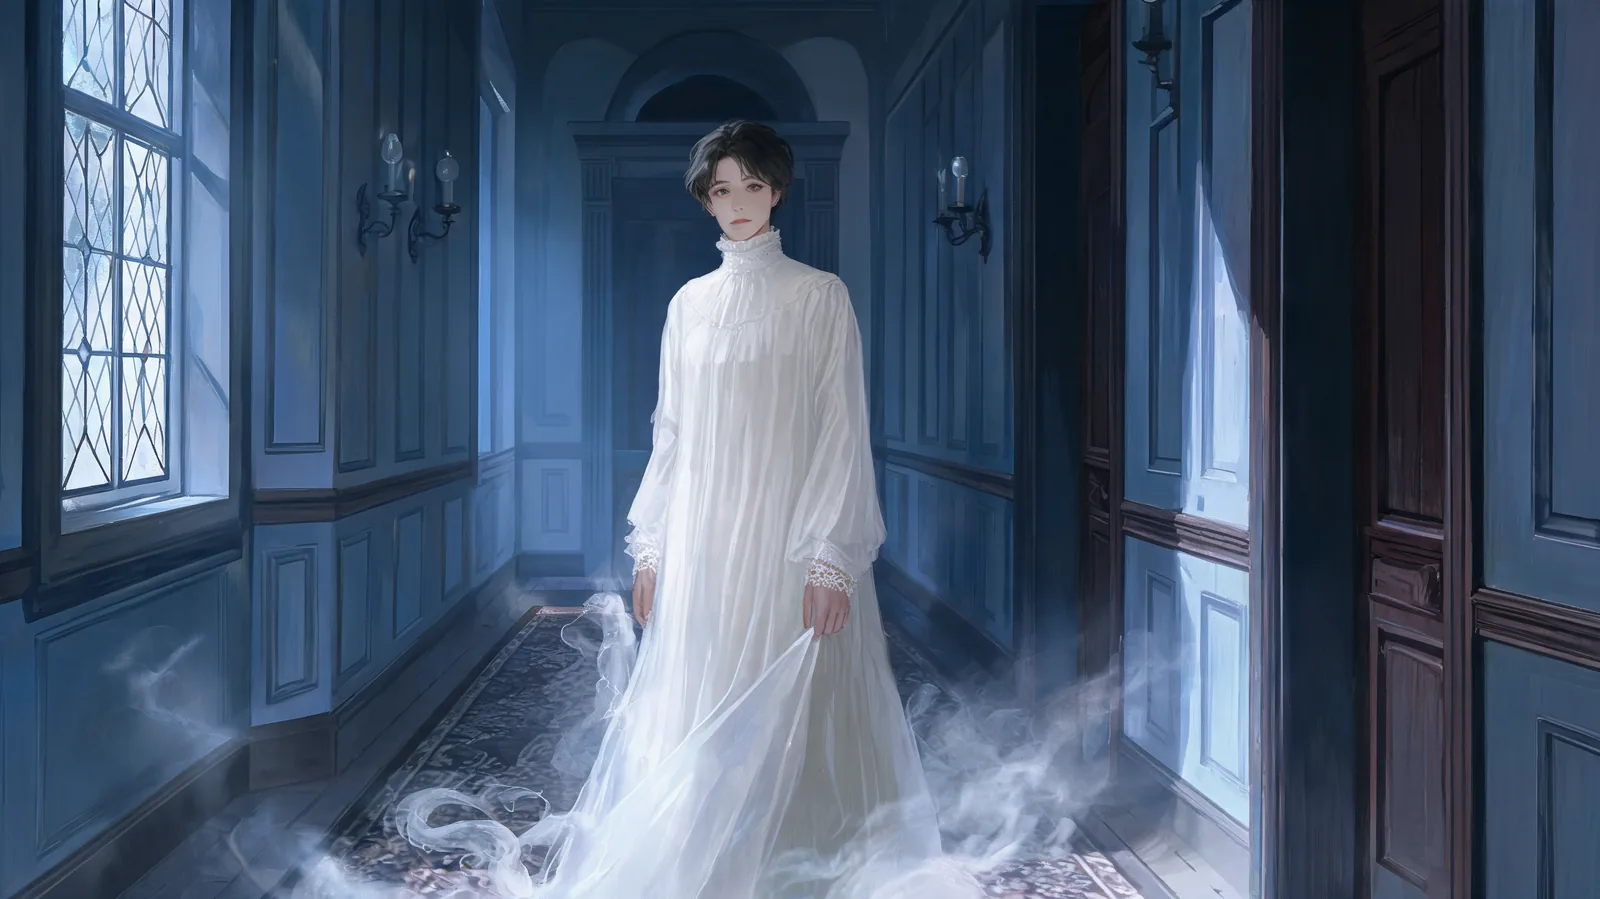
To make an AI ghost photo, upload a clear adult portrait to the Ghost Filter page, select Studio Quality, and keep or edit its Victorian costume description. Generate a still image, then check your face, hands, and clothing. Pale layers create the ghost look while leaving your face visible.
Last updated: October 12, 2026 · about 8 min read
A useful costume edit starts with a clothing decision: a faded coat, a long ivory gown, or a light modern dress. Choose that before adding a setting. Otherwise, fog and elaborate scenery can overwhelm the part of the picture you actually want to compare.
This guide describes the studio as of October 12, 2026. The cover is an original illustration of a Victorian ghost costume, rather than a demonstrated editing result. The feature page shows its own Victorian, modern chiffon, and sea-ghost demonstrations.
1. Pick a photo that shows the outfit area
Start with one clear photo of yourself or another adult who agreed to the upload and edit. A front-facing or gentle three-quarter standing pose gives you an easy comparison. Leave some space around the shoulders and arms so new sleeves have room without covering the face.
Match the crop to the decision. For a high collar and lace cuffs, a waist-up photograph may be enough. For a flowing gown or long frock coat, use a three-quarter or full-length picture. Shoes outside the original frame cannot give you a dependable shoe comparison.
Look for even lighting and visible facial features. Avoid motion blur, a hand across the neckline, or a bag covering the waist. Each makes the clothing harder to assess.
Before uploading, ask:
- Can I see the eyes, mouth, hairline, and shoulders clearly?
- Does the crop include the longest garment I want to compare?
- Are the hands and arms distinguishable from the existing clothing?
- Is this a photo every adult shown has agreed to use?
Retake the photograph when those answers are unclear. Simplifying the source is often more useful than writing a longer instruction around a difficult pose.
2. Choose the mode for your inputs
The tutorial's written-description workflow uses Studio Quality. It follows outfit descriptions and supports up to six costume reference photos. It opens after any membership or credit-pack purchase; sign in to the account with that access.
If you have a photograph of a specific costume, Essential Try-On uses one outfit reference. Free Preview tries one outfit photo on one person at no cost. A text-only costume idea does not supply the outfit photograph those two options need.
| Your starting point | What to prepare | Mode to use |
|---|---|---|
| A ghost outfit you can describe but have not bought | Person photo and written garment description | Studio Quality |
| A complete costume pictured in a shop listing | Person photo and one outfit photo | Essential Try-On |
| Several pieces, such as a coat and a separate dress | Person photo and up to six references, with clear instructions | Studio Quality |
| One outfit on one person for a basic visual check | Person photo and one outfit photo | Free Preview |
The studio changes clothing rather than swapping faces. It aims to keep the adult recognizable, but that is something to inspect in the result, not a guarantee to assume. Its output is a still photo.
For two consenting adults in one photograph, Studio Quality supports dressing both on this page. Give each person a separate clothing assignment. This solo tutorial keeps the first attempt to one adult so there is only one outfit to judge.
3. Keep or edit the prefilled Victorian description
The page's description starts with an original Victorian ghost costume: a layered off-white gown or faded grey frock coat, lace cuffs, a high collar, sheer tattered hems, and misty light. It asks for the face to remain fully visible. You can keep the theme, but name the garment you want if you are deciding between a gown and a coat.
Select Studio Quality to use that text. For a clothing comparison in your existing setting, remove the manor-hallway request and ask to retain the background. A familiar backdrop makes it easier to concentrate on the outfit.
Write the main garment first, followed by fabric, color, and length. Then add preservation instructions. For example:
Dress the adult in an original faded grey Victorian frock coat over an ivory high-collar shirt, with plain grey trousers and lace cuffs. Keep the face fully visible and recognizable, preserve the pose and background, and use a subtle cool light. Add no masks, blood, text, or logos.
This is an instruction example, not a claimed output. You do not need a fictional character's name to describe a strong silhouette. “Grey knee-length frock coat” gives a clearer wardrobe direction than a long list of loosely related spooky adjectives.
4. Try one of three clear ghost directions
Keep the same source photograph while you compare costumes. Changing the photo, clothing, and setting together makes it harder to tell which choice improved the image.
Victorian: compare structure and layered fabric
Use a high neckline, lace cuffs, and one substantial outer shape. A gown could be ivory with a lined bodice and chiffon overlayer; a coat could be faded grey with a plain shirt underneath. The page's Victorian demonstration is a visual reference for the theme, rather than evidence that every edit will reproduce it.
Try specifying:
An opaque, long-sleeved ivory gown with a high neckline, lace cuffs, and a light chiffon outer skirt. Keep the face uncovered and the hands visible. Preserve the original pose and background; use restrained cool lighting.
Check where each layer starts and ends. A decorative hem that appears to pass through a leg is a reason to simplify the instruction.
Modern chiffon: compare a simpler outline
A modern ghost can use one pale dress with flowing sleeves, or a pale trouser outfit with a light overshirt. Keep translucent fabric as an outer layer over opaque clothing. If you want a veil, explicitly place it behind the face.
Try an ankle-length white dress with an opaque lining, a single chiffon layer, and no head covering. Judge whether the silhouette reads clearly at normal viewing size. Extra ribbons, lace, and mist are optional; they should not obscure the garment you are choosing.
Sea ghost: compare a weathered coat
For a sea-ghost direction, name a pale blue-grey coat, loose ivory shirt, and grey trousers. Restrained worn edges suggest age without requiring wounds or an elaborate prop. You can ask for a faint greenish cast, but keep the garment colors easy to distinguish.
Start with the original setting. If you later want a foggy dock, change that separately after the outfit works. A scene change can alter the overall impression, so recheck the face and clothing boundaries afterward.
5. Generate and compare with the original
Complete the studio's sign-in and human-verification steps, then generate. When the image appears, compare it with your source before deciding whether to keep it. Begin with identity: eyes, mouth, hairline, and the edge where the collar meets the chin.
Then inspect the costume from top to bottom. Are both sleeves attached sensibly? Do cuffs end at the wrists? Are the hands separate from the lace? Does the gown or coat have a readable outline rather than merging into the background?
A ghost portrait can look atmospheric and still be a poor clothing preview. Save the version that preserves useful details, not simply the one with the most fog.
View the result both enlarged and at the size you intend to share. Enlarging reveals errors; a smaller view tells you whether the costume's main shape remains clear. Reject an unrecognizable face or distorted anatomy rather than treating it as part of the ghost theme.
6. Correct the smallest visible problem
Change one thing per attempt. If the outfit is cluttered, remove a layer. If the face is hidden, remove the veil or makeup request. If the hem is outside the frame, start again with a photograph that includes more of the body.
| Visible problem | Useful next change |
|---|---|
| Lace merges with fingers | Ask for plain cuffs and fewer details |
| A veil obscures the face | Remove it or specify that it sits behind the head |
| Pale clothing disappears against a light wall | Choose a slightly darker garment shade |
| Mist conceals the lower half of the outfit | Remove mist while comparing the silhouette |
| The result invents a costume different from a shop photo | Use the actual outfit reference and check against it |
If you are still choosing the clothing, the adult ghost costume ideas guide offers wearable combinations. For help preparing the source, read how to choose a photo for an AI clothes changer.
Turn the picture into a practical costume plan
Write down the real pieces your preferred version needs. A generated lace pattern, fastening, or coat shape may not match an available garment. Use seller photographs, measurements, and fabric details before ordering; the image cannot establish size or comfort.
If you plan to wear a long skirt or coat, check it in person. Health Canada's Halloween guidance warns that long or loose costumes can cause trips and falls. Walk and sit in your actual outfit, keep the face unobstructed, and shorten anything that catches underfoot.
AIClothSwap publishes this guide and operates the studio. The examples explain what to request and inspect; they are not a report of hands-on results for every suggested costume.
Frequently asked questions
Can I use a selfie for an AI ghost photo?
Yes, if your face is clear and the crop includes the clothing you want to change. A close selfie can show a collar or shoulders; use a three-quarter or full-body photo to compare a coat, gown, or long hem.
Can I change the Victorian ghost description?
Yes. The Ghost Filter page starts with an editable Victorian costume description. In Studio Quality, replace it with your preferred garments, fabric, length, and colors. Keep the face visible and use original costume designs.
Which mode works without an outfit reference photo?
Studio Quality follows written costume descriptions without an outfit reference and opens after any membership or credit pack. Essential Try-On uses one outfit photo. Free Preview tries one outfit photo on one person at no cost.
What should I reject before saving the picture?
Reject a version with an unrecognizable face, distorted hands, merged sleeves, or clothing that hides details you need to compare. Check it against the original photograph. A convincing image still cannot prove physical fit or garment availability.
Related guides
Have a clear adult photo ready? Open Ghost Filter, choose one clothing direction, and compare the result with your original before saving it.