
VisualGPT AI Clothes Changer: What to Check Before You Upload
Considering VisualGPT AI clothes changer? Check the live workflow, your upload rights, and the details that make an outfit preview usable.
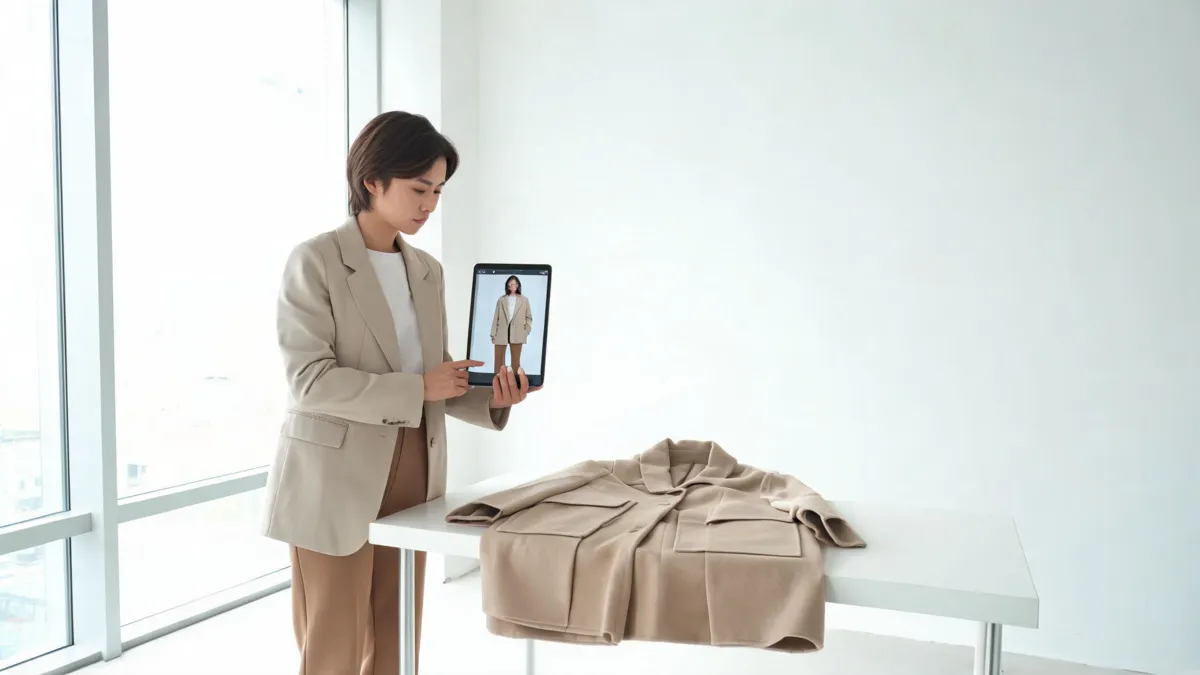
VisualGPT currently positions AI model try-ons inside a wider creative suite, so the first thing to check is whether that broader workflow matches your job. For one controlled outfit comparison on an adult photo, start with a clear source, verify your rights to upload it, and inspect the result against the original. A focused AI clothes changer may be a shorter route when the only decision is the outfit.
Last updated: September 11, 2026 · ~7 min read
This is an independent workflow guide, not a sponsored review or a claim that one tool always renders better. We checked VisualGPT's public site on September 11, 2026. Its homepage describes product-photo tools and realistic AI model try-ons alongside portrait, video, and other creative tools. Interfaces, plans, retention practices, credits, and output terms can change; check the live controls and policies before uploading a personal or client image.
What does “VisualGPT AI clothes changer” mean today?
The search phrase points to a use case more than a promise that every VisualGPT account has one fixed button or result. VisualGPT's public AI virtual try-on page is part of a broader product-photo and AI-model workflow. That can be useful when an outfit image belongs beside catalog shots, background work, or a larger creative brief.
For a simple personal preview, the wider suite can also mean more choices than you need. Define the decision before opening any editor: “Does this brown overshirt work with these navy trousers?” is testable. “Make me look better” is too vague to review fairly.
Treat an AI outfit image as a visual hypothesis. It is not evidence of fit, sizing, fabric construction, stock, model consent, or commercial permission.
What should you check before you upload a photo?
Use this short gate before an AI clothes-changing or try-on test.
| Check | Why it matters | Stop or continue? |
|---|---|---|
| You own the photo or have permission | A face and source image are not automatically yours to reuse | Stop without clear permission |
| The subject is an adult and consents | Outfit editing can be personal and sensitive | Stop without consent |
| The clothing area is visible | Arms, hair, bags, and furniture hide the edges the model must interpret | Retake or crop first |
| You know the one decision | A narrow change is easier to judge than a full makeover | Continue with one outfit direction |
| You have checked the live provider terms | Storage, credits, export, watermark, and use rights vary | Continue only if they fit the job |
The photo matters more than a long prompt. Use even light, a sharp image, and visible shoulders and torso. Keep other people out of the frame where possible. If the original garment is covered by crossed arms, long hair, a bag, or a deep shadow, no tool has a clean boundary to preserve.
For a real garment reference, show the item fully, with its color and silhouette clear. For a style idea, write a concise brief: garment type, color, overall formality, and the parts of the photo that must stay stable. A virtual try-on is the better internal link when you are comparing a known garment; a clothes color changer is more appropriate when only the color is changing.
A fair VisualGPT outfit-preview test
Do not compare two tools with different photos, different garment references, and different goals. You would only be comparing inputs.
- Save a baseline. Keep the original image untouched and name the visual question you want to answer.
- Use one simple brief. For example: “Replace the shirt with a medium-brown overshirt; preserve face, hands, pose, lighting, and background.” Do not add a new location, camera angle, or body change.
- Review at full size. Compare the output beside the source. Keep the version only if it answers the original question without inventing important details.
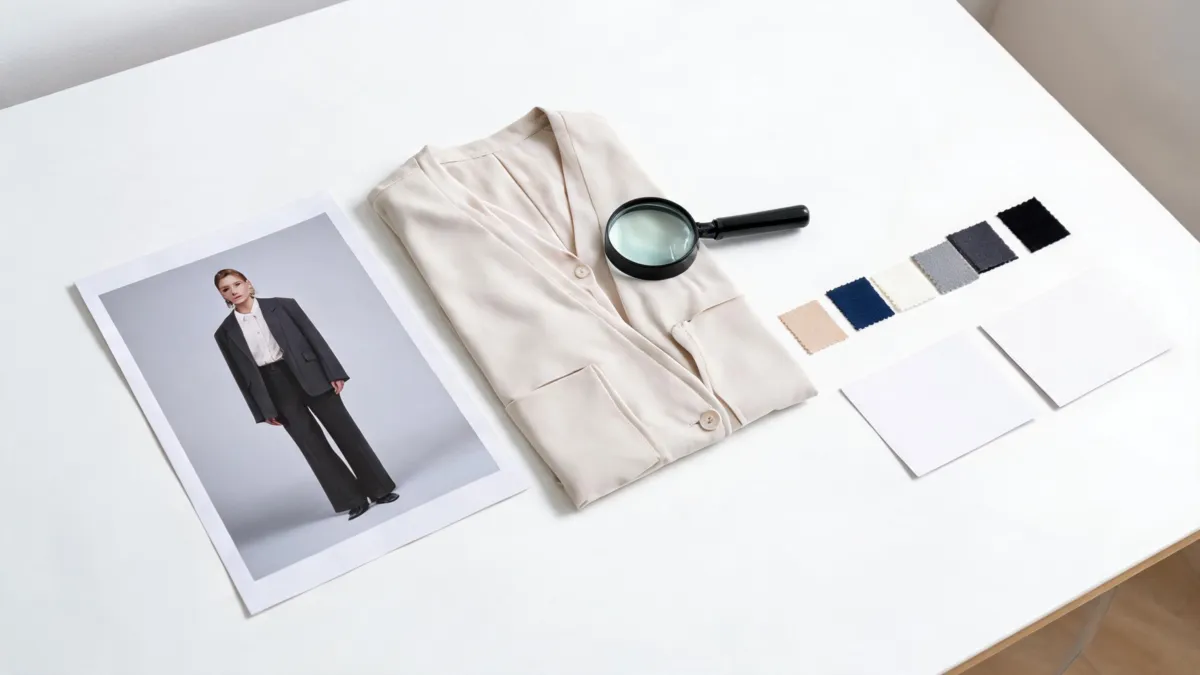
Editorial illustration of a review setup, not a VisualGPT result or a product benchmark.
The best output may be the plainest one: a result where the garment change is understandable and the surrounding image still looks like the source. If you find yourself repeatedly changing the face, hands, background, or body proportions to rescue the output, the source image or the request is no longer controlled enough.
Which details make an outfit preview usable?
Start with identity and boundaries, then work outward. A thumbnail can hide exactly the problems that matter when the image is saved or shared.
| Review area | What to inspect | Why it can fail |
|---|---|---|
| Face and hair | Identity, hairline, expression, stray hair | Clothing instructions can bleed into nearby pixels |
| Hands and arms | Fingers, cuffs, sleeve openings, overlap | Occlusion gives the model incomplete shape information |
| Garment | Collar, shoulder line, hem, seams, pattern, texture | Fine construction details are easy to invent or smear |
| Light and scene | Shadow under chin, sleeve shadow, background edges | A new garment must agree with the original lighting |
| Claim boundary | Labels, logos, color, style, availability | A plausible render is not a verified product record |
This review is especially important for sellers. A concept render can help a team decide what to photograph next, but it should not quietly become a listing image that implies a color, material, size, or feature the product does not have. For a more formal check, use the clothing color-variant QA checklist.
When is a focused alternative the better choice?
Try a dedicated clothes-changing workflow when you have one person photo plus one garment reference or one concise outfit direction. It reduces the decision to the image task you actually have. AIClothSwap is designed for that narrow comparison: you can test a full look or garment direction, then decide whether the output is useful.
That is not a guarantee. Dense prints, tiny lettering, shiny fabric, low resolution, extreme poses, heavy shadows, and blocked clothing all reduce reliability. A focused tool is a better fit for a small, repeatable image question—not a substitute for product photography, a fitting room, or consent and rights review.
VisualGPT virtual try-on video
This third-party video walks through a VisualGPT virtual try-on as an example workflow, not an independent quality ranking or a guarantee that VisualGPT's current interface is identical.
Frequently asked questions
Does VisualGPT have an AI clothes changer?
VisualGPT currently presents AI model try-ons under its product-photo tools. Its live workflow, plans, limits, and terms can change, so review the current page before you upload an image or buy credits.
What should I inspect after an AI clothes edit?
Compare the output with the original at full size. Check the face, hands, hair, neckline, seams, garment edges, pattern, lighting, and background before keeping a version.
Can an AI outfit preview confirm fit?
No. A generated image can help compare a visual direction, but it cannot confirm sizing, comfort, fabric feel, stock, construction, or whether an exact product will look the same in person.
Related guides
- Try the free AI clothes changer →
- Virtual try-on for a known garment
- Change clothes color while preserving the look
- How to photograph clothes for AI outfit edits
Make the comparison small enough to trust
Use the public tool pages to confirm the live workflow, make one controlled preview, and review the image at full size. When the decision is just an outfit direction, try AIClothSwap and keep the real-world checks outside the render.