
Jersey Swap AI for Team Graphics: Edit One Person at a Time
Use jersey swap AI for team graphics by editing individual adult portraits, checking consistent kits, and assembling the final layout manually.
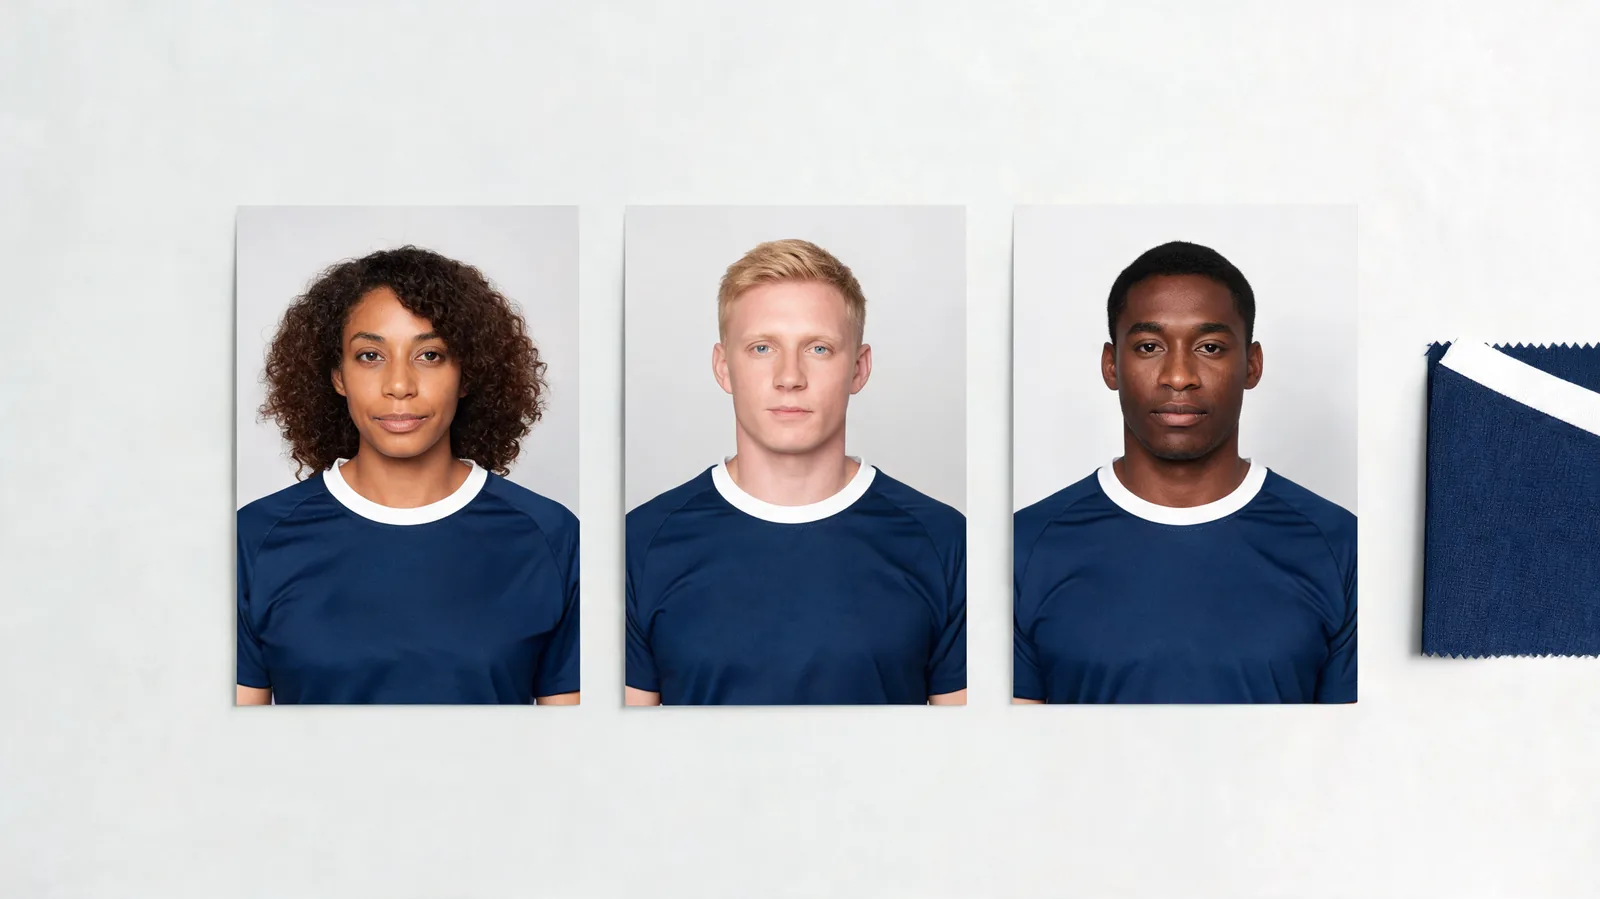
To use jersey swap AI for team graphics, edit one adult portrait at a time, reuse the same jersey direction, and review each result before assembling a layout. An AI clothes changer can help with the clothing edit. Build the final multi-person graphic manually in a separate design editor.
Last updated: October 3, 2026 · About 7 min read
A single convincing jersey portrait does not automatically make a consistent team graphic. When several portraits sit together, small differences in shirt color, collar shape, crop, and lighting become easier to see. The practical task is to create a set of compatible individual images and then place them in a layout you control.
What do you need before editing a team graphic?
Collect a clear portrait of each participating adult, permission to edit and publish it, and a shared jersey reference or written description. Ask each person for the original photo rather than a compressed screenshot from a message thread.
A shared jersey direction should specify the base color, collar, sleeve trim, and visible pattern. A plain navy shirt with a white V-neck is easier to keep consistent than a shirt with several sponsor marks, a detailed crest, and tiny lettering. Decide whether the graphic needs an exact kit reproduction or only a clear team-color concept before you spend time editing.
If exact crests, sponsors, or numbers are essential, use approved artwork and manual design work. Do not depend on generated lettering to reproduce them correctly.
How do you standardize the portraits?
Choose a simple portrait rule and send it to everyone. For example: face forward, include the head and upper torso, keep both shoulders visible, and photograph against a quiet background in soft light. The exact crop is your choice; the useful part is applying it consistently.
Do not cut every portrait tightly around the face before the jersey edit. The clothing step needs enough torso and shoulder information to make the shirt believable. Keep some space around the person and crop to the final layout afterward.
| Portrait choice | Why it helps the set | What to reject or replace |
|---|---|---|
| Similar head-and-torso framing | Faces can appear at comparable scale | A tiny person in a wide action shot |
| Front-facing or mild three-quarter pose | Shirt details are easier to compare | A body twisted far away from the camera |
| Soft, reasonably even lighting | Color and facial detail are easier to review | Harsh shadows across one side of the torso |
| Unobstructed shoulders and chest | The jersey has a clearer shape | Crossed arms covering most of the shirt |
| Original photo file | Leaves more detail for the final crop | A heavily compressed screenshot |
How do you edit one person at a time?
- Prepare the first portrait and jersey direction. Open the AI jersey generator, add one authorized adult portrait, and describe the kit or use a clothing reference where offered.
- Review the first result before repeating the approach. Compare it with the original and the kit direction. Keep an accepted example as your visual guide; revise unclear instructions before editing another person.
- Repeat separately, then assemble. Use the same shirt description or reference for each new portrait. Download accepted results and place them manually in your chosen layout editor.
The first image is a pilot for your instructions, not proof that later edits will match automatically. Reusing a direction can reduce avoidable differences, but each generation still needs its own review. If a portrait fails, fix that portrait rather than changing the jersey instructions for the whole set.
For basic photo selection and individual fan previews, the earlier jersey swap AI guide covers the single-person workflow. Here the extra work is keeping a set visually consistent and assembling it responsibly.
What should the shared jersey prompt say?
Write one short instruction that describes the shirt clearly. Avoid packing poster layout, stadium lighting, a new pose, and clothing changes into the same request. Each extra change makes it harder to compare the result with the original portrait.
A practical example is:
Replace the shirt with a plain navy short-sleeve soccer jersey, a white V-neck collar, and narrow white sleeve trim. Keep the person's face, hair, body proportions, pose, and background unchanged. No crest, sponsor text, or number.
The preservation language states your goal; it is not a guarantee. Check whether the output actually preserves those details. If you use a jersey photo instead, make sure it clearly shows the color and collar and that you have permission to use it.
How do you review each result before adding it to the layout?
Compare the original and edited portrait side by side. Start with identity and anatomy, then inspect clothing. A nice-looking jersey does not compensate for a changed face or a shoulder that no longer makes sense.
Check the jawline, eyes, hairline, skin tone, and visible hands. Next inspect the neck opening, shoulder seams, sleeve boundaries, and folds around the torso. Watch for leftover pieces of the original shirt near the neckline or under the arms.
Then compare with the accepted first portrait. Is the collar the same shape? Is the sleeve trim in the same place? Does the shirt read as the same color family? Different lighting can affect apparent color, so use judgment rather than expecting every fabric pixel to match.
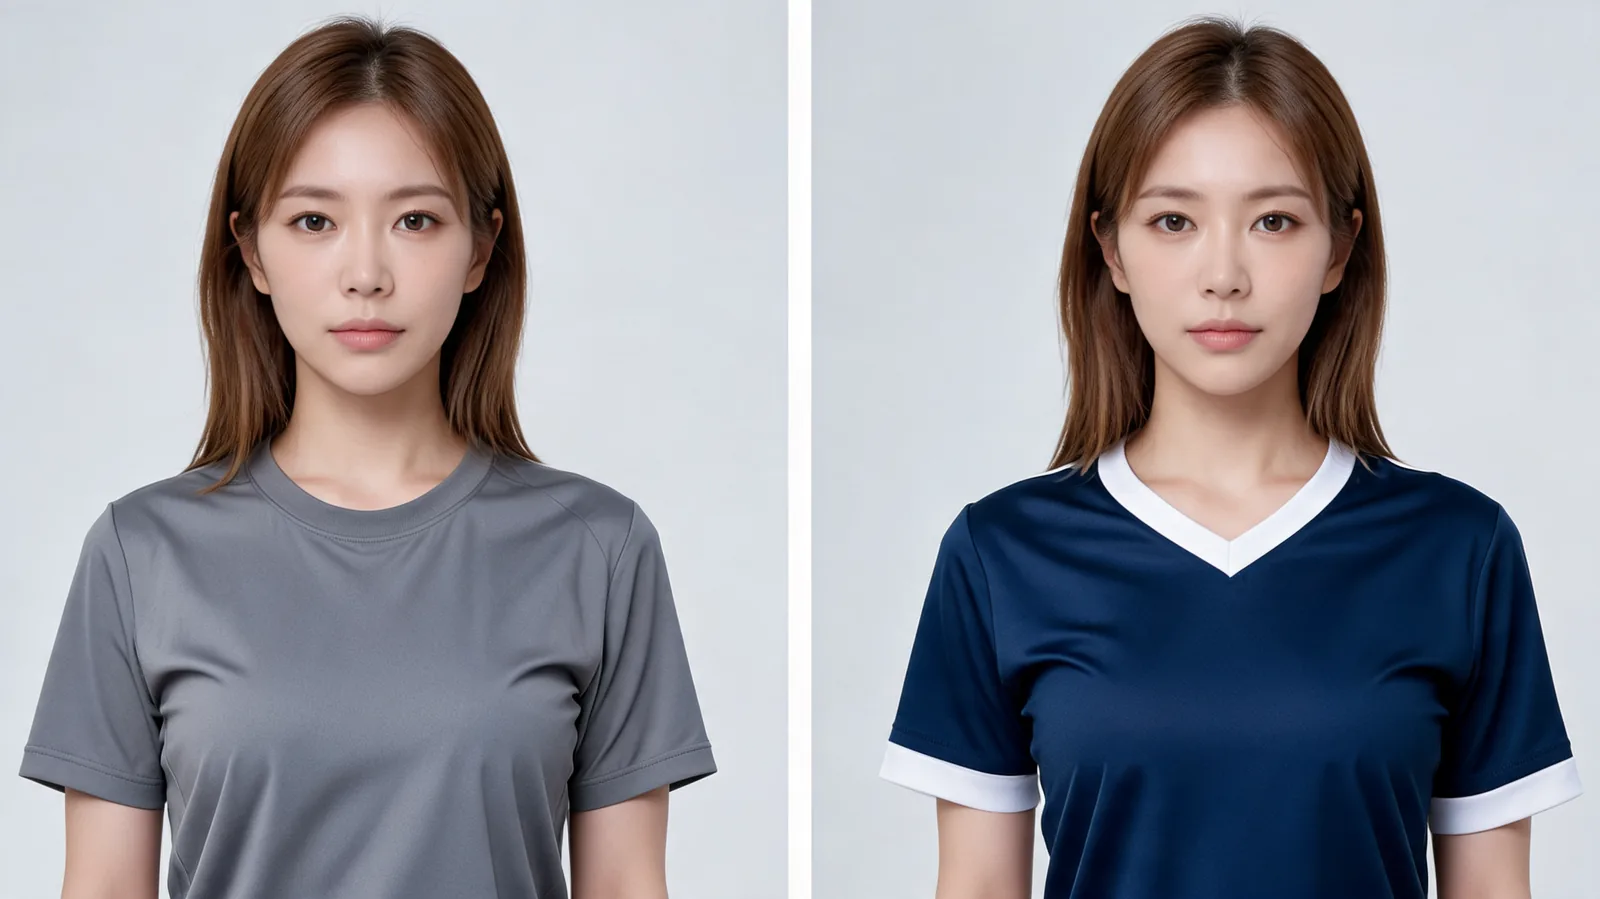 Illustrative comparison, not an AIClothSwap test result: inspect the face, shoulders, collar, and sleeve edges before accepting an edit.
If you are exploring color alternatives rather than replacing the jersey design, the clothes color changer offers a related workflow. Keep recoloring experiments separate from the accepted roster set so that mixed versions do not slip into the final graphic.
How do you assemble the portraits into a team graphic?
Open a separate layout editor and choose the intended output shape first. A square social post, a wide website banner, and a printed poster need different arrangements. Add a background and create equal-sized portrait frames or cards before placing the images.
Canva's official frame instructions explain how to add media to frames and reposition it inside them. A similar frame-based workflow in another editor is fine. The key is controlling the crop and placement manually rather than asking a clothing tool to compose the team.
Set the first portrait's face size and eye line, then use that as a reference for the remaining cards. Equal card dimensions do not necessarily make heads equal in size: adjust the image within each frame. Leave consistent breathing room above the hair and below the visible jersey.
Add names, roles, or numbers as editable text in the layout. This keeps spelling and alignment under your control. Use approved logos as separate assets when you have permission, instead of treating a generated mark as an official crest.
How do you fix inconsistent portraits without starting over?
If one person's shirt is a different shade, first check the original lighting and the jersey instruction used. Do not recolor the whole set to match the outlier. A new edit using the same reference may be more appropriate than a strong color filter that also changes skin tones.
If one face appears much larger, adjust the crop in the layout. If that crop removes too much jersey, use a wider card or request a better source photo. Stretching a portrait horizontally to fill a slot can distort the person and make the graphic less credible.
If backgrounds differ, embrace portrait cards or add consistent borders. Removing every background is optional and may require separate editing. A neat layout is often more convincing than a synthetic group scene with inconsistent lighting.
If an edit changes the person's identity or body shape, reject it. Return to the original and try a clearer photo or simpler clothing direction. There is no obligation to accept an output merely because the kit looks attractive.
What should you check before publishing?
Treat the graphic as an edited illustration, especially when it shows a proposed jersey rather than a kit the team already wears. Make that context clear in the accompanying post or caption. Avoid presenting a concept as proof of a signing, sponsorship, endorsement, or real event.
Use this final review:
- Every adult participant has authorized the edit and intended publication.
- Faces remain recognizable and body proportions are plausible.
- The shared kit direction is consistent across the portraits.
- Names and numbers are typed and checked in the layout editor.
- Crests and sponsor artwork are approved for the intended use.
- The post explains when the jersey or arrangement is a concept.
- The exported graphic remains readable at the size people will see.
Frequently asked questions
Can AIClothSwap swap jerseys for a whole team photo at once?
This workflow edits one adult portrait at a time. Prepare and review each person separately, then assemble the accepted images manually in a separate layout editor. Do not assume automatic group editing or batch processing.
How do I make the jerseys consistent across several portraits?
Reuse one clear jersey description or reference, choose similar source-photo framing, and compare each result with an accepted first portrait. Consistency still requires individual review; identical instructions do not guarantee identical outputs.
Can I rely on AI-generated names, numbers, or logos?
No. Generated text and marks can be inaccurate. Add checked names and numbers as editable text in the final layout, and use approved logo artwork when you have permission to publish it.
Is the final graphic a real team photograph?
No. It is a composition of separately edited portraits. Describe it as an edited roster graphic or jersey concept, and do not imply the participants posed together or wore the pictured kit at a real event.
Related guides
Explore the AI jersey generator for individual kit previews and virtual try-on for related clothing comparisons. Read the individual jersey swap guide before preparing your first portrait.
Start with one portrait
Test the jersey direction on one authorized adult photo with the AI clothes changer. Review it carefully, then decide whether it is suitable as the reference for your team graphic.