
How Creators Preview Outfits for Reels, TikToks, and Thumbnails
Use an AI clothes swap to test outfit direction, crop, and color before you shoot a Reel, TikTok, or thumbnail. Keep the final styling and platform checks grounded in real clothing.
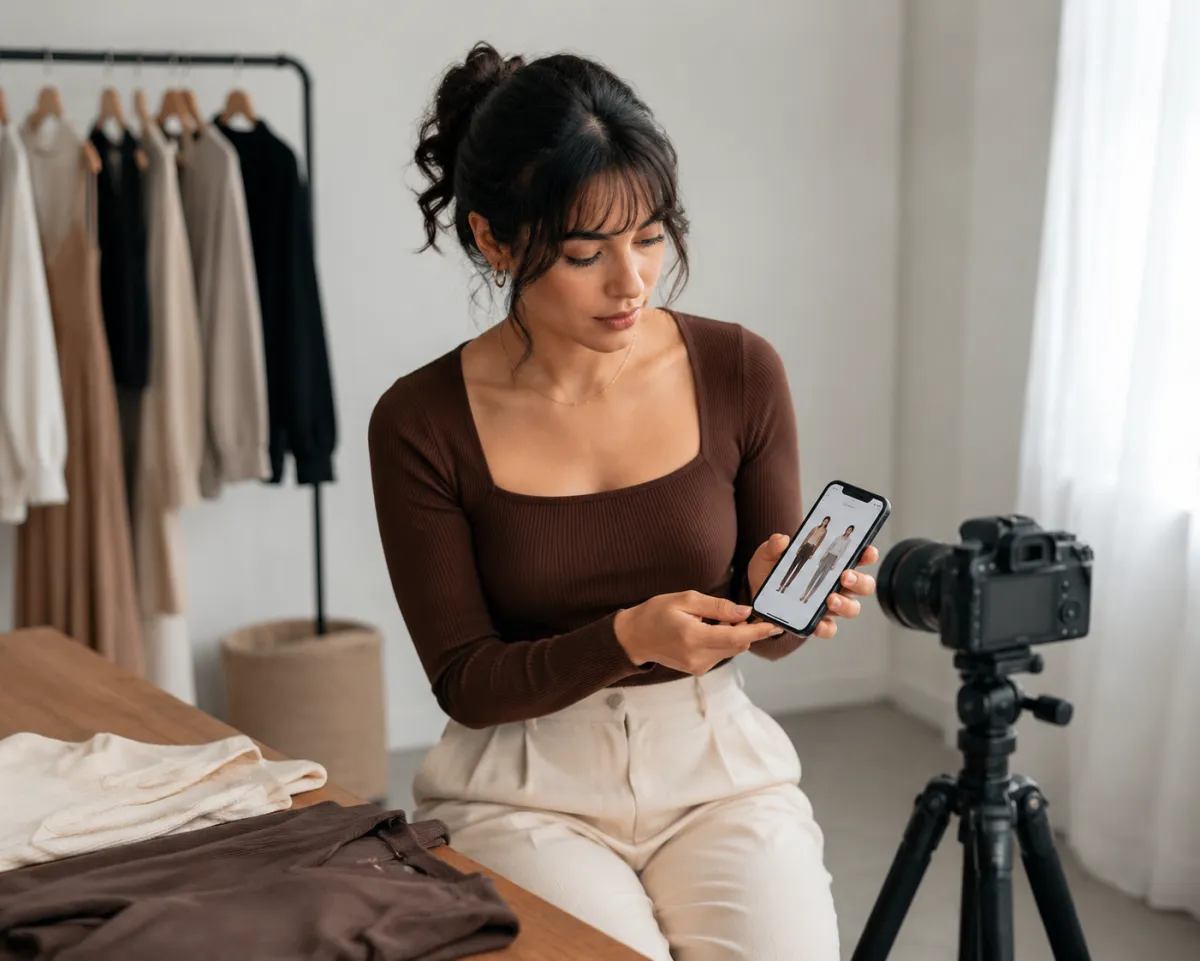
A creator does not need a dozen finished outfits to make a useful visual decision before a shoot. An AI clothes swap can help compare silhouette, color contrast, and thumbnail readability on one stable photo; it cannot confirm garment fit, platform rules, or whether a real item will be comfortable under lights. Treat the preview as a quick planning pass, then build the final look with clothes you own or can actually source.
Last updated: July 20, 2026 · about 9 min read
For short-form video, an outfit has two jobs at once. It has to feel right on camera, and it has to remain legible in the tiny crop people see while scrolling. A look that works in a full-length mirror can disappear in a vertical frame. A jacket with a busy pattern can compete with product shots, captions, or a bright background. The best time to discover that is before the shoot, when changing direction is cheap.
This is a useful narrow job for an AI preview. Keep the person, pose, lighting, and background stable. Change one outfit decision at a time. You are not asking the image to invent a whole personal brand. You are asking questions such as: Does a lighter top separate from this background? Does a structured layer make the face crop feel too formal? Will this color hold up when the same still becomes a thumbnail?
Start with the frame the audience will actually see
Choose the distribution format before choosing the outfit. A Reels or TikTok talking-head clip often shows the face, shoulders, and hands. A tutorial may reveal the upper body and a work surface. A before-and-after or outfit video can show more of the silhouette. Each setup rewards different visual choices.
| Content job | What to test in the preview | What to confirm outside the preview |
|---|---|---|
| Talking-head advice | Face framing, neckline, contrast against background | Microphone placement, comfort, lighting glare |
| Product demo | Sleeve and hand visibility, background separation | Product accuracy, labels, permissions |
| Outfit or styling clip | Proportion, color rhythm, full-body crop | Real fit, movement, footwear |
| Thumbnail or cover | Readability at small size, one clear focal point | Actual caption placement and platform crop |
| Brand collaboration | Whether clothing competes with the featured item | Contract requirements and approved claims |
The table is a reminder that visual direction is only one part of production. A preview can identify a confusing shape or a low-contrast color. It cannot decide whether a sponsor requires a particular disclosure, whether a fabric makes noise on a microphone, or whether a look is practical for a long filming day.
Keep the photo constant and test one variable
Use a clear waist-up or three-quarter photo in even light. Avoid a hand, bag, or dramatic shadow covering the clothing area. Then write the instruction around what must stay fixed: face, pose, hair, lighting, and background. Change only the layer, color family, or styling direction.
A useful sequence is simple. First, compare a light top and a dark top against the same wall. Next, keep the top and test one outer layer. Last, try the same outfit with a more relaxed or more structured shape. When several properties change together, it becomes impossible to tell what made a version feel more usable.
If the goal is a broader wardrobe direction, the AI dress-up page is a useful follow-up. If the only decision is whether one garment color works on camera, use the clothes color changer instead of turning a simple question into a full outfit rewrite.
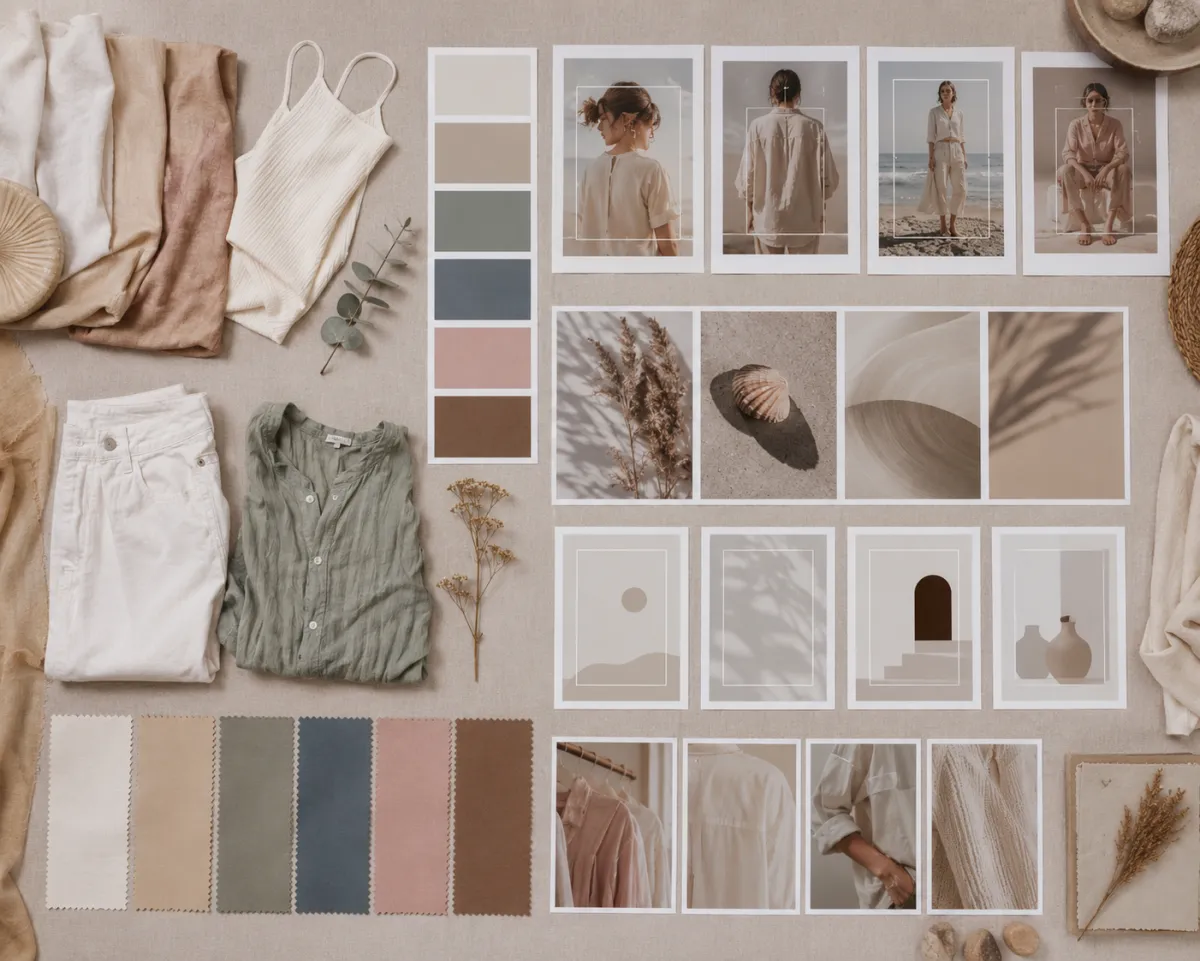
This planning visual is deliberately a flat-lay workflow, not another portrait or outfit render.
Check the look at thumbnail size
Shrink the result before you decide it works. When an outfit is reduced to a small card, the useful questions change. Is there enough contrast between the top and the background? Is the neckline or collar creating a clean shape around the face? Does a pattern pull attention away from the object, gesture, or expression that opens the video?
Look for one primary point of attention. In most creator clips, that will be the face, a product, or a movement. Clothing should support that point rather than create a second competing subject. A neutral top may be the right choice for a colorful product demonstration. A strong color may be the right choice for a quiet indoor talking-head series. Neither is universally better; it depends on what the viewer needs to notice first.
The outfit matcher guide can help when the issue is coordination rather than camera crop. For a more detailed source-photo workflow, see how to change clothes in a photo with AI.
Make a small shot list before generating more variations
Once a direction looks promising, write a compact shot list. Include the intended crop, background, movement, product or prop, and whether captions will cover any part of the outfit. This prevents the common mistake of choosing a look from a static preview and then discovering that the final filming setup hides its best feature.
For example, a creator may keep a light shirt because it separates from a dark studio wall, then change to a shorter sleeve because the video includes hands demonstrating a product. That is a better decision than repeatedly generating unrelated outfits until one looks dramatic.
A generated preview is useful when it narrows a real decision. It becomes less useful when it replaces the practical checks that a real shoot still needs.
Use the preview without misleading viewers
Only use a photo you have permission to edit. Do not present a generated outfit as a real product photograph, a sponsored item you own, or evidence that a particular garment will fit. If the final post contains an affiliate product, a brand collaboration, or a recommendation, follow the platform and contract requirements separately.
This matters most when the clothing is part of the claim. A creator can use an AI clothes swap to compare a color direction before filming. They should not use an invented result to suggest they tested a specific retailer item, wore a product in a real event, or obtained a result that did not happen.
A practical creator workflow
- Name the one job of the clip: advice, demo, styling, or thumbnail.
- Choose a stable reference photo and a background close to the planned shoot.
- Test one controlled outfit change with the AI clothes swap tool.
- Review the result at full size and in a small vertical crop.
- Keep the direction that supports the face, product, or action viewers need to see.
- Confirm the real garment, lighting, comfort, and any disclosure requirements.
- Film the version you can honestly reproduce.
Frequently asked questions
Can an AI clothes swap help me choose an outfit for a TikTok or Reel?
It can help compare color, silhouette, and crop on a stable photo before you set up the shoot. It cannot verify fit, fabric comfort, sound, product availability, or platform requirements, so use the result as a planning aid rather than a final wardrobe decision.
What outfit details matter most in a thumbnail?
Contrast with the background, a clean shape around the face or product, and one clear focal point matter more than intricate styling. Check the image at a small size before deciding that a pattern or layer is helping.
Should I change my background and outfit in the same preview?
Not for the first comparison. Keep the background stable and change one clothing decision at a time. Otherwise you will not know whether you preferred the outfit, the lighting, or the scene.
Related guides
- Try the AI clothes swap →
- AI dress-up ideas from your photo
- Change clothes color in a photo
- How to change clothes in a photo with AI
- Does this outfit match?
Plan the look, then make it real
Use an AI clothes swap to make one visual decision clearer before you film. Keep the reference stable, inspect the crop that your audience will see, and let real clothing, lighting, and honest disclosure determine the finished post.