
AI Skeleton: Add a Costume and Face Paint to Your Photo
Use AI Skeleton to preview a bone-print costume on your photo. Choose the right mode, make face paint optional, and check ribs, cuffs, knees, and hands.
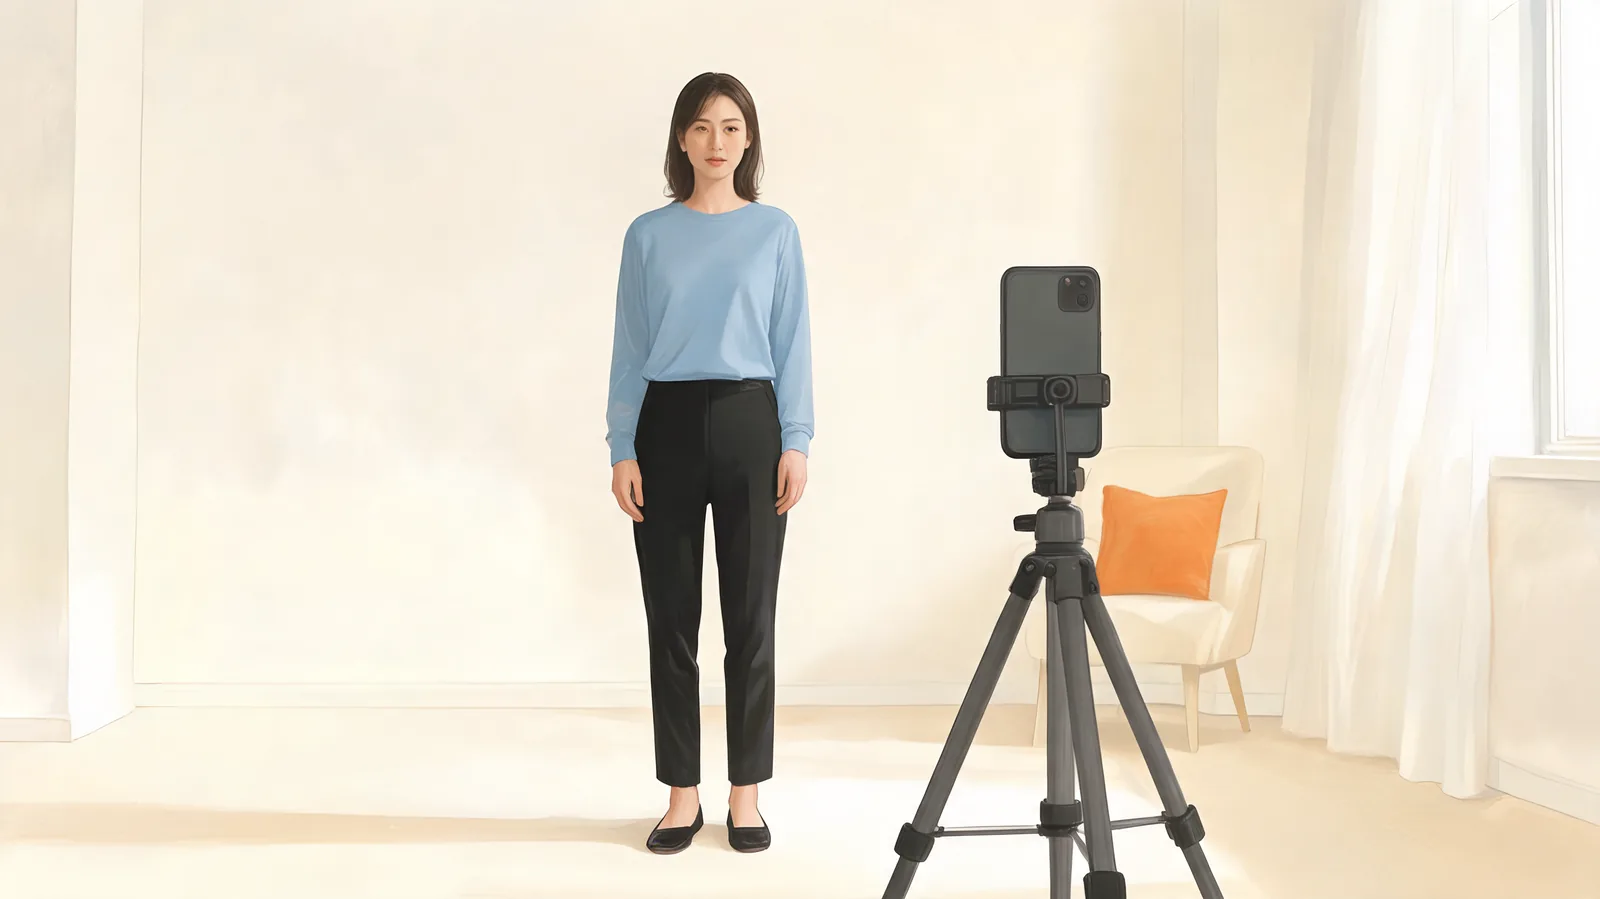
To make an AI skeleton costume photo, open Skeleton Filter, upload a clear full-body photo of a consenting adult, and choose Studio Quality for the editable bone-print description. Keep or remove the skull face paint, generate a still image, then inspect the face, ribs, shoulders, knees, cuffs, and hands before saving.
Last updated: October 13, 2026 · about 8 min read
A skeleton print makes small placement errors easy to notice. White ribs crossing a sleeve or a knee bone sitting halfway down a shin can spoil an otherwise convincing costume. Use a clear source and a simple outfit instruction. Add atmosphere after the clothing looks right.
This tutorial describes AIClothSwap as of October 13, 2026. The cover illustrates source-photo preparation with a fictional adult. It is not a costume-editing result. The feature page has its own bodysuit, tuxedo, and casual hoodie demonstrations to browse before you choose a direction.
Before you begin: decide what the photo should show
Choose one goal for your first image: a full bone-print bodysuit, a casual printed outfit, or a portrait with optional skull makeup. A full-length costume needs enough visible body to judge the print from shoulders to ankles. A tightly cropped selfie cannot answer that question.
Use a photograph of yourself or another adult who has agreed to the upload and edit. Keep the styling original and clothing-focused. Avoid gore, sexualized costumes, protected characters, and celebrity likenesses. You are previewing an outfit on a recognizable person, rather than replacing that person's face.
The basic sequence is:
- Prepare a well-lit adult photo with the relevant clothing area visible.
- Choose a mode and supply either a written outfit direction or costume reference.
- Generate, compare with the source, and revise the specific detail that failed.
Step 1: choose a source with space around the body
For a bodysuit, frame the whole person, including feet, and leave a little room beside the shoulders and legs. Stand naturally with hands away from the chest. Keep the knees visible and avoid crossing one leg tightly over the other. The point is to expose the garment outline, not to strike a dramatic pose.
A phone at roughly torso height can help avoid a steep downward angle. Use a plain background that separates from the current clothing. Black trousers against a dark sofa make the lower-body boundary harder to read; a lighter wall is a better starting point.
Check the source at full size. You should be able to distinguish the eyes, hairline, wrists, and hems. Brightening an extremely blurry photograph will not restore those details. If a handbag covers the waist or a coat hides both arms, take a simpler source instead of asking the description to solve every obstruction.
The photo preparation guide covers framing and common obstructions in more detail. For this costume, pay particular attention to the torso and knees: those are the easiest places to notice a shifted bone print.
Step 2: match the mode to your costume input
Skeleton Filter offers both written descriptions and outfit-reference inputs. They are different starting points. A description is useful for an imagined costume; a clear shop or wardrobe photograph is useful when you want to compare a particular garment.
| What you have | Mode | Input to prepare |
|---|---|---|
| One outfit reference for one person | Free Preview | One adult person photo and one outfit image; available at no cost |
| A photograph of a costume | Essential Try-On | One outfit reference; required on this page |
| A written skeleton costume idea | Studio Quality | Your person photo and the edited description |
| Several garments to combine | Studio Quality | Up to six outfit references with a clear role for each |
| Two adults in one source photo | Studio Quality | Both adults' consent and instructions that distinguish each outfit |
Studio Quality opens after any membership or credit-pack purchase. It is the description-based route here and the only option on this page for dressing two people in one photo. Free Preview tries one outfit reference on one person; Essential Try-On also requires one outfit image.
If you use references, pick ones that show the print and garment boundaries clearly. A tiny product thumbnail with a folded sleeve may leave the shoulder pattern unclear. Several images are not automatically better: use each for a specific piece rather than supplying conflicting complete costumes.
Step 3: edit the bone-print description
The prefilled description asks for an original black long-sleeve bodysuit with white skeleton bones, simple black-and-white skull face paint, and a foggy night street with warm orange lamps. You can edit it. Keeping the outfit while removing the scenery is a useful way to focus on clothing alignment.
Name the base garment first, then the print, then the makeup choice. For example, a bodysuit and a hoodie have different seams and proportions. Asking for both in the same instruction can leave the intended silhouette unclear.
A basic bodysuit instruction
Dress the adult in an original opaque black long-sleeve skeleton bodysuit with a simple white bone print. Center the ribs on the chest and keep the arm and leg prints readable. Add light black-and-white skull face paint while keeping the person recognizable. Retain the original pose and room. No logos or character likenesses.
This is a suggested description to adapt, not an example of a result we generated. It gives you a short list of features to inspect. Save your wording separately so you know what changed between attempts.
A revision without face paint
Remove the makeup phrase rather than leaving contradictory requests in the box. Replace it with a plain instruction:
Use the black bone-print bodysuit only. Leave the face without makeup and retain recognizable facial features, hair, and expression. Keep the hands uncovered and the original background.
Uncovered hands make it easier to judge whether cuffs end at the wrists. Once the clothing looks coherent, you can decide whether printed gloves would add anything. A request to retain features is guidance, not a promise that generation cannot change them.
Step 4: generate and inspect the print in order
Follow the studio's sign-in and verification prompts, then generate your still photo. Compare it with the source before treating it as finished. Start with the person: eyes, mouth, jaw, hair, pose, and body proportions should remain recognizable.
Next, work down the costume. At the shoulders, the white print should follow the sleeves rather than jump into the background. On the torso, check that the rib design stays centered and that both sides belong to the same garment. A stylized costume does not need medical accuracy, but it should have a coherent pattern.
At the knees, look for repeated shapes or a print that ignores the bend of the leg. At the wrists, check that a sleeve does not blend into fingers. If you requested gloves, count the fingers and inspect where each glove meets its cuff. Finally, look at the ankles and shoe edges.
Review the image enlarged and at its intended sharing size. A dramatic night scene can hide a broken cuff; a small phone preview can hide an extra finger.
Use these checks before saving:
- The subject is recognizable and has no unwanted facial replacement.
- The ribs sit on the torso, with no floating or duplicated print sections.
- Shoulder and sleeve shapes connect plausibly.
- Knee and shin prints follow the visible legs.
- Cuffs, hands, and any gloves remain distinct.
- The background does not swallow the outline you wanted to compare.
Step 5: correct one problem at a time
If the ribs drift, keep the garment and simplify the print. Try a source with a straighter torso and less arm overlap. If the fingers look wrong, remove gloves from the request and use a photograph with separated, visible hands. If the costume becomes too busy, remove accessories before adding more detail.
Keep a short comparison note: “same source, no gloves, simpler ribs.” That helps you decide whether the revision improved the part that mattered. Rewriting the whole costume, setting, and pose together makes it harder to tell what helped.
Sometimes the better fix is a new source photo. If a wrist is hidden or a knee falls outside the frame, retake the photograph with that area visible. Stop refining an unsuitable input when the same boundary keeps failing.
What can you use the finished photo for?
A checked image can help you choose a print style, compare makeup versus no makeup, or plan an original Halloween portrait. It does not confirm the physical fit, stretch, warmth, or construction of a costume you might buy. Check the seller's measurements and garment details separately.
If you copy digital face paint in real life, follow the cosmetic label rather than the picture. The FDA's novelty makeup guidance advises using products intended for skin and respecting restrictions around the eyes. A generated design is a visual idea, not product-safety advice.
For help deciding between garments before you edit, see the adult skeleton costume ideas guide. AIClothSwap creates still photos; this workflow does not make a video or perform a face swap.
Frequently asked questions
Which mode lets me describe a skeleton costume?
Choose Studio Quality to use a written costume description on Skeleton Filter. It unlocks after any membership or credit-pack purchase. Free Preview and Essential Try-On require one outfit reference on this page.
How do I remove skull face paint from the photo idea?
Delete the face-paint instruction from the editable description and add: leave the face without makeup. Generate a new version and compare the eyes, mouth, jawline, and hair with the original. An instruction cannot guarantee an unchanged face.
Why do the ribs look crooked on my skeleton costume?
A turned torso, crossed arms, heavy folds, or a complicated print can make placement harder. Use a clearer front-facing source, ask for a simple centered rib print, and remove unnecessary accessories. Reject a result with disconnected or duplicated bones.
Can I use a headshot for a full skeleton bodysuit?
A headshot cannot show how the print follows your knees, cuffs, or ankles. Use a full-body photo for a bodysuit. A closer portrait can help with a face-paint direction, but it does not answer the whole-outfit question.
Prepare one clear photo, then try the costume
Choose a readable source and decide whether you want makeup before generating. Open Skeleton Filter to preview your original bone-print outfit and check the details before you save.