
Shirt Try-On Online: Preview a Shirt on Your Own Photo
Use a shirt try-on online to compare collar, color, sleeve, and layering direction on your photo. Learn what an AI clothes changer can show and what needs a real fit check.
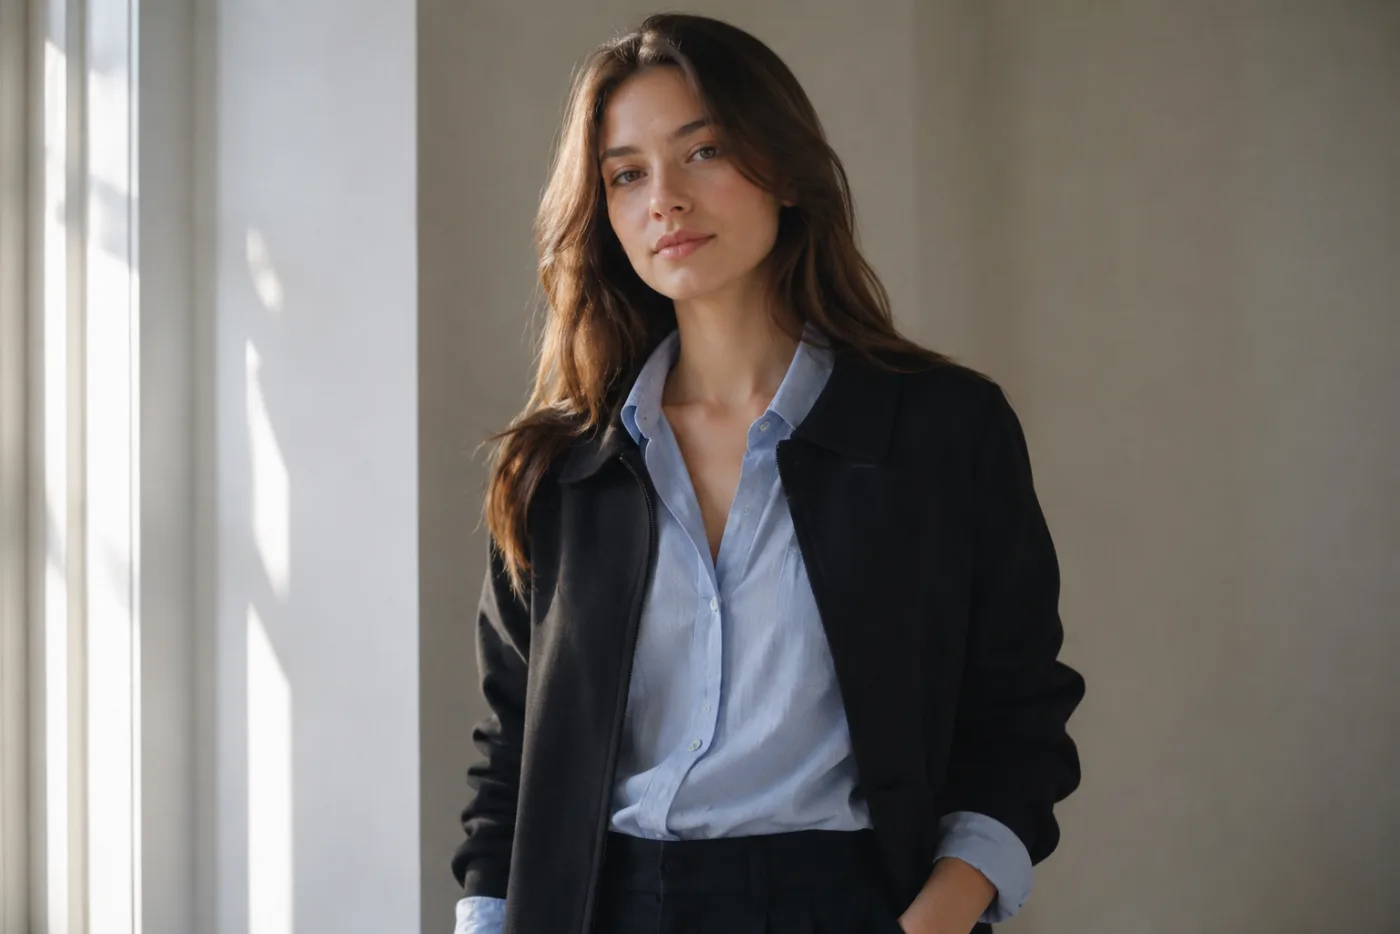
A shirt try-on online is most useful when you need a visual answer about color, collar shape, sleeve length, or layering before a photo shoot, a wardrobe decision, or a purchase shortlist. An AI clothes changer can make that comparison quickly on your own image, but it cannot certify the size, fabric, or fit of a real shirt. Start with the AI clothes changer, then use the result to decide what you need to try on in person.
Last updated: July 17, 2026 - about 10 min read
A shirt is one of the easiest clothing changes to underestimate. It sits close to the face, creates the line around the neck and shoulders, and is often visible under a blazer, knit, or jacket. Two shirts in the same “blue” family can give a portrait completely different energy: one can look crisp and professional, while another feels casual or washed out.
That makes a shirt preview a good narrow test. Instead of asking an editor to make a full new outfit, use it to compare the smallest change that could solve your decision. A pale blue button-down versus a white open-collar shirt. A darker overshirt versus a light tee. A tucked version versus an untucked one. When the source photo is clean and the request is controlled, the visual difference is much easier to read.
Choose the question before you upload
The phrase “try on a shirt” can mean several different jobs. You might need a professional headshot shirt, an outfit for a family photo, a new color for an ecommerce concept, or an answer to whether a layer clashes with your trousers. Say which one you need before you generate anything.
The editor is strongest when it handles one of these visual questions:
- Will a lighter collar open up this portrait?
- Does an overshirt make the look too casual for the setting?
- Does a tucked shirt create a cleaner waistline than an untucked version?
- Would a warmer or cooler blue sit better beside my skin tone and existing jacket?
- Does a short sleeve or long sleeve better match the intended season and photo mood?
It is weak evidence for chest room, shoulder fit, transparency, fabric weight, button strain, shrinkage, and return-policy decisions. Those remain real-shirt questions. Separating the two prevents a good-looking image from turning into a poor purchase.
Start with a source photo that reveals the shirt area
For this comparison, use a photo where the shoulders, neckline, torso, and at least part of the sleeves are visible. Soft, even light is better than a dramatic shadow because it gives the editor clearer edges around the collar and arms. Avoid a selfie crop that cuts off the shirt entirely, a pose where both arms hide the torso, or a busy print that makes the original clothing edge impossible to see.
Keep the body, face, background, and lighting unchanged between versions. The point is not to create a flattering new location or a new pose. It is to notice what the shirt itself changes. If you are comparing a shirt under a jacket, show the jacket in the source and ask to preserve it. Otherwise, you may only learn whether the tool can invent a nice blazer.
| Decision | Change in the preview | Check on the real shirt | Common false conclusion |
|---|---|---|---|
| Collar | Point, spread, band, open collar, or neckline depth | Neck comfort, collar height, and how it sits after movement | “This collar will lie flat all day” |
| Color | White, pale blue, navy, warm neutral, or muted tone | Fabric undertone under your actual light | “The listing color will match exactly” |
| Sleeve | Short, rolled, long, or cuffed visual direction | Arm mobility, cuff length, and weather comfort | “The sleeve will hit at this exact point” |
| Layering | Shirt under a jacket, knit, or overshirt | Bulk at the armhole and shoulder | “These two garments will fit together” |
| Tuck and hem | Tucked, half-tucked, or untucked silhouette | Rise, hem length, and how it stays put | “This will stay styled after sitting” |
The table is a boundary, not a warning against using the preview. It helps you take the right value from the image: visual direction first, garment proof later.
Make a controlled first request
Use simple language that protects what should not move. For example: “Keep my face, body, pose, jacket, lighting, and background unchanged. Replace only the visible shirt with a light blue cotton button-down, open at the collar, with long sleeves. Keep the result realistic and preserve the shoulder line.”
For the next version, keep every word except the one variable you want to test: “Replace light blue with crisp white,” or “use a dark navy overshirt instead.” This is how the editor becomes a comparison tool rather than a random-style generator.
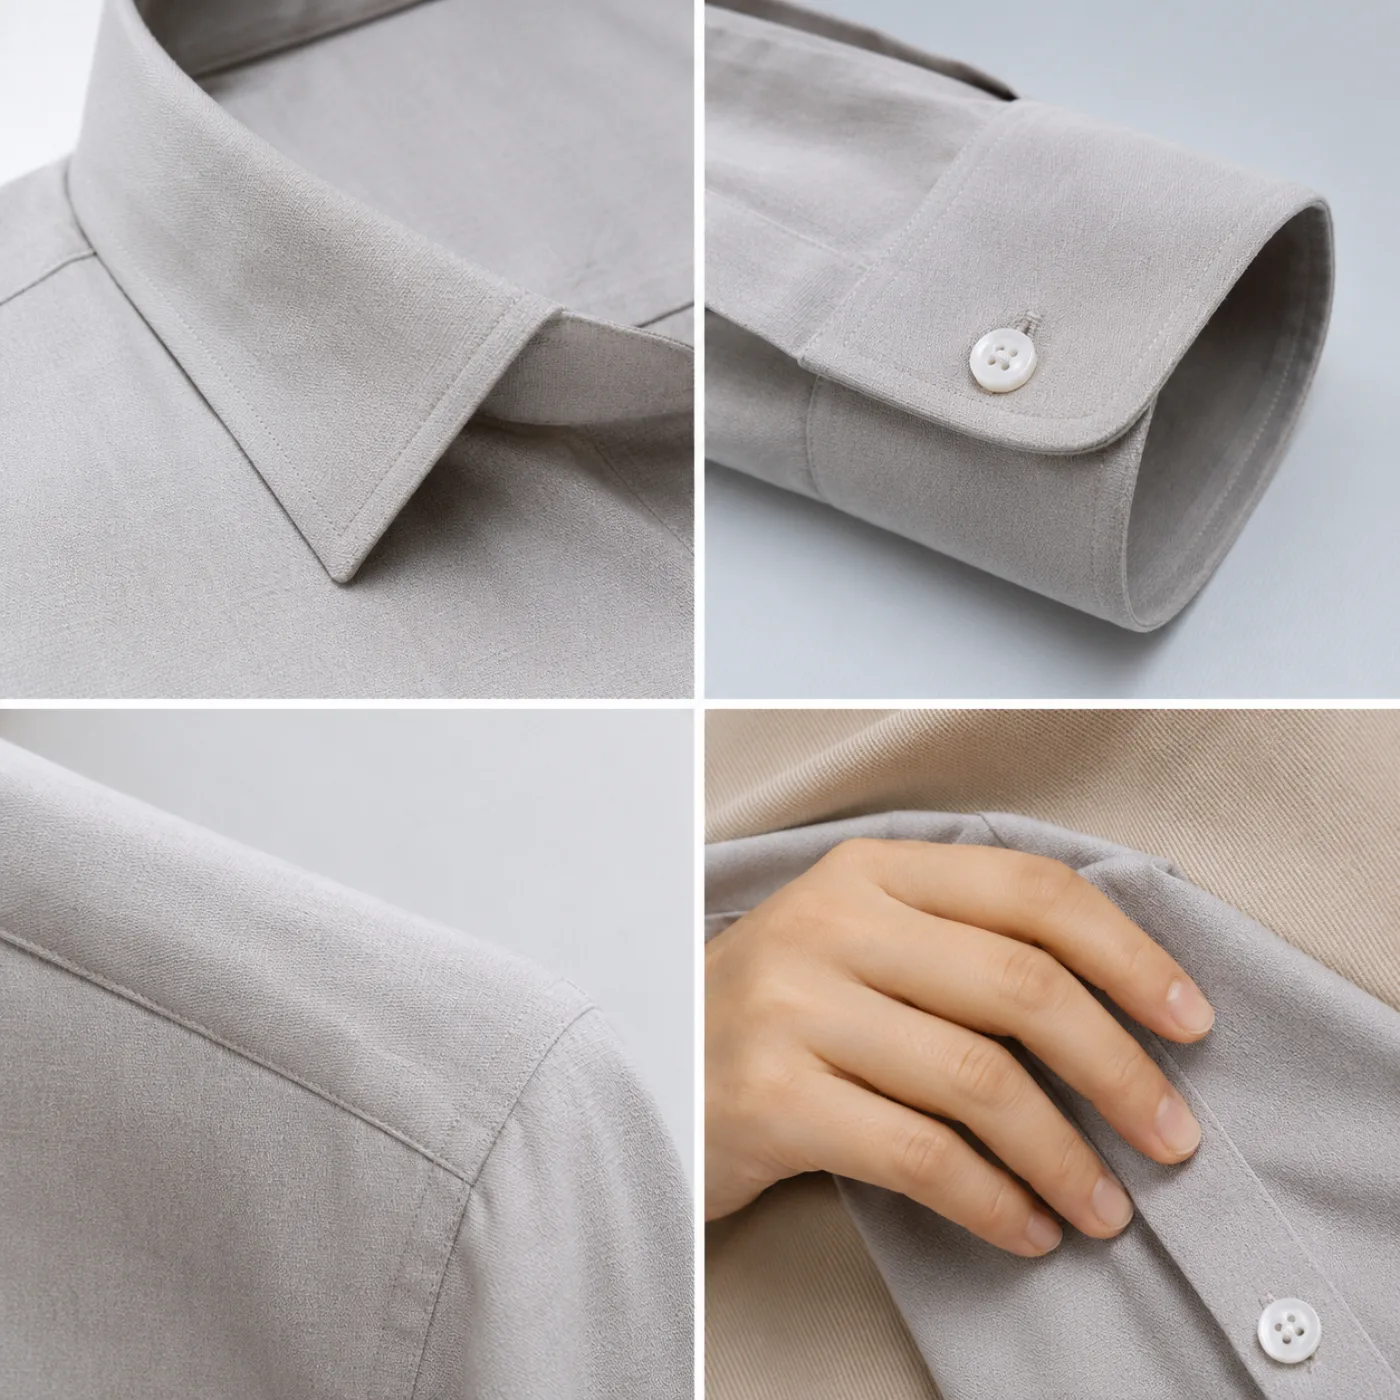
A second image can teach what to inspect: collar edges, sleeve seams, hair overlap, hands, and the transition under another layer.
Inspect the parts that decide whether the render is useful
When the image comes back, do not only ask whether it looks polished. Zoom in or inspect the full frame with a practical checklist.
First, look at the collar. Does it follow the neck naturally, or does it float, collapse, or cut through hair? Next, look at the shoulder seam and sleeve. A shirt can appear fine at a glance while the sleeve turns into the hand or loses the original arm shape. Then check any overlap: hair on a collar, a necklace, a bag strap, a jacket lapel, crossed arms, or fingers near the torso.
Finally, inspect the color in context. A white shirt can make a dark jacket look sharper but also reveal a high-contrast look you did not want. A navy shirt may feel coherent with navy trousers but make the outfit read as one dark block. The useful reaction is specific: “I prefer the lighter collar, but the white is too stark,” or “the navy is better for a casual photo, not for the headshot.”
Use a shirt preview for the right workflow
For a personal photo, use the preview to make a clothing shortlist. Test two or three realistic options, then try on the closest real shirts under the same lighting. For a headshot, test whether the shirt supports the purpose of the portrait: approachable, formal, creative, or practical. For a creator image, test whether the shirt competes with the product or caption.
For a small seller, the tool can help plan a concept or identify a color variant worth photographing. It should not replace accurate product imagery when the customer needs to see fabric texture, logo placement, exact color, construction, or sizing. A generated shirt image can create a plausible direction while still being wrong about the shirt itself.
If the main decision is color rather than garment shape, use the clothes color changer. If you need to compare the whole outfit after the shirt test, use the outfit color matcher. Narrow tools and narrow prompts make the result easier to judge.
A short shirt-comparison workflow
- Pick one clean photo with the shirt area visible.
- Name the setting: work portrait, dinner, casual photo, or product concept.
- Generate the most likely shirt option first.
- Create one alternate that changes only color, collar, or layer.
- Inspect collar, shoulders, sleeves, hands, and any overlap.
- Write down the one visual feature you prefer from each result.
- Verify the real shirt’s fit, comfort, fabric, and return terms before buying or wearing it.
This short sequence is enough for most decisions. More versions are only useful when they test a named uncertainty. A pile of unrelated looks makes it harder to know why one result felt better.
Privacy and representation still matter
Use a photo of yourself or one you have permission to edit. Review the service policy that applies to the account and tool you are using. Do not use a generated shirt swap to misrepresent another person, pretend that a product exists, or make an unverified apparel claim.
That restraint is especially important for ecommerce. An attractive render can make a style direction feel real before the product, garment rights, or final photography are ready. Treat the image as an internal mockup, a personal decision aid, or a clearly labeled creative concept unless the underlying details have been verified.
FAQ
Can I try on a shirt online with my own photo?
Yes. A controlled shirt preview can show a different shirt direction on a clear personal photo. The most useful comparisons keep your pose, face, lighting, and background stable while changing the shirt’s color, collar, sleeve, or layering.
Is the preview accurate for shirt size?
No. It can help you judge a visual direction, not a garment measurement. It cannot guarantee chest room, shoulder fit, sleeve length, fabric behavior, comfort, or whether a particular store item will match the result.
What should I include in a shirt try-on request?
Name the shirt color, collar or neckline, sleeve direction, and whether another layer should stay visible. Tell the tool to preserve your face, pose, lighting, and background, then change only one variable in the next comparison.
Why does the collar or sleeve look wrong in a generated result?
Collars, cuffs, hands, hair, jewelry, and jacket layers create overlapping edges that are harder to preserve. Use a clearer source photo, simplify the request, and inspect those exact areas before relying on the render.
Let the shirt answer one clear question
A shirt preview is valuable when it saves you from guessing about the visual direction of a collar, color, sleeve, or layer. Use the editor to compare controlled versions on your own photo, keep sizing and comfort decisions in the real world, and choose the shirt direction that still makes sense when you put on the actual garment.